One of the features of the Eqvista app is Electronic Shareholder Acceptance. When you issue equity grants, options, and warrants to shareholders, there will be an electronic acceptance for shareholders to sign (electronically) for the issuance to take place.
Note: You will need to add the shareholder profile before you can begin the issuance process as shared below. To learn how to add a shareholder, check out our support article here!
Issuing shares to a shareholder
It is important to share the shareholder access so that the shareholder can only view their transactions. Once you are done with sharing access with the shareholder, you can follow the steps shared below for issuing shares to a shareholder:
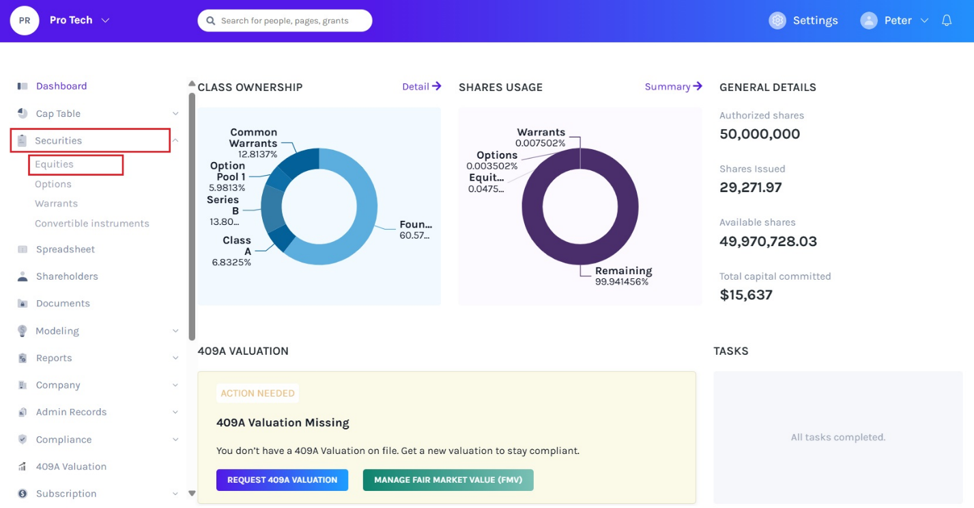
From the dashboard, click on “Securities”, and then “Equities” (or whichever kind of security you are about to issue).
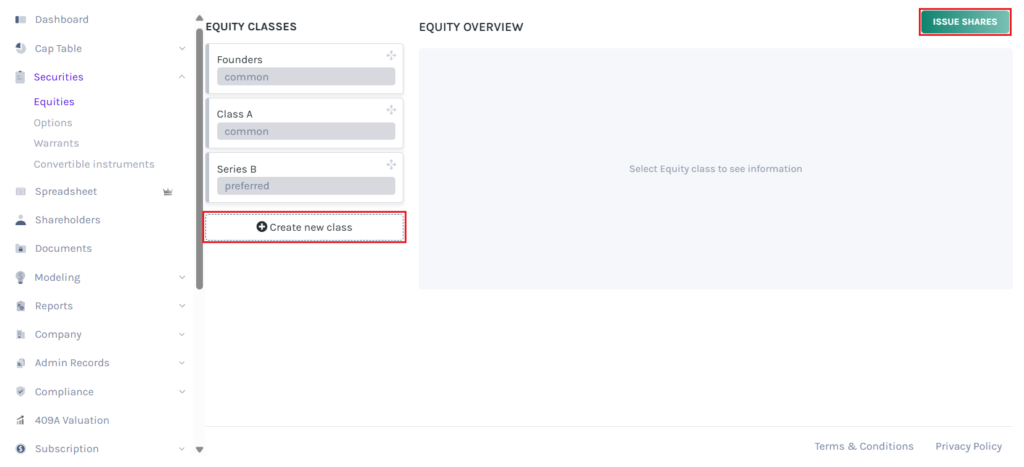
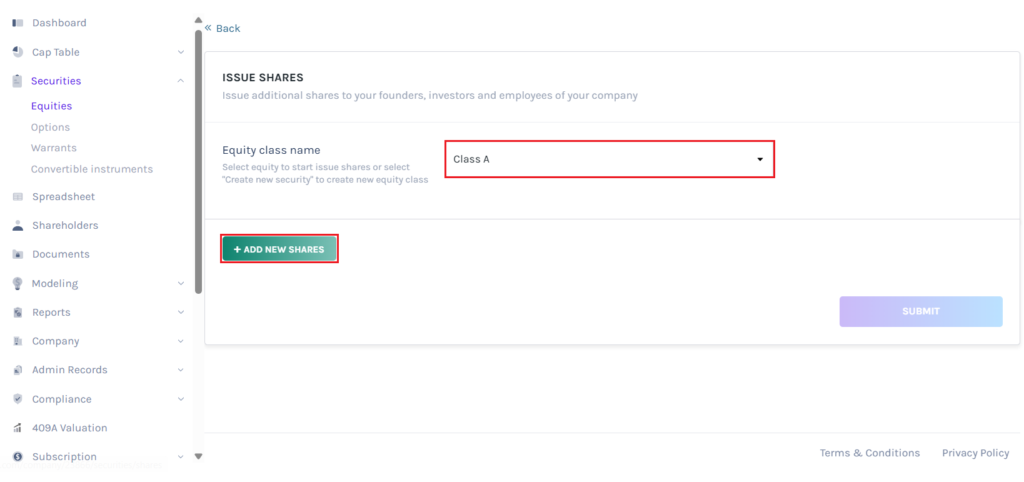
Step 2: Here, you will see all the equity classes listed. Select the equity class from which you want to issue shares to the shareholder.
Note: On this page, click on “Create New Class” to create an equity class and if you have created one, you canissue sharesand implement a vesting schedule.
In this case, we selected the “Class A” equity class.
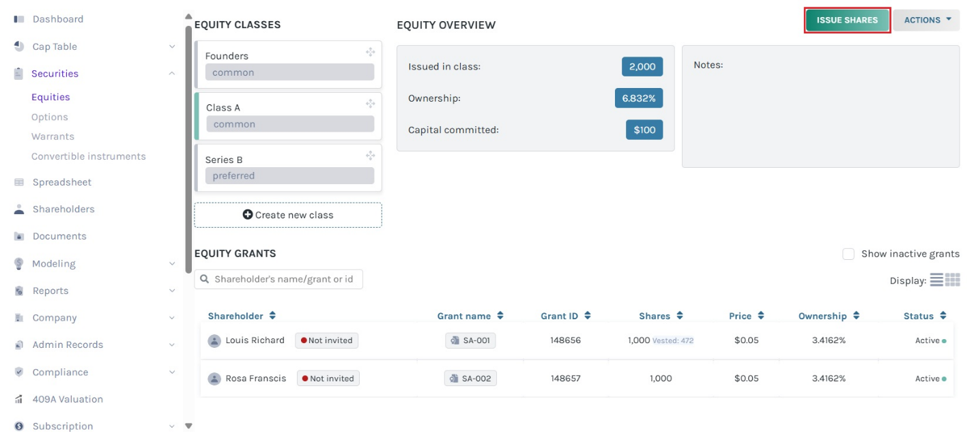
Step 3: Once you do this, a new panel will appear on the page. Then, click on the “Issue Shares” button on the top right-hand side of the page.
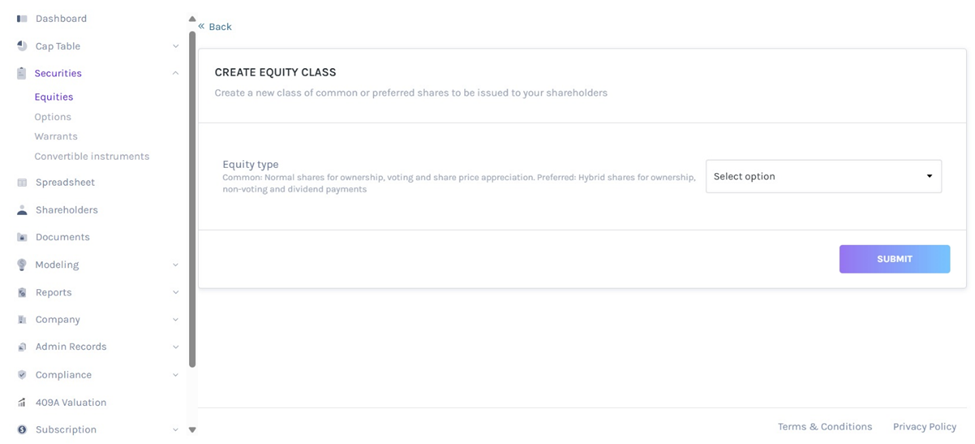
Step 4: Then, you will be redirected to the next page where you again need to select the equity class from where you want to issue the shares as shown below.
Select the equity class from the list and select the option below it saying, “Add New Shares”.
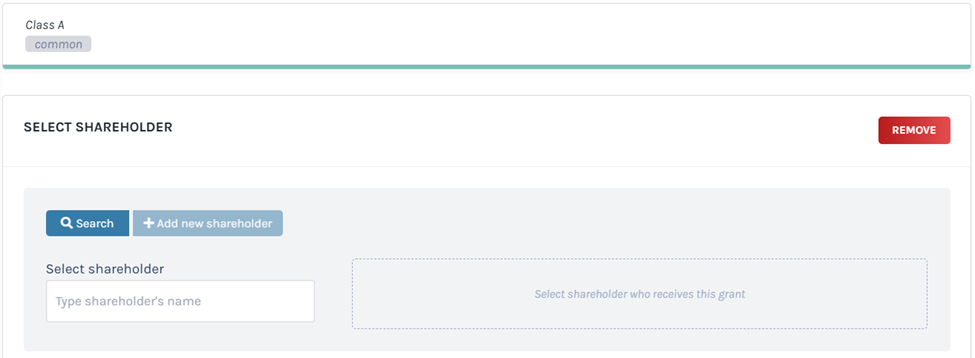
Step 5: When you do this, you will be redirected to the next page where you can begin the process of issuing the shares to the shareholder.
Here, you have the option to search for a shareholder or to add a shareholder from here directly.
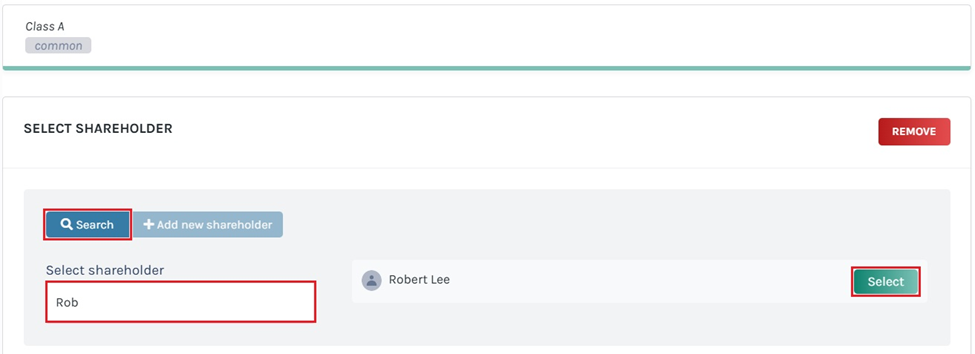
In this case, we already have the shareholder profile and are using that. Type in the name of the shareholder in the search field and the name will appear on the right side with a “Select” button. Click on this.
Note: You can also add a new shareholder by selecting the option “Add New Shareholder”. Once done, just add in the details of the new shareholder and move on to the next step to begin the process of issuing shares.
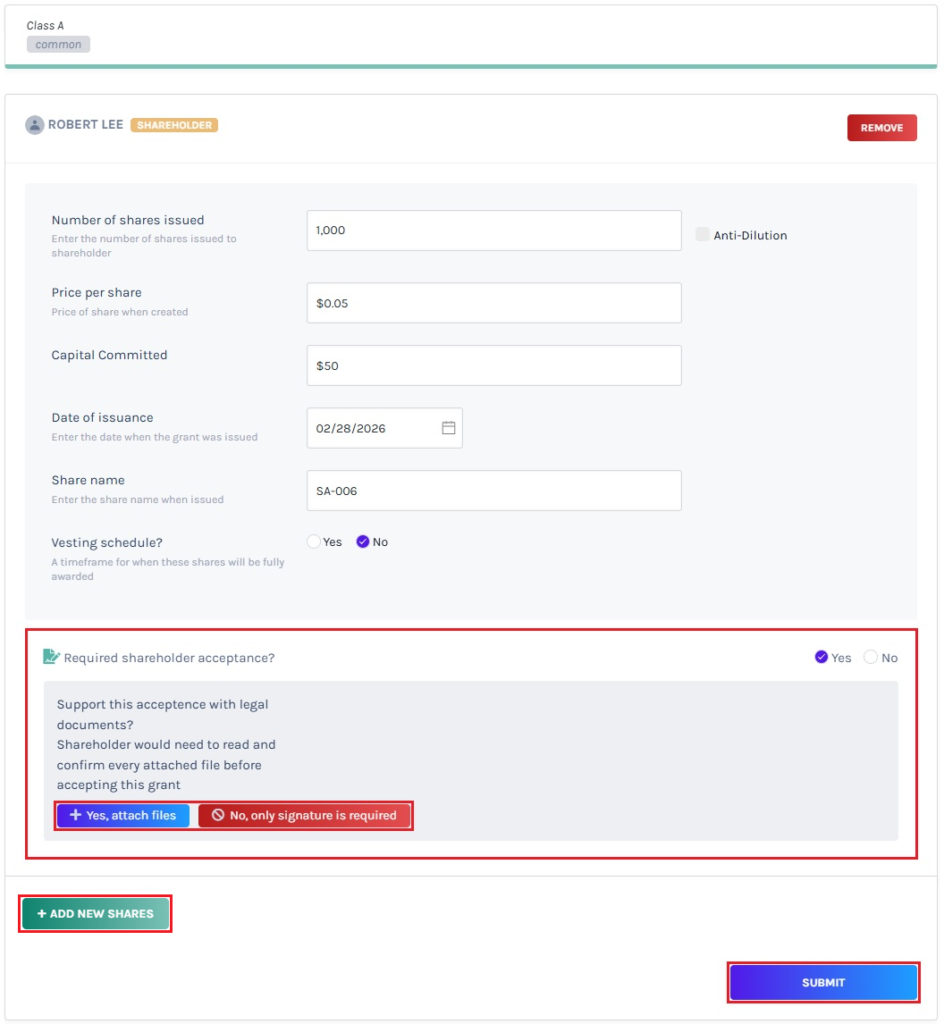
Step 6: The next step is to add the share details and select “YES” on “Required Shareholder Acceptance” as below:
Note: You can select required shareholder acceptance while issuing shares, options, and warrants, check out the respective support articles.
Note: If you want to issue shares from the same class to more than one shareholder, click “Add New Shares”. Then select the shareholder profile or add one and fill in the details.
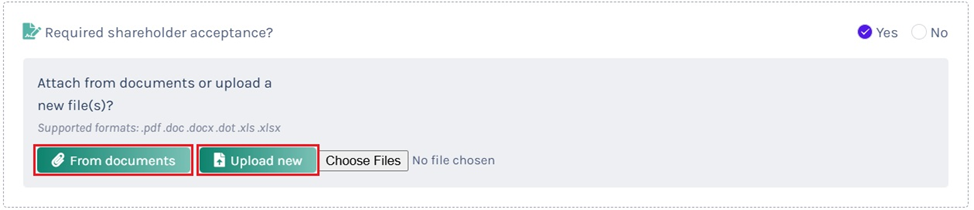
There is an option to attach a document or just a signature of the shareholder for their acceptance.
#1 Attach document
In this option, you can either attach from Documents or upload a document from your computer.
#2 Only signature is required
In this option, only the signature of the shareholder is required for the approval of the grant.
In the above example, we selected the option only a signature is required. Once done, click on “Submit”
Note: The above steps were to be taken by the superuser on Eqvista (who controls the cap table and all the transactions). The next steps are to be taken by the shareholders of the company.
Step 7:
Note: The shareholder should have shareholder access and must be invited to see their part of the shares in the company on Eqvista. Once the shareholder is invited, they need to create their new password and then log into the account. To know more about shareholder access view, check our support article here.
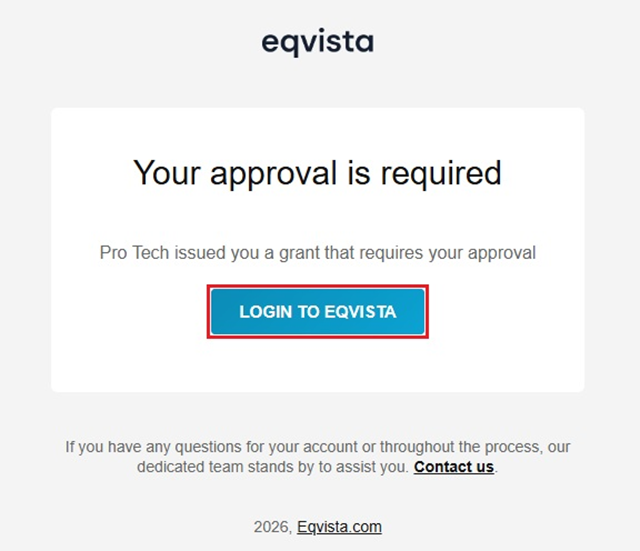
By doing this, the shareholder will receive an email regarding the new grant issued and will be required to approve this. The email would be as shown below:
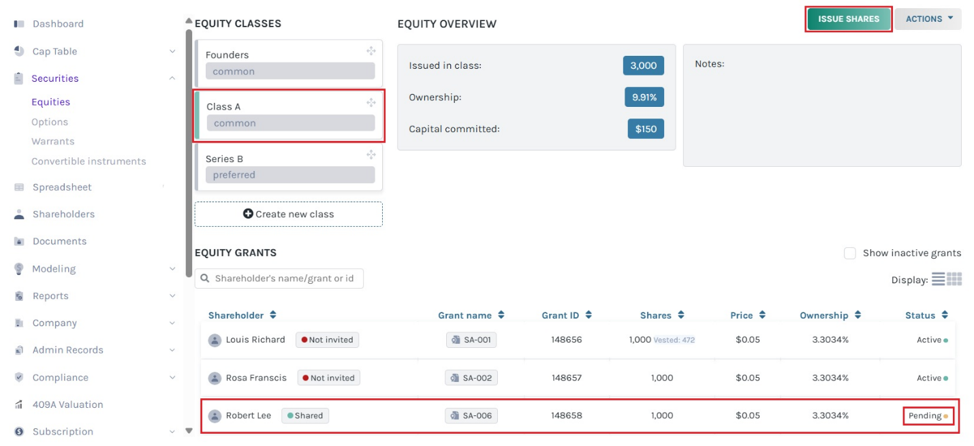
Step 8: Until the shareholder accepts the grant, the status will be shown as pending as shown below:
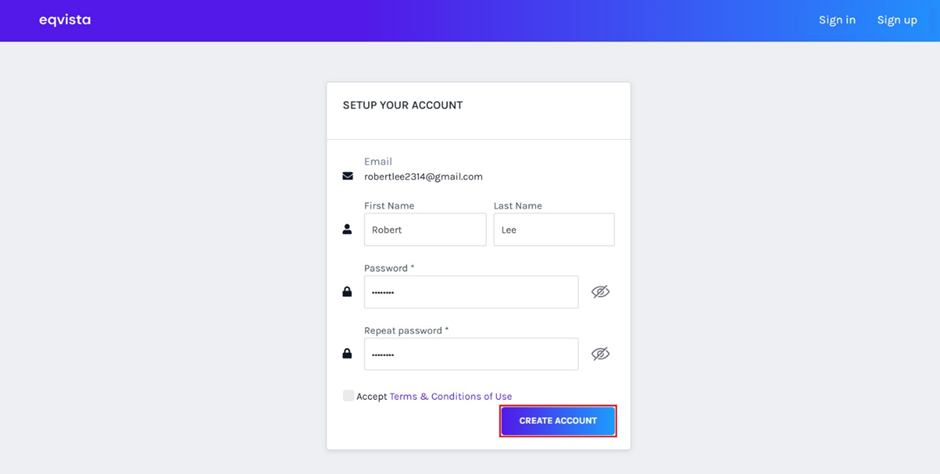
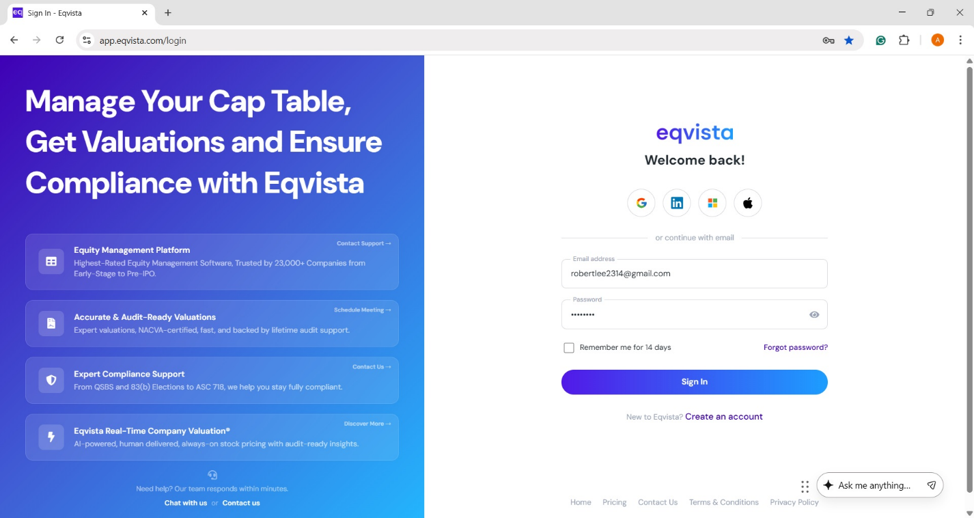
Step 9: Once the invitation has been accepted, the shareholder will be redirected to a new web page to set a new password to create an account or log in to Eqvista if already have an account.
Note: Do not forget to create a strong password and keep a note of it for future access to your Eqvista account.
Once shareholder click on “Create Account”, will be redirected to the page to log into their account on Eqvista using their email ID and the password just set.
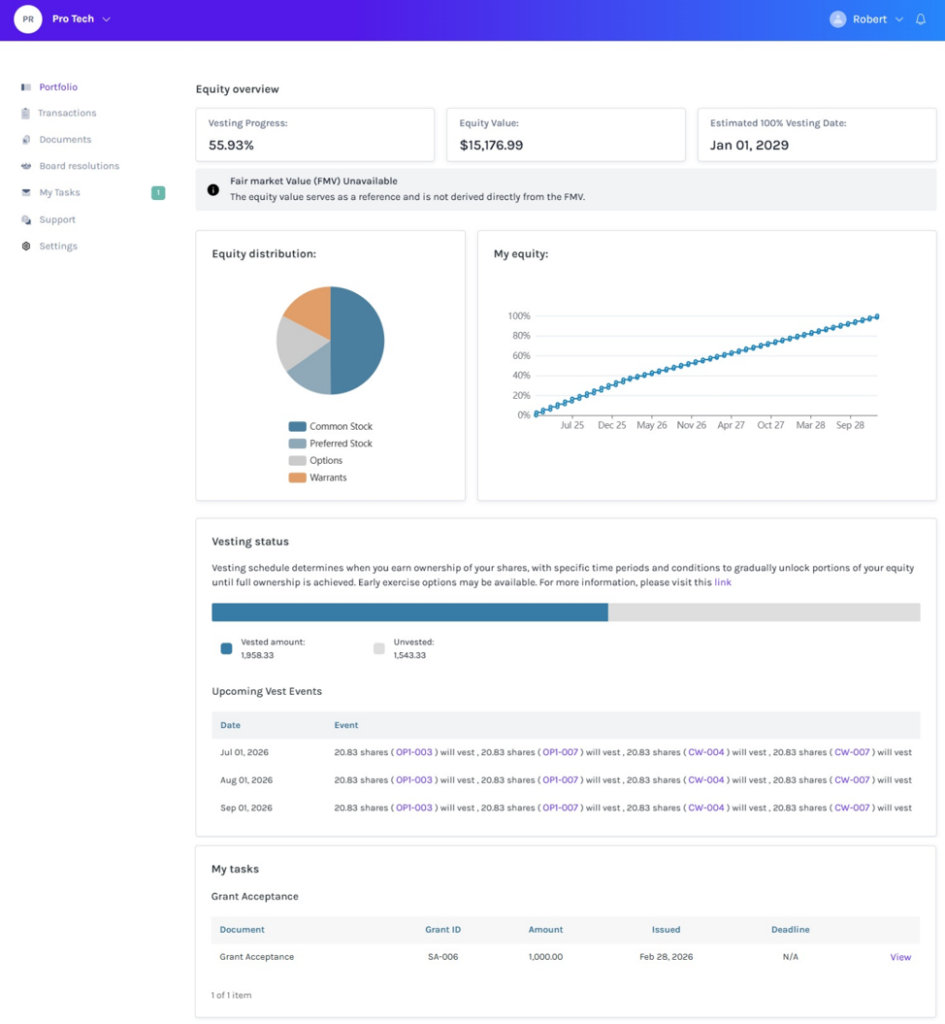
Step 10: After logging in, the shareholder can see the shareholder access view dashboard.
Note: On this page, the shareholder will find data to manage their transactions from the dashboard. To further understand the dashboard, check out the support article.
Step 11: To accept, the shareholder must select the grant name under Transactions or “My Tasks” on the left-hand side or bottomof thedashboard.
Note: In shareholder acceptance, there is an option to attach a document or only a signature is required for acceptance. The document attached can be found under “Other Documents” in the documentssection.
The grant can be signed under the transactions or tasks section. To further understand transactions and tasks in a shareholder account, check out the respective support article!
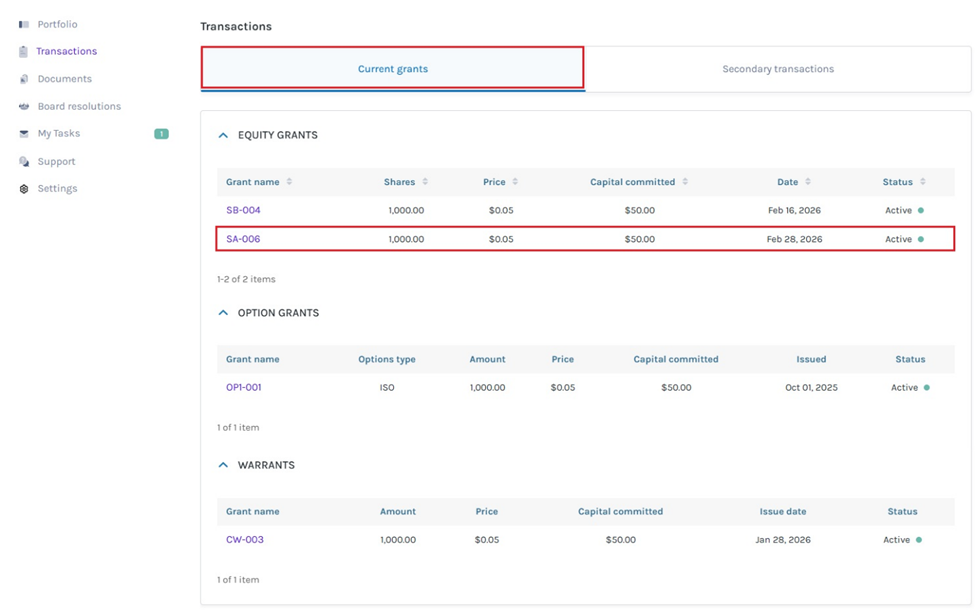
In this case, click “Transactions” on the left-hand side of thedashboard. Here, click on “Current Grants” to view the transaction under each type of security. Then, click on the grant name “SA-006″ and you will be redirected to a new window.
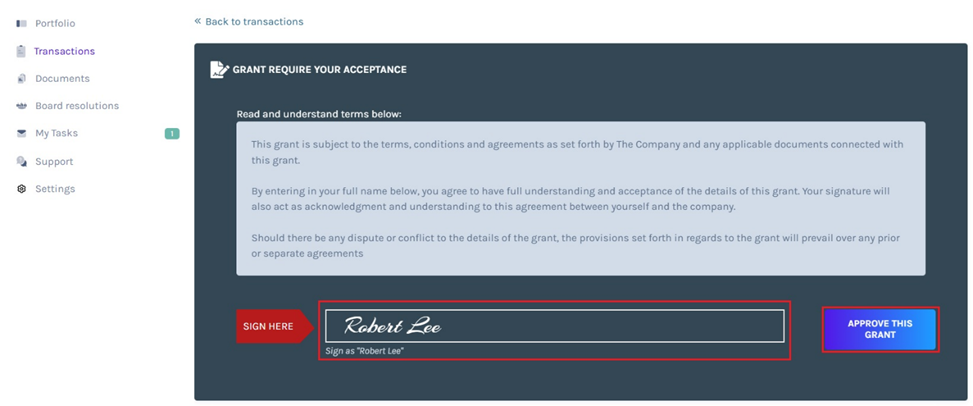
Step 12: By doing this, this person will be redirected to a new window. Here, the shareholder will have to add their signature to accept the grant as shown below.
To add the signature, the shareholder needs to add their User Name in the field available as shared above (If you add a different name you can’t approve the grant).
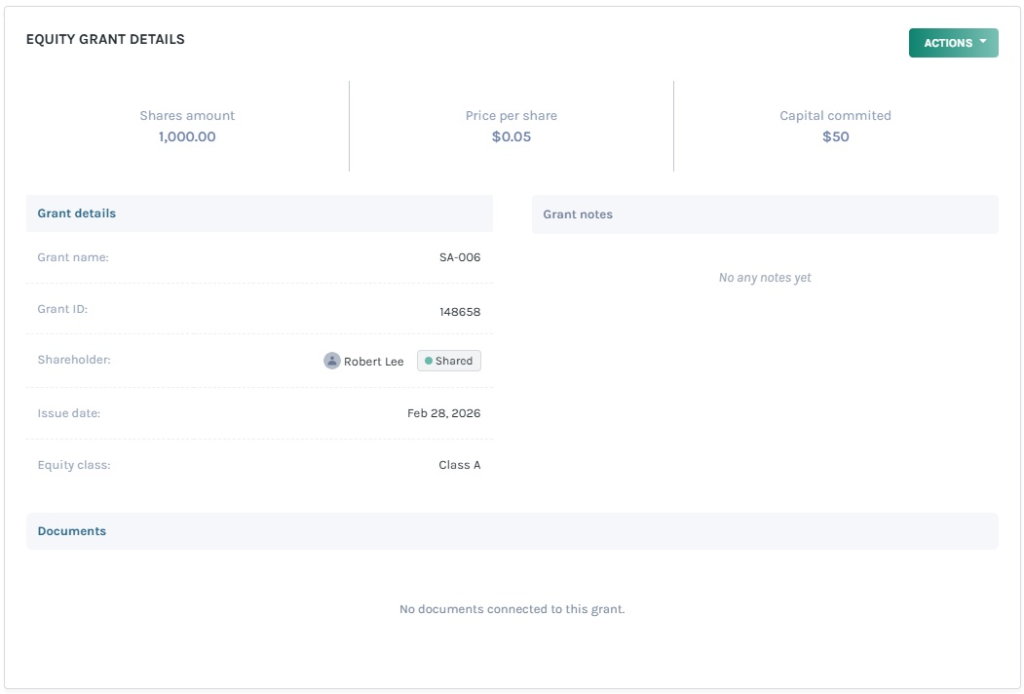
Once done, the shareholder has to select “Approve this grant”. By doing this, the grant will be approved and you can view the grant details as shown below.
Note: To request a share certificate, click on “Actions”. Check out the support article to understand how to request a share certificate.
Just like this, you can easily issue shares securely by adding shareholder approvals for your grants on Eqvista.