Creating New Shareholder
Using Eqvista is very simple with a user-friendly interface. But in case you need some assistance in the process, here is how to create a new shareholder in your company account on Eqvista.
Note: If you have not added the shareholder profile, you can add it while issuing shares, options, and warrants by choosing the option “Add Shareholder”. You can learn about this from the respective support articles.
Add new shareholder profile
Creating a new shareholder on Eqvista is a simple process that can be completed in just a few steps.
Here are the steps to follow:
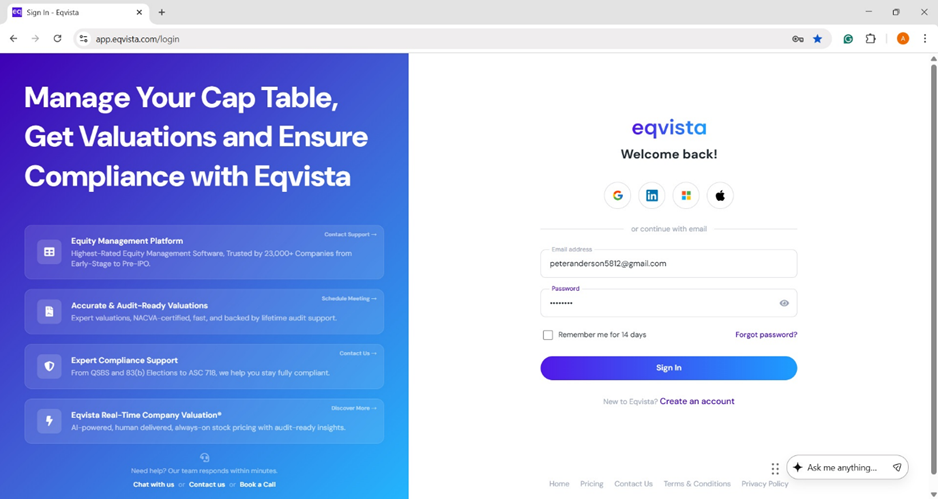
Step 1: Log into your Eqvista account and choose the company account to add the shareholder. You can create multiple company accounts on Eqvista based on the number of companies you own. You would need to select the company that you want to add the shareholder to.
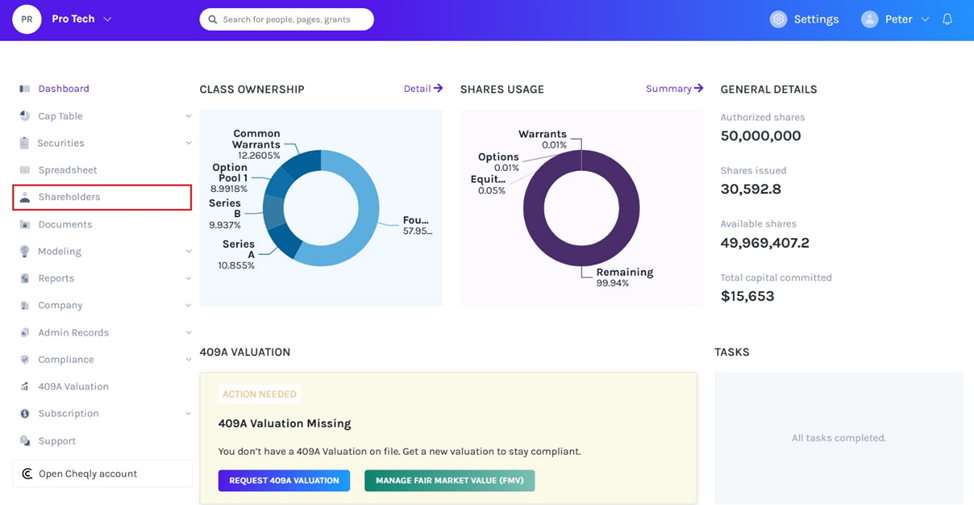
Once you log into your account and select the company account, you will reach your company’s dashboard as shown below.
Here, click on “Shareholders” on the left-hand side panel of the dashboard to see all shareholders in the company.
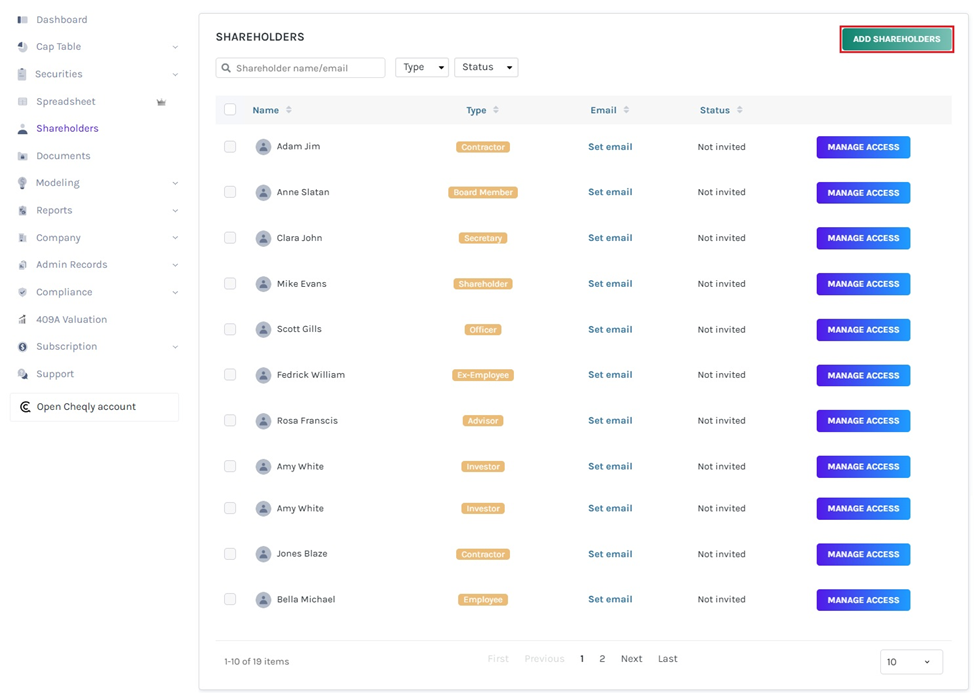
Step 2: By clicking on “Shareholders” from the main left menu, you will be taken to the page where you can see all the shareholders.
On this page, click on the “Add Shareholders” button on the top right side of the dashboard.
Note: If you already have 20 shareholders in your company account and you want to add more, you will need to subscribe to the premium package to do that. Learn more here!
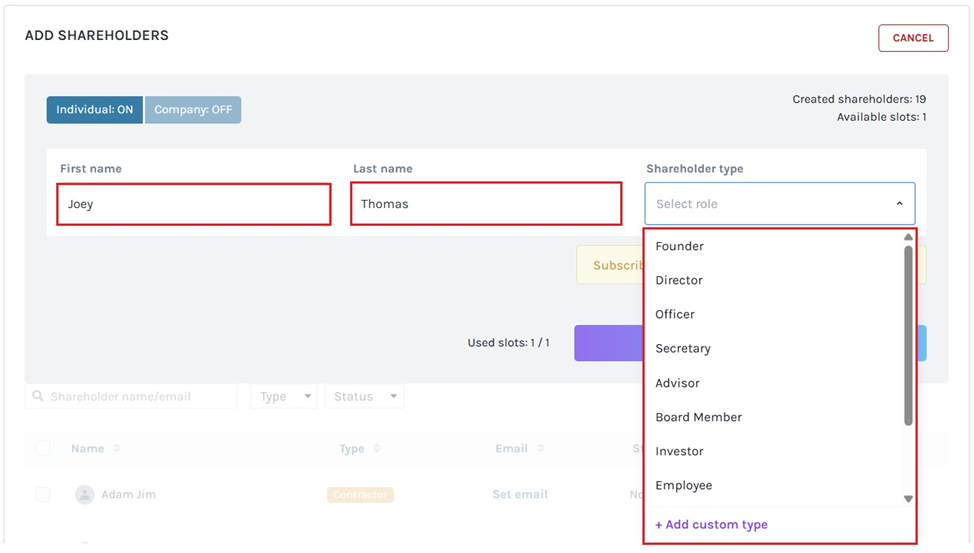
Step 3: Once you click on the “Add Shareholders” button, a pop-up panel will appear where you would have to add the details of the person.
Here there are two kinds of shareholders you can choose to add:
#1 Individual
You will see an option that says, “Individual” when you are adding the shareholder’s details. By default, this option is selected.
You need to add the first name and the last name of the shareholder. Once done, select the type of shareholder that they are from the list – founder, director, board member, investor, employee, secretary, and advisor or create a new shareholder type.
#2 Company
The second kind of shareholder you can add is a company. There are situations where your shareholder or investor is a company. In this case, you can choose this option.
Here, you will have to add the name of the company and the role of the shareholder. In this case, we selected – investor.
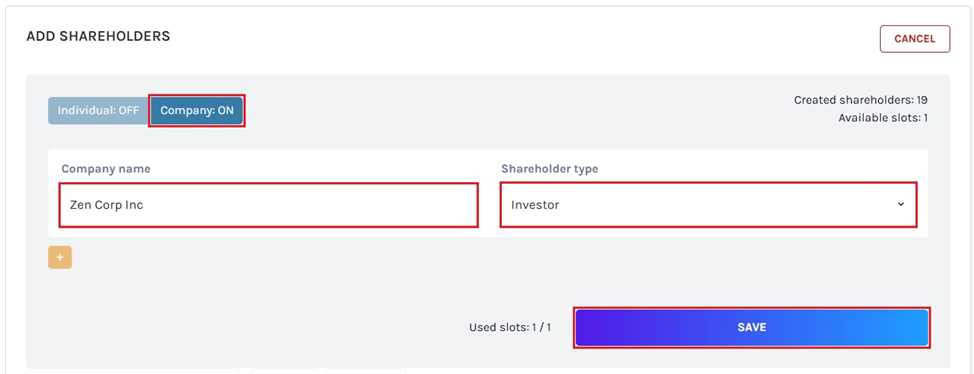
Once done, click on “Save”.
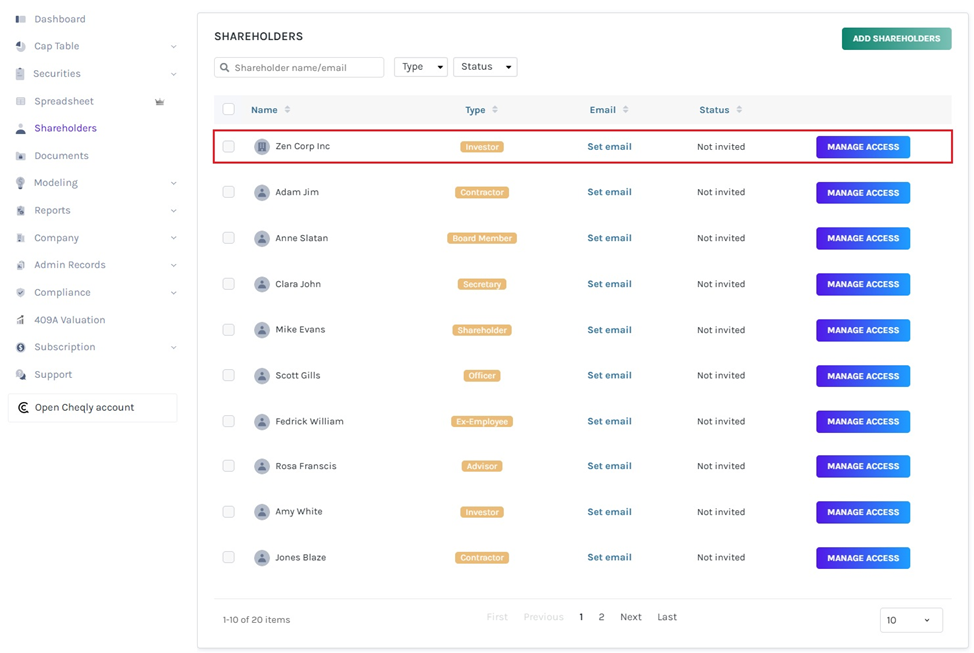
Step 4: With this, the shareholder profile is added as shown below:
If you are using the freemium version and want to add more than 20 shareholders, you need to subscribe to the premium plan.
In the example below, the number of shareholders has reached the limit and we tried to add more.
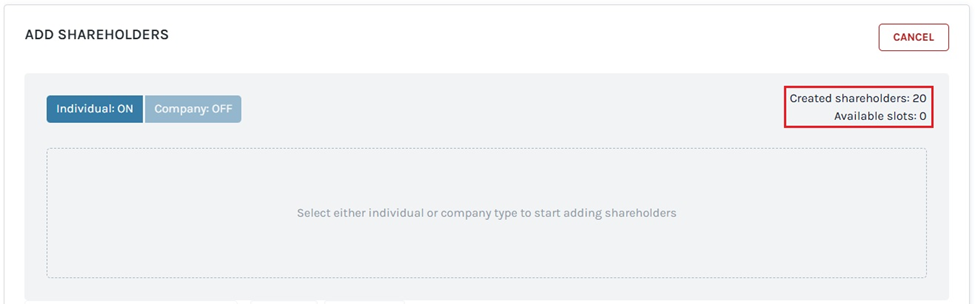
As you can see, you cannot save the information at all, which means that you cannot add another shareholder. In addition to this, you can also see the number of shareholders at the top right corner. To add more than 20 shareholders, you need to upgrade to premium plan. Learn more here!
With the shareholder’s profile created, you can now begin to issue shares, options, warrants, or even convertible securities to them. To know more about how to issue shares and securities to a shareholder, check out the respective support articles!
Step 5: Let us say that you want to edit the details of the shareholders and invite them to view the cap table. To do so, click on the shareholder’s name from the page where you see all the shareholders.

In this case, click on “Zen Corp Inc”.
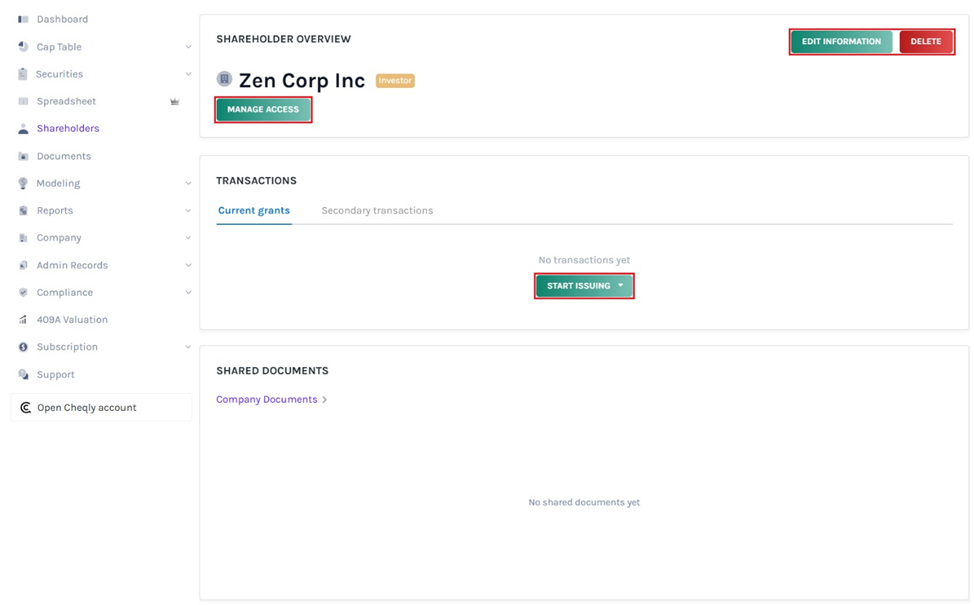
Once you click the shareholder’s name, you will be redirected to the shareholder overview page where you can see the details of this shareholder, shares, and securities that this shareholder holds in this company. It would also show all the documents that have been shared with this shareholder if any.
If the shareholder has no grants and you want to issue shares, you can issue right from here by clicking on “Start Issuing”. A mini drop-down menu will appear, and select the type of security. You can manage access to the cap table right from here by clicking “Manage Access”.
In addition to this, you can also delete this shareholder’s profile by clicking “Delete”. To edit the details of this person, you can click on “Edit information”. To know more on how to update the details of a shareholder or give them access to the cap table, check out the support article here!
That’s how you can add a shareholder to the company. If you have any doubts or want to know more, check out the other support articles here or contact us!
