How to upload Avatar/Logo in Eqvista?
Give your Eqvista account a professional touch by uploading your Avatar or Company logo to the app. The process is simple and will take you just a minute if you already have your Avatar/ Logo ready.
Upload avatar/company logo
Updating your profile on Eqvista with an avatar or company logo can be accomplished in just a few clicks.
Here’s the guide to uploading Avatar/Logo to Eqvista.
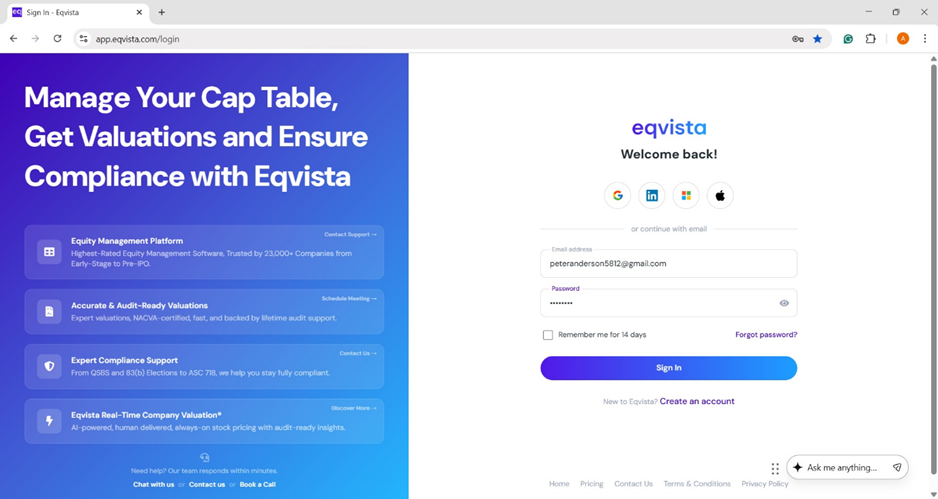
Step 1: Log in to your account on Eqvista to upload an avatar or logo for your company.
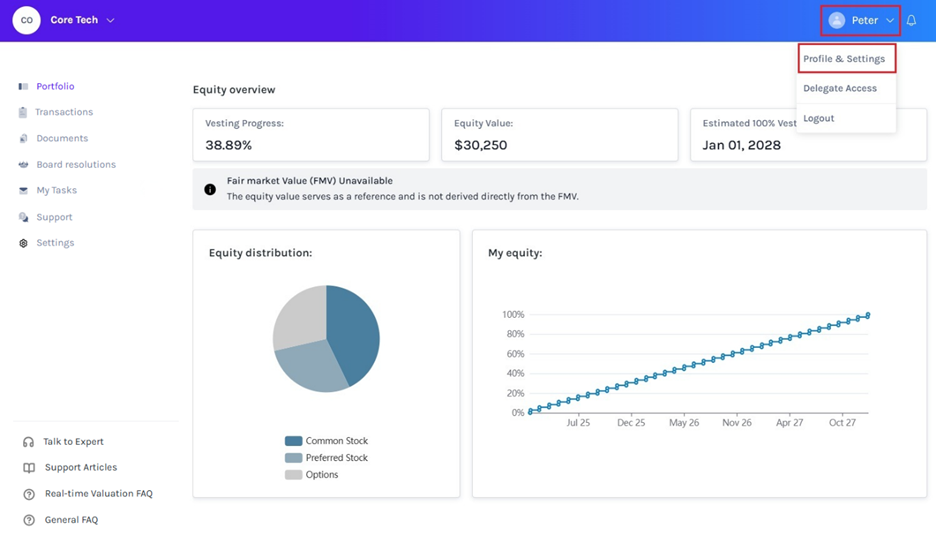
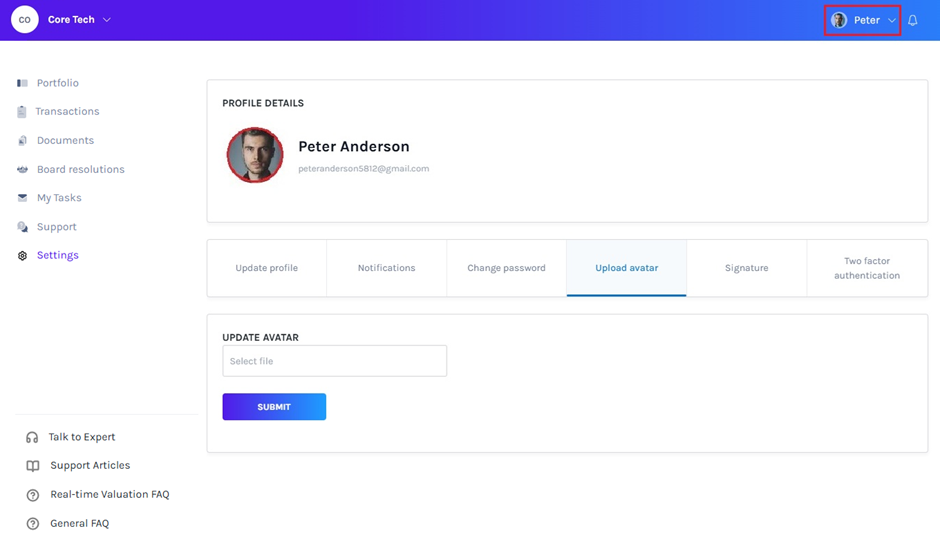
In the right-side top corner of the dashboard, you will see your name right next to a blank Avatar/Logo image. Click on the dropdown beside your name and select ‘Profile & Settings’ from the menu.
Note: The shareholder access allows investors to view their grants, participate in board objectives, request and sign electronic certificates and sign grant acceptances. Check out our support article to learn more about the elements in the dashboard.
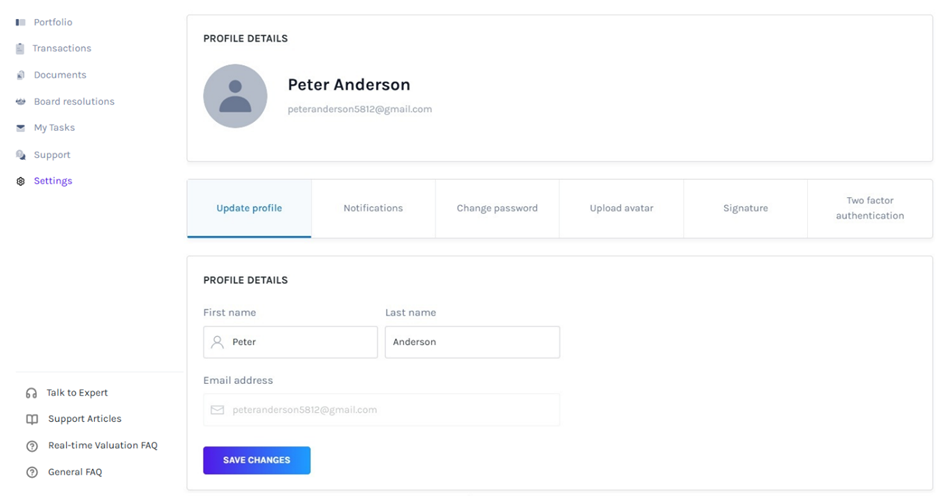
Step 2: Once you do this, you will be redirected to the page where you can change your profile details and settings.
Step 3: To upload your avatar/company logo, select the tab – ‘Upload avatar’. This will open the window as shown below.
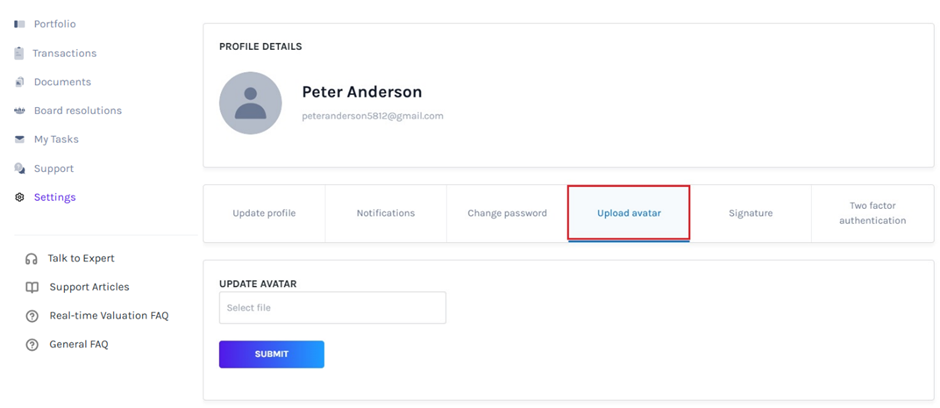
Step 4: Click on the ‘Select file’ and find the Avatar/Logo file from your system. The file should be an image (.jpg, .jpeg, .png, .pdf, and .doc). Once located, select, and open the file.
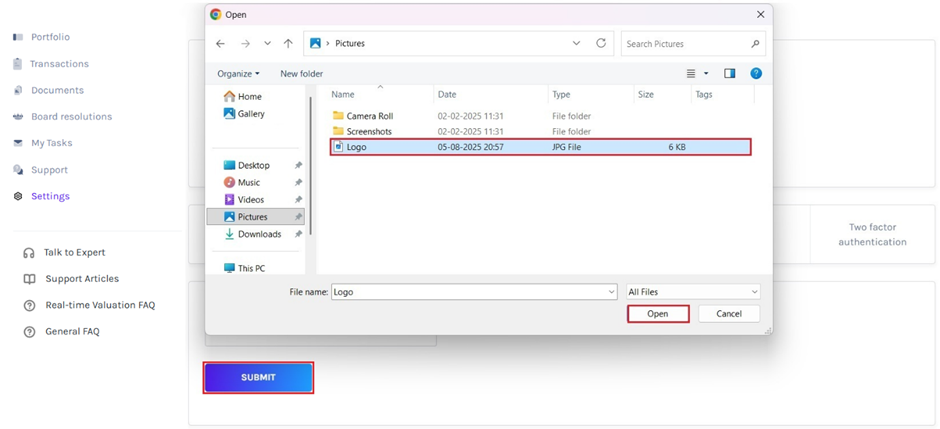
Now click on the “Submit” button and you are done.
Once you have submitted the Avatar/Logo, you will be directed to the page shown above where you can see your Avatar/Logo just beside your name in the top right corner.
To change your Avatar/Logo, follow the same steps and upload a new avatar/logo file from your system. After you click on “Submit” in step 4, the old file will be automatically replaced by the new one.
Along with the one mentioned above, the users can Update profile, Notifications, Change password, Signature and and Two factor authentication.
For more information on Eqvista’s other features, check out our support articles or contact us today!
