How to save your signature in the Eqvista app?
Saving your signature on the Eqvista app will ensure that you can quickly e-sign documents as required. This article will take you through the process.
Save your signature
Eqvista allows you to save your signature within the application, which facilitates electronic signing of documents, saving time and effort.
Here are the steps to follow:
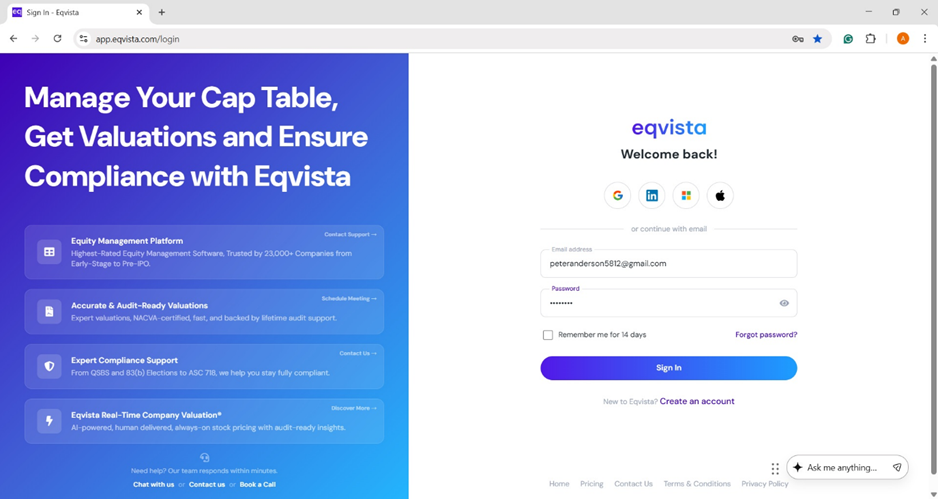
Step 1: Log in to your account on Eqvista to create a signature.
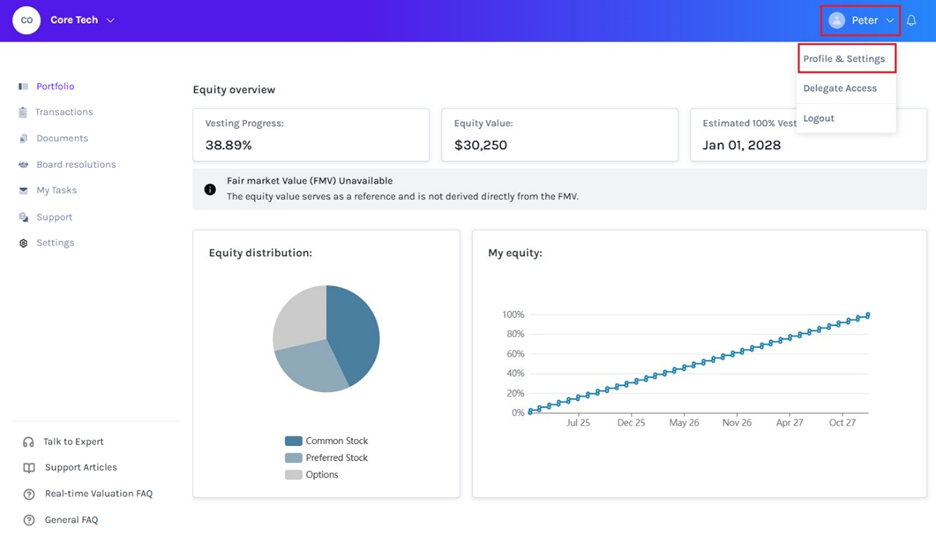
On the dashboard, click on the dropdown sign beside your name on the right-side top corner of the window. From the dropdown, select ‘Profile & Settings’ as shown above to reach the next step.
Note: The shareholder access allows investors to view their grants, participate in board objectives, request and sign electronic certificates, and sign grant acceptances. Check out our support article to learn more about the elements in the dashboard.
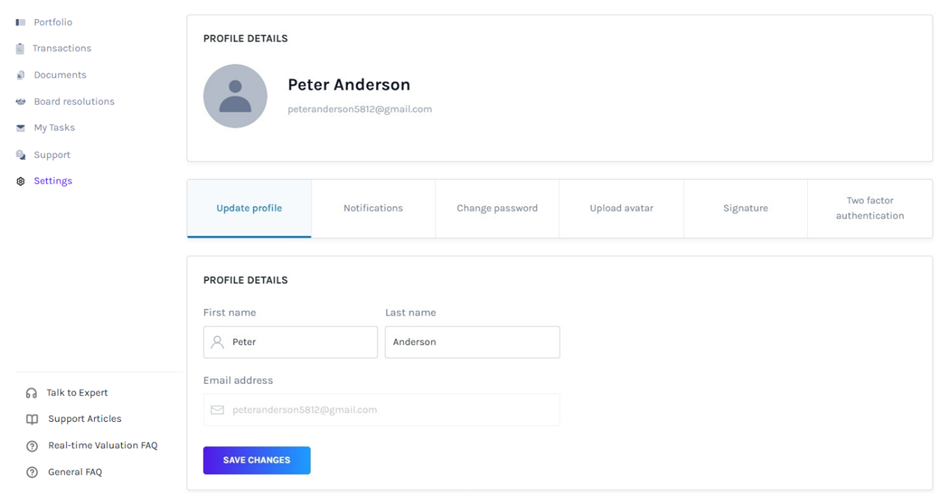
Step 2: Once you do this, you will be redirected to the page where you can change your profile details and settings.
Step 3: To save your signature, click on the last tab ‘Signature’ as shown above and you will be directed to the next page.
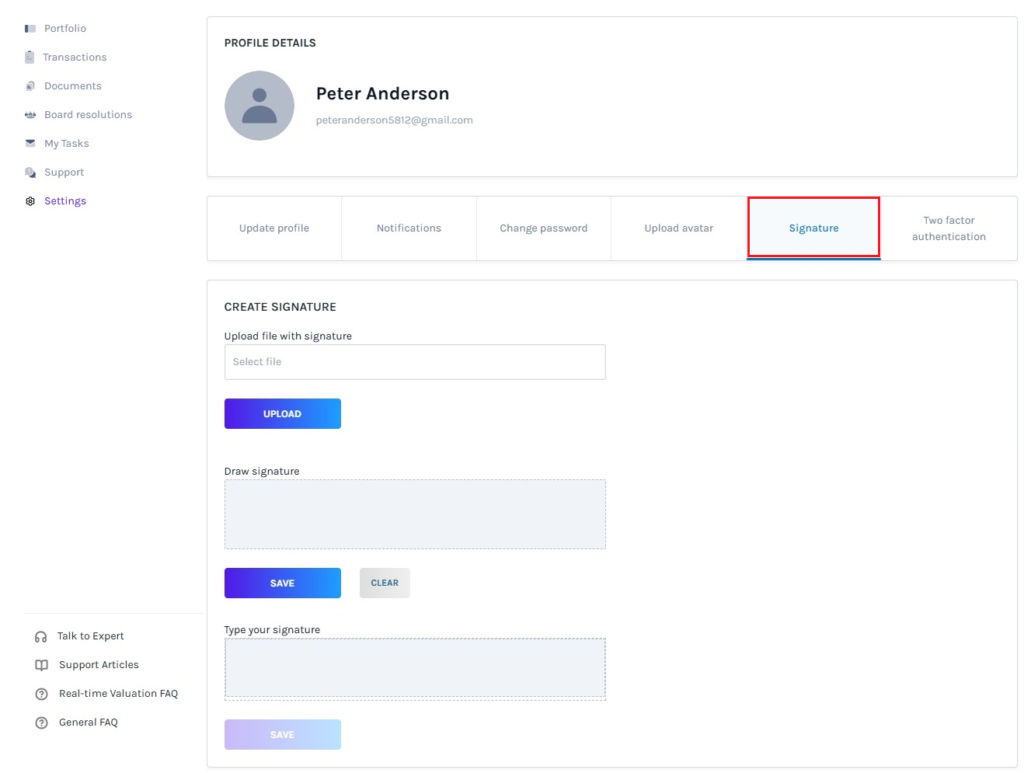
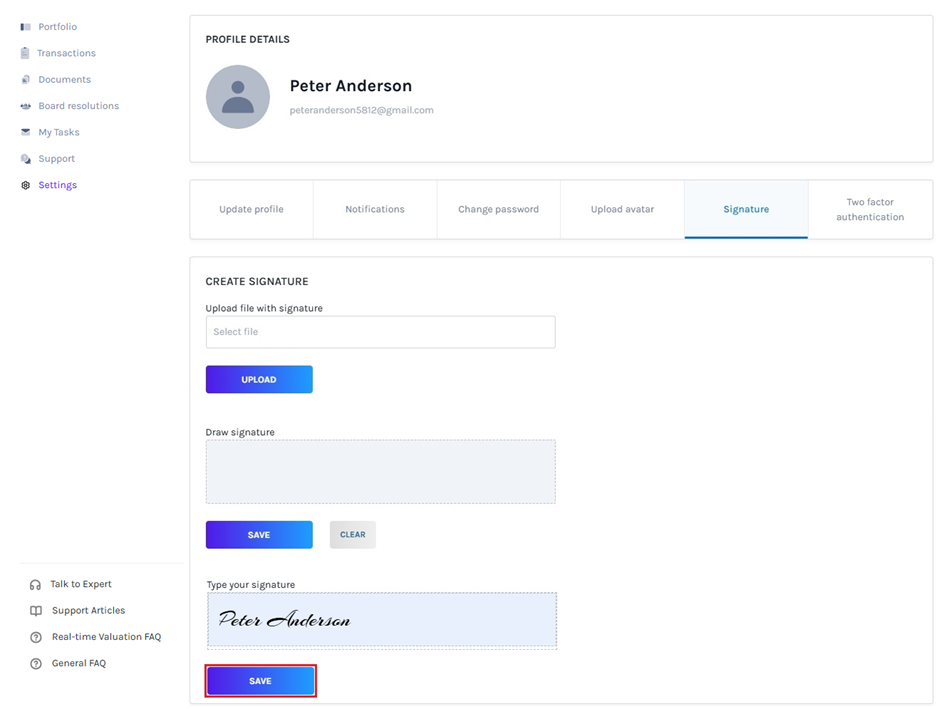
Step 4: Here you can create and save your signature in 3 different ways as shown under the “Create Signature” heading The different ways available are:
Upload a file with your Signature
This is the first option and if you already have an image file (.jpg, png, pdf, doc.) with your signature, you can use this option to upload and save it.
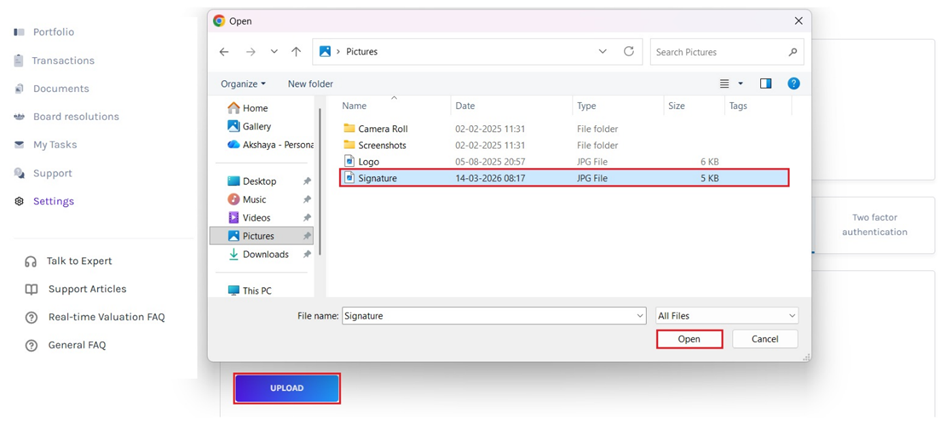
Click on the ‘Select File’ field on the app and find the location of the signature file in your system. Once you have located the file, select it, and click on the “Upload” button. Once the upload is complete, you will be directed to the next page as shown below.
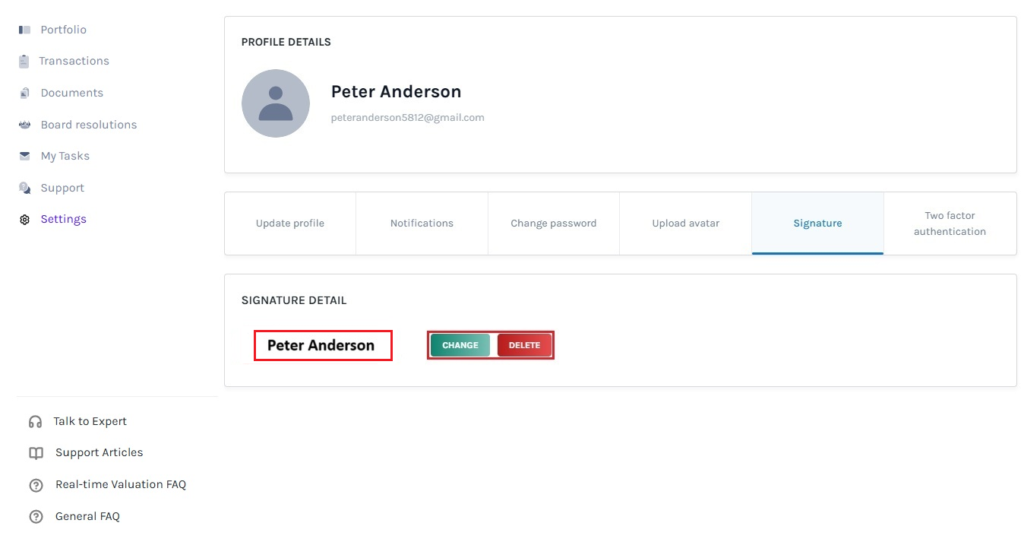
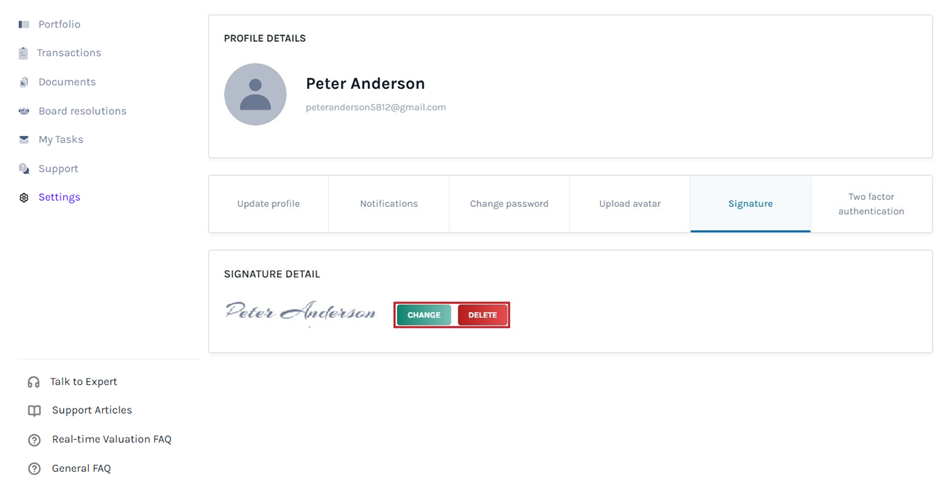
Here the signature in the file will be displayed. You can ‘Change’ or ‘Delete’ it by clicking the buttons next to the signature. On clicking ‘Change’ you will be redirected to the previous page, where you can select a new signature file or opt for saving your signature in any of the other two ways available.
If you click ‘Delete’, you will be prompted with a message to confirm your choice. On confirmation, the file will be deleted, and you will be redirected to the previous page.
Draw your Signature
This is the second option. It will let you draw your signature and save it on the app.
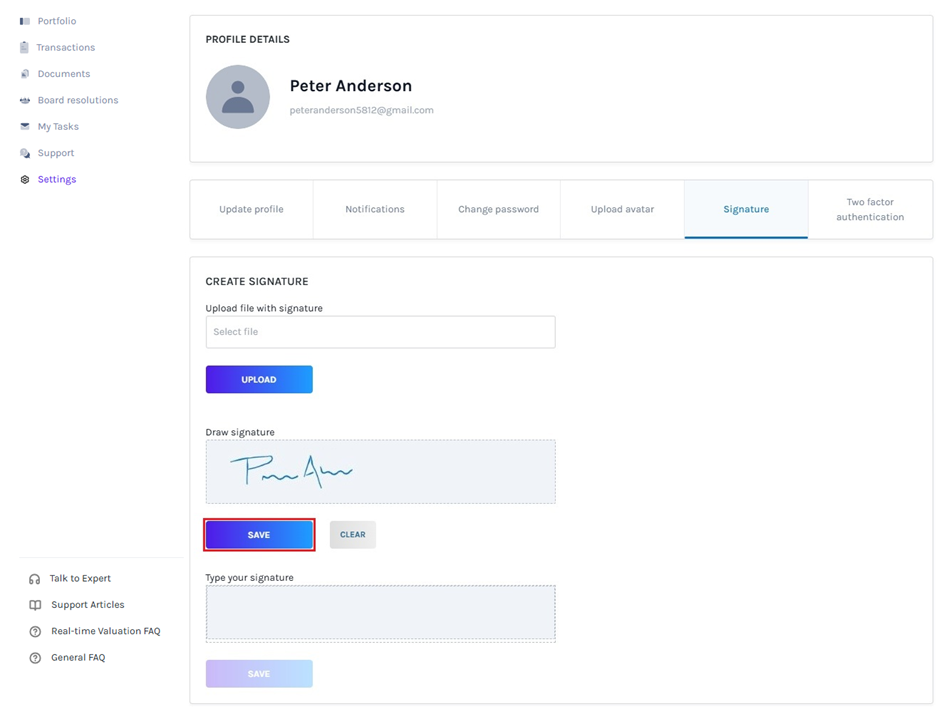
Hover the cursor over the ‘Draw Signature’ box, and it will change into a ‘+’ sign. Draw your signature with the cursor and use the ‘Clear’ button as required to clean the slate and draw again. Once you have completed drawing your signature, click on the ‘Save’ button.
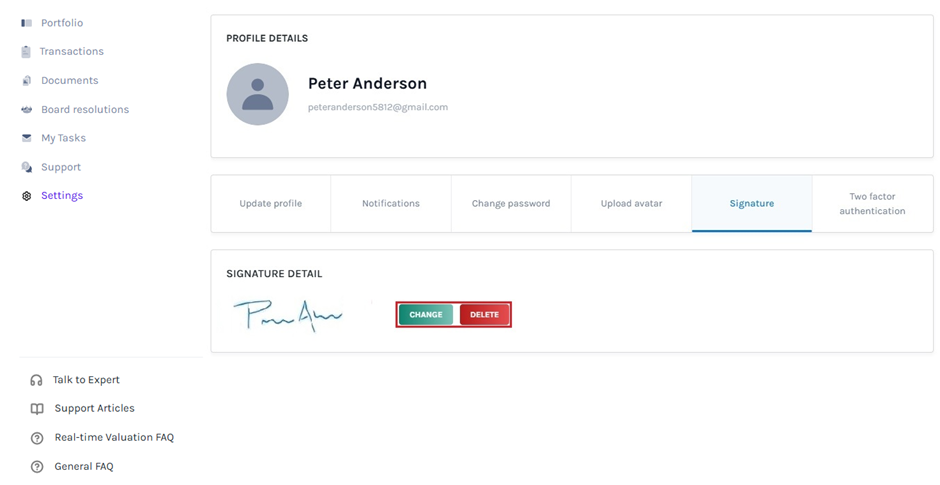
Once you save the signature you will be directed to the next page shown below, where you can ‘Change’ or ‘Delete’ the signature you have drawn.
Type your Signature
This is the third option to save your signature on the Eqvista app.
Hover your cursor over the ‘Type your signature’ box and type it directly from your keyboard. Click on ‘Save once done.
You will be directed to the next page shown below where you can ‘Change’ or ‘Delete’ it.
Note: If the executor and shareholder have saved their signatures in Eqvista they don’t need to draw or type – the saved signature will be placed in every certificate assigned to them, and they only need to “tick” the box to confirm signing.
So, if you haven’t saved your signature on the app yet, follow this support article to save your signature for quick future use. With Eqvista, you can always do more in less time!
Further to what was discussed above, the users can — Update Profile, Notifications, Change Password, Upload avatar, and Two factor authentication.
If you want to further understand Eqvista, check out our support articles or contact us today!
