Multi-currency support
Did you know that Eqvista now supports the use of multi-currency in its system? This means that you can choose the currency type of your company for most countries around the world.
Below are the steps for how to onboard your company with your chosen currency or change the currency in your company.
Case 1: When creating a new company
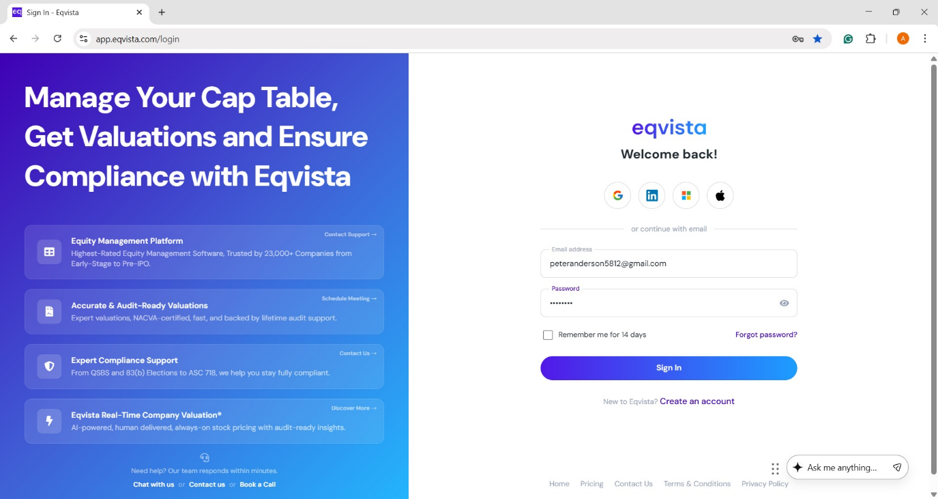
Step 1: Let us assume that you are about to create a new company on Eqvista. Log into your Eqvista account and or create an account if you have not yet signed up.
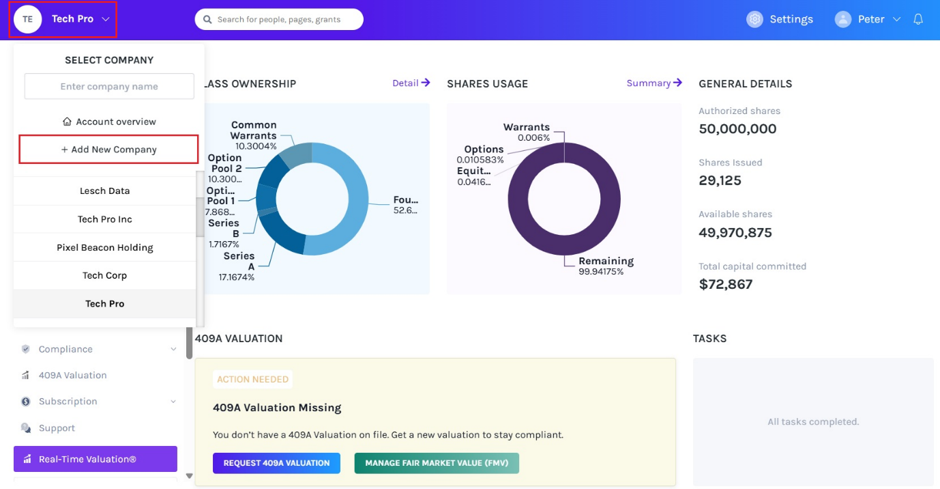
Once you have logged into your account, you will be directed to the dashboard and select a company account you have already created. On the dashboard, click on “Company Name” on the left-hand side to get a drop-down menu and select “Add New Company”
Step 2: Next, you will be redirected to a page to onboard your company. You will see the option to add the currency of your company as below.
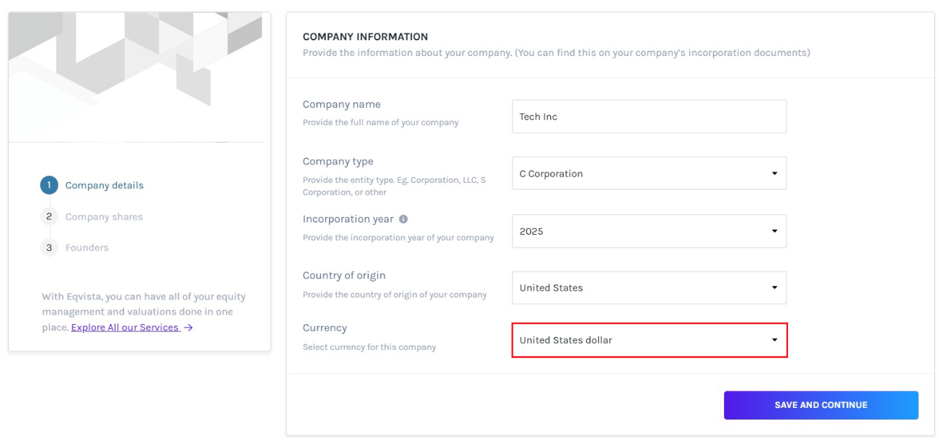
You can then move ahead with the normal process of creating your company after the currency type has been set. Don’t forget to select the country as well.
Note: To learn how to create a company in Eqvista (the next steps after the Company details, check out the support article here!
Case 2: When a company has already been created
Step 1: Log into your account and select your company account. From the main dashboard, click on “Company” and then “Profile” from the drop-down menu.
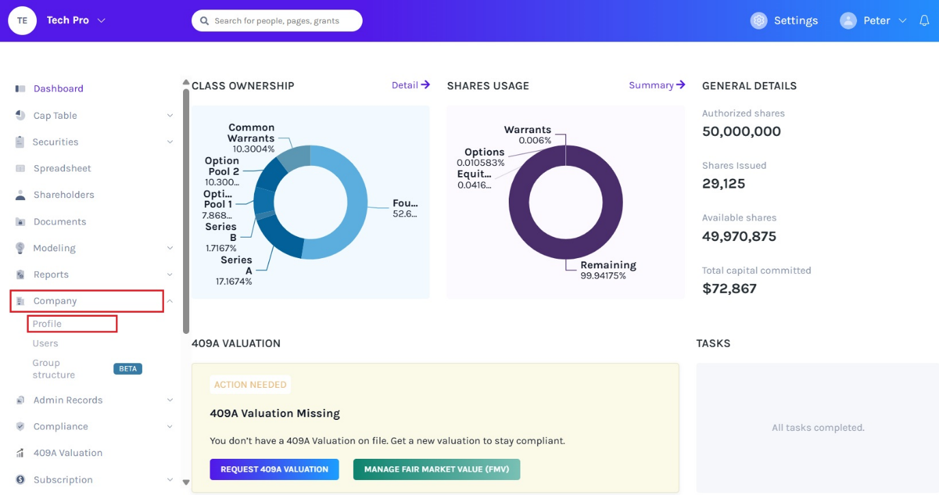
You will reach the following page. This page will show you all the details of the company and will allow you to edit the information of the company as per your requirements.
Note: On this page, you will see three sections – Company Profile Overview, Authorized Shares Overview, and Financial Statements. To further understand the various sections in detail, check out the support article here!
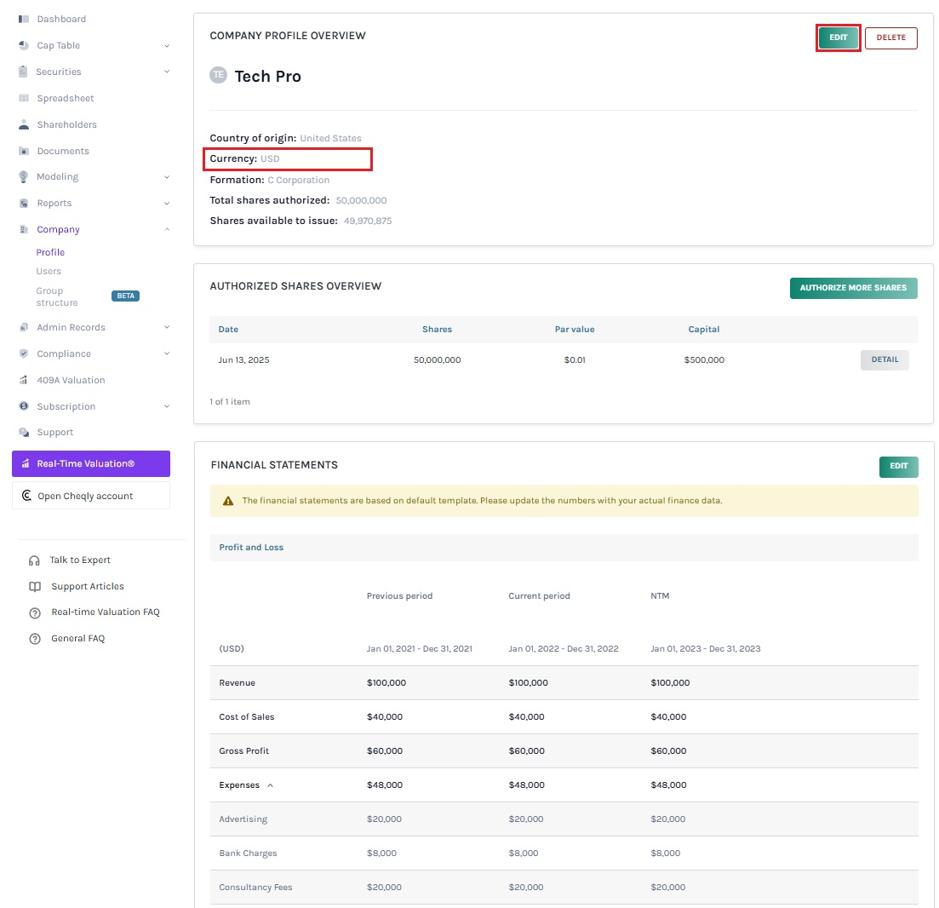
You will also notice that the currency type in the company’s information is highlighted above. To change the currency type or add a new one, click on the “Edit” button on the right-hand side of the page.
Step 2: By doing this, a pop-up window will appear as shown below.
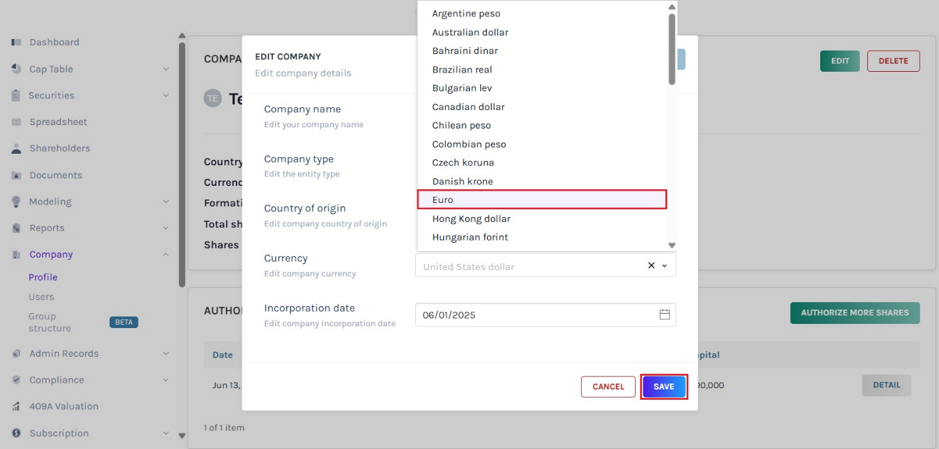
Here, you can change the details of the company including the currency. In this case, you will see no currency selected here. So, click on the field and choose the currency as desired. Once done, click on “Save”.
Step 3: You will then be redirected back to where you can see the details of the currency of the company.
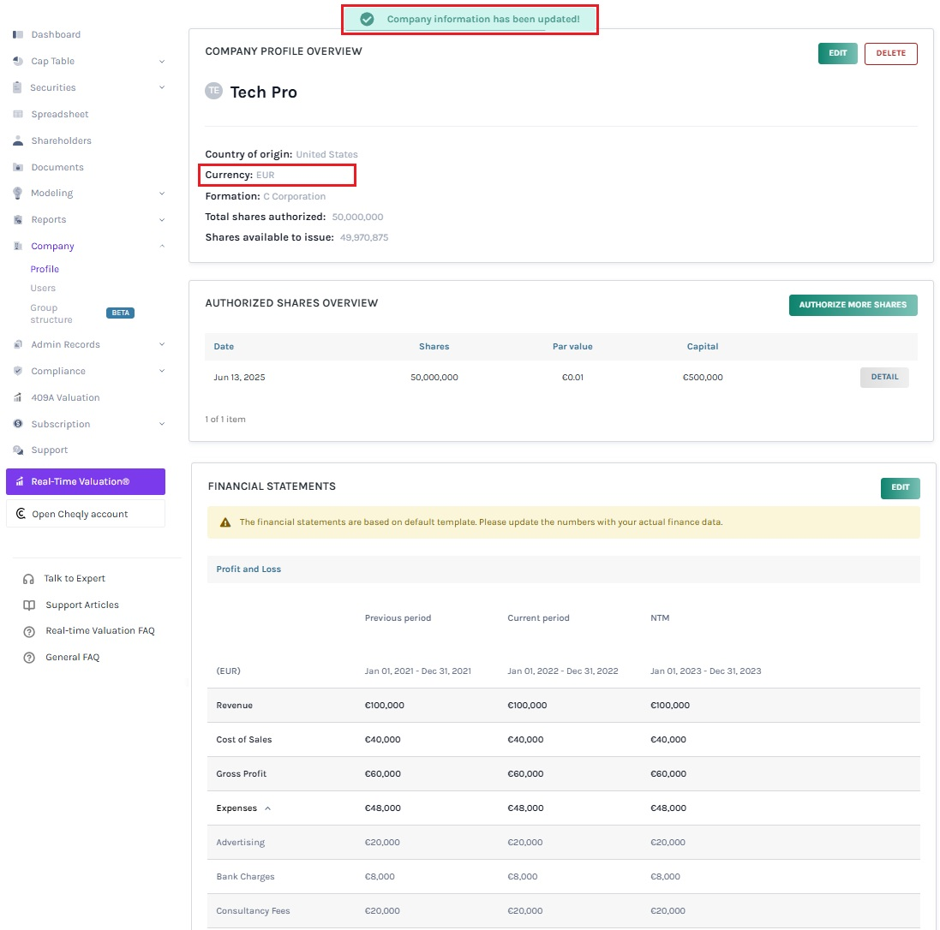
Just like this, you can change or add the currency to your company profile. Check out the other support articles here to learn more about how to use Eqvista today!
