Company Profile Overview
Viewing your company’s profile is easy on Eqvista.
View company profile
On Eqvista, you can view your company profile and update your settings. Here is how you can view your company profile overview on Eqvista.
Here is how you can view your company profile overview on Eqvista.
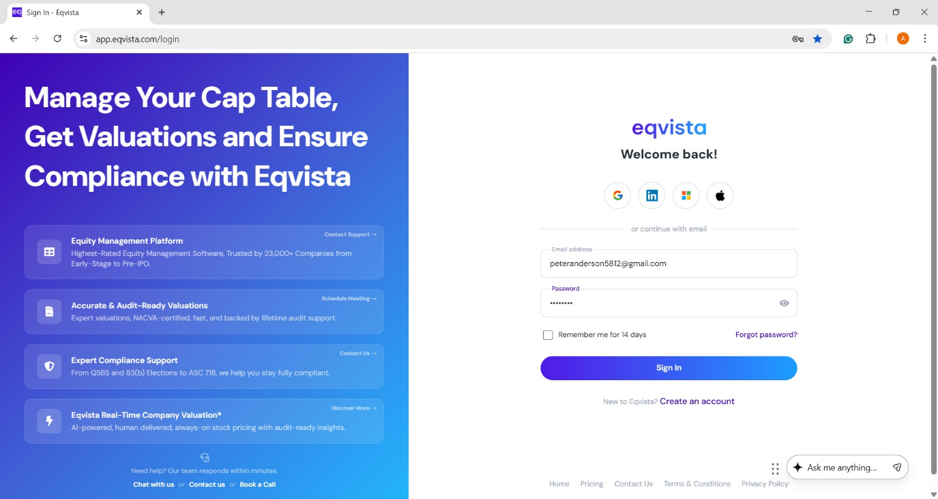
Step 1: Log into your Eqvista account and choose the company account that you want to view.
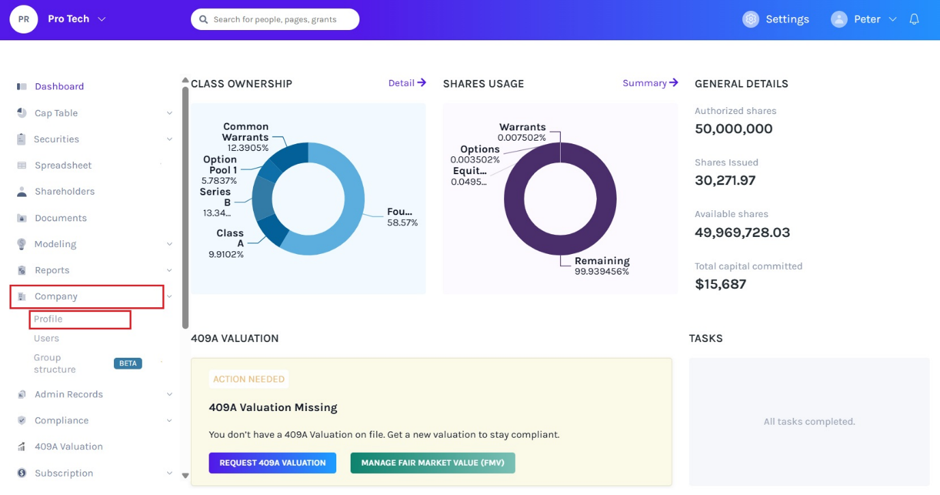
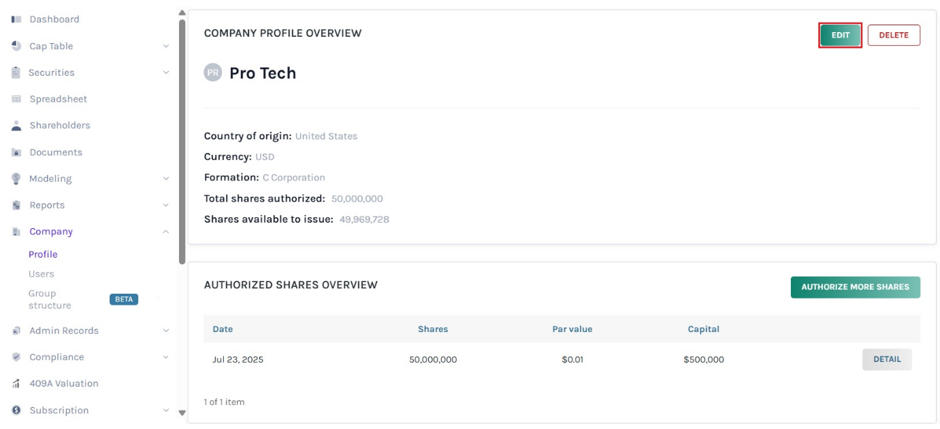
You will be directed to the dashboard as shown below. Here, you will see the option “Company” on the left side panel of the dashboard. Select this and a drop-down menu will appear. From the menu, select the option “Profile”.
Step 2: You will be taken to the company profile page where you can see all the details of the company. In short, this is the company profile overview page.
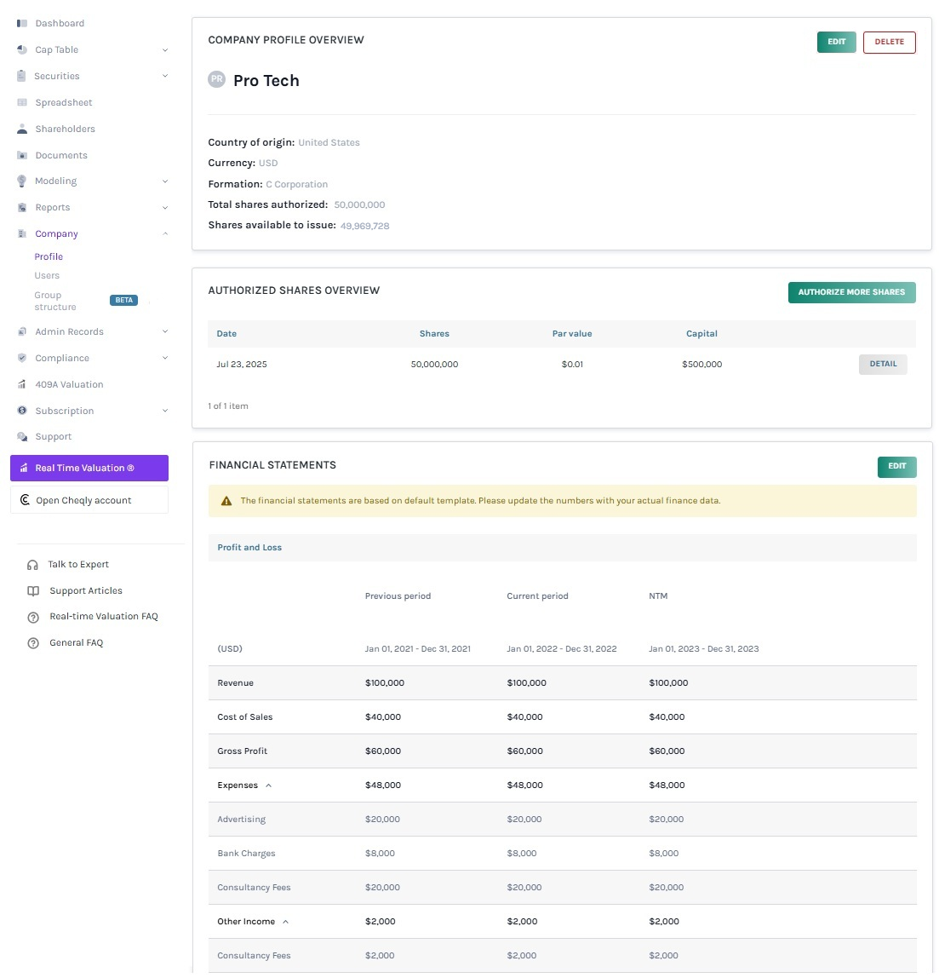
Let’s look into each section of the page.
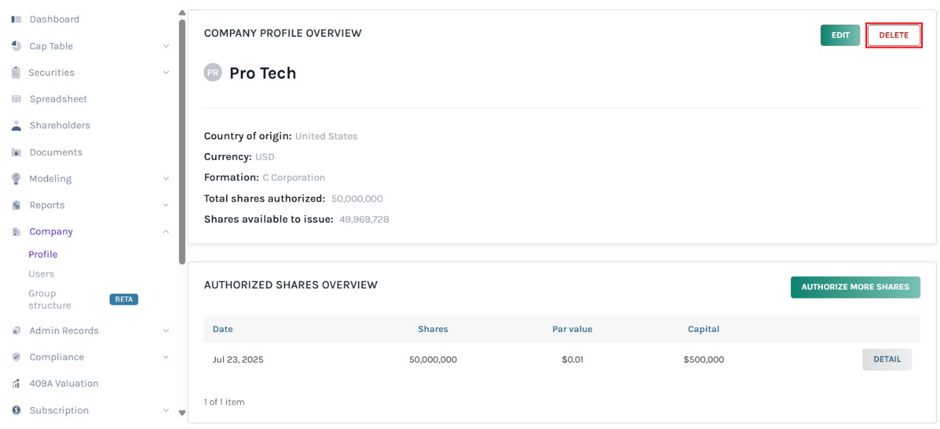
Panel 1
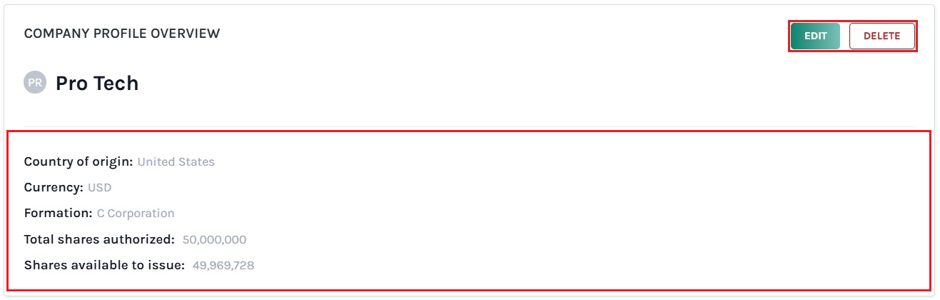
Here, you will be able to see the details like the Company’s name, country of origin, the currency that the company follows, formation (type of company), total shares authorized, and shares available to issue.
On the top right side of the page, you will see two buttons. One says “Edit” and the other says “Delete”. The Edit button allows you to edit the details of the company.
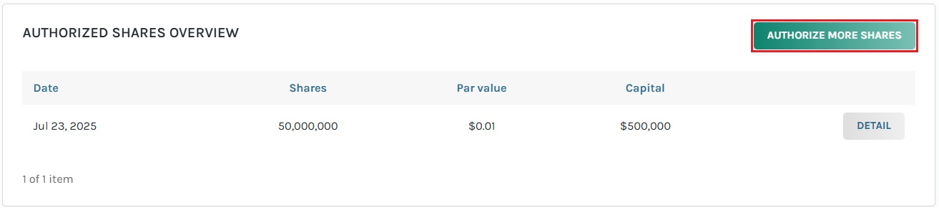
Panel 2
There is an option “Authorize More Shares” to add more shares in the company. When a company grows or goes public, the company gets more shares authorized to raise more rounds of funding in the company. That is when you can come back here and increase the authorized shares in the company.
Note: If you want to add more authorized shares to your company, click on “Authorize More Shares” and to edit the authorized shares, click on “Detail”. Check out the support article to learn how to add those shares.
Panel 3
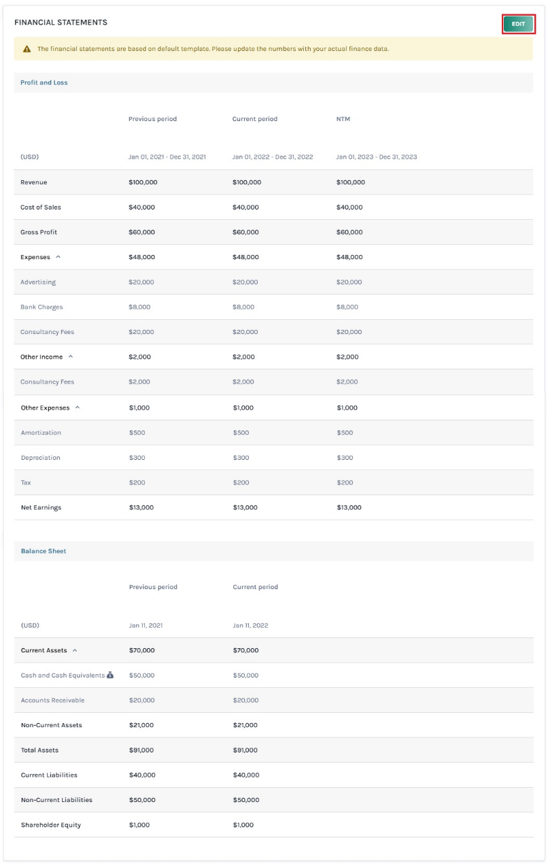
At the bottom of the page, you will be able to see the financial statements of the company. The statement includes a Profit & Loss and a Balance Sheet.
Note: The financial statements are based on the default template. Kindly update the numbers with your actual finance data. If you want to edit the financial statements, click “Edit”. Check out the support article to learn how to fill the financial statements.
Step 3: Let us say that you want to edit something in your company. In this case, you can click on the “Edit” button and a pop-up dialogue box will appear.
There are two sections in this dialogue box, which you will be able to see at the top of the box – basic/advanced.

Under the “Basic” details, you can edit anything about your company from the company’s name, company type (that is the business entity type), country of origin, currency, and incorporation date. By default, this option is selected.
Step 4: Once you are done with this, you will have to click on the panel above to change the advanced settings. By clicking on the tab above, a new panel will appear in the dialogue box below the basic information panel.
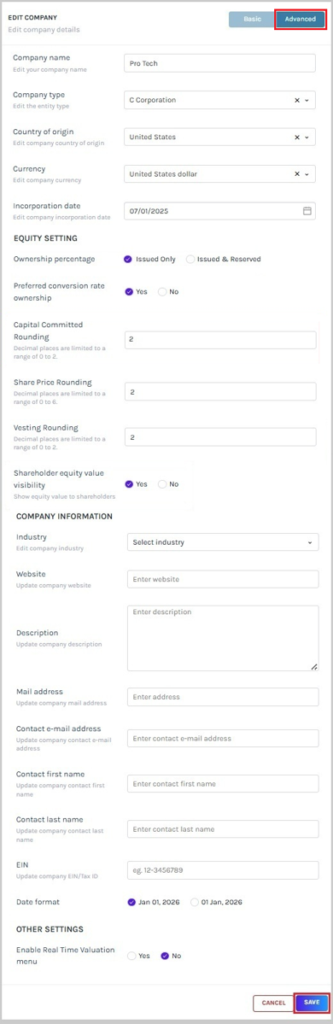
Under the advance section, you will be able to edit the equity settings, (ownership percentage, preferred conversion rate, capital committed rounding, share price rounding, vesting rounding and shareholder equity value visibility), company information (industry, website, description, mail address, contact e-email address, contact first name, contact last name, EIN of the company, and select the date format), and enable real time valuation menu.
Once you have completed all the editing, click on “Save”. You can also click on “Cancel” to discard all the changes you just made in the dialogue box.
Step 5: As soon as you make any changes that you want to make to the company, you will be directed back to the main company profile overview page.
Here, you can further delete the company if you want. On the right side of the “Edit” button, you will be able to see the button that says “Delete”.
Step 6: By clicking on this, you will get a dialogue box as shown below.
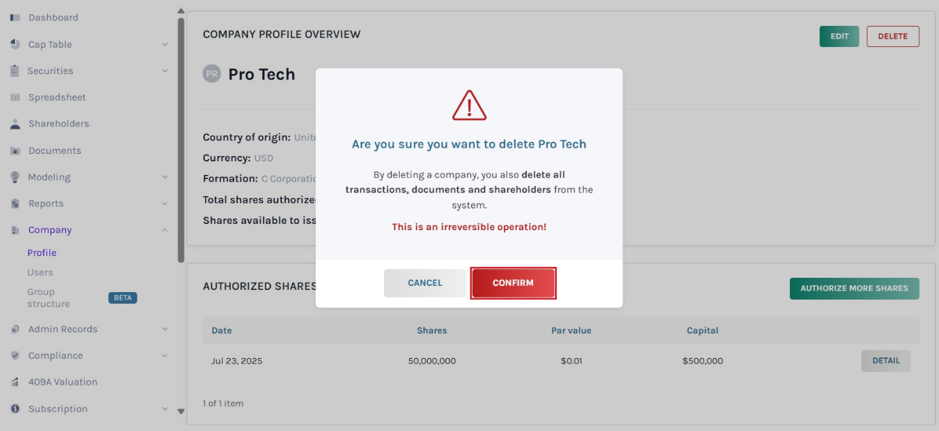
As seen in the dialogue box, you would be asked if you are sure that you want to delete the company. It’s important to note here that all the company transactions would be deleted along with the company profile.
So, if you want to delete the company, select the option “Delete”. If you want to keep the company, select the option “Cancel”.
You can check every company profile overview, edit them, and even delete the company through these steps. If you want to know more or understand any other process, check out the other support articles here or contact us today!
