Sharing Folder With Shareholder
After creating your company on Eqvista, it is quite simple to issue shares, securities, share documents, and even folders with shareholders.
Share folder
Here are the steps to follow:
Step 1: Log into Eqvista and select your company.
On the dashboard, click on “Documents” on the left side.

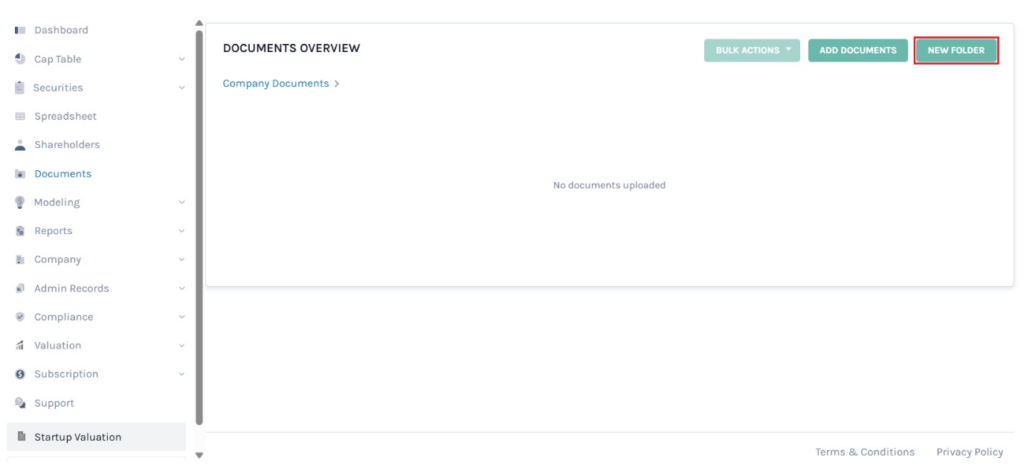
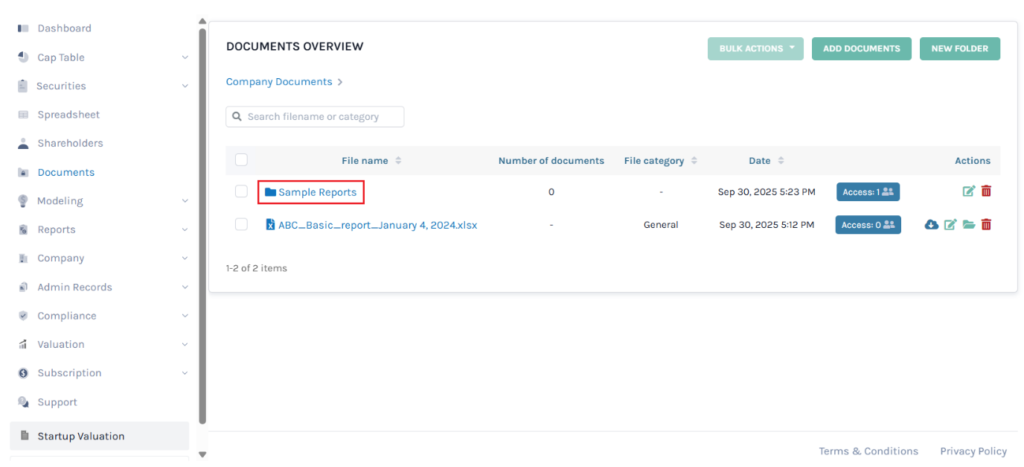
Step 2: Once you click, you will be directed to the page that shows all the documents that the company has. On the top right of the page, click “New Folder” to add a new folder.
Note: The documents can be added by clicking on “Add Documents”. Check out the respective support article to learn how to add documents.
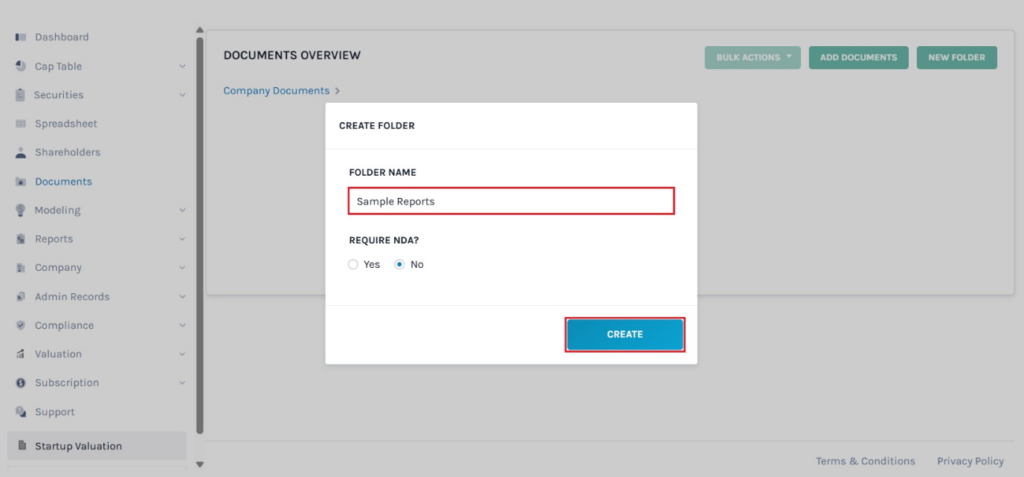
Step 3: As soon as you click, a new panel will appear as shown below. Here, fill in the folder name and select the option “Yes” or “No” for require NDA. By default, the option “No” is selected, and click on “Create” to add a new folder.
Step 4: When you click on create, the folder will be added to the other files.
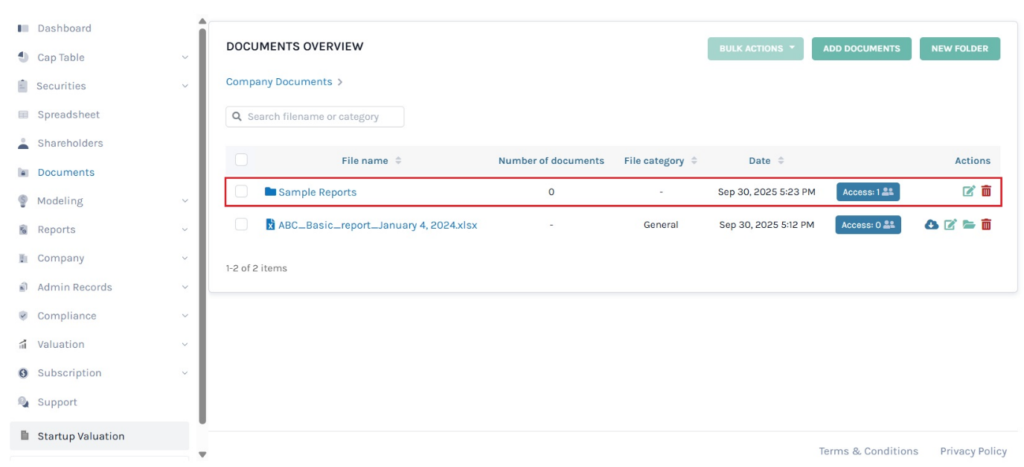
Step 5: When you create the folder, it will be added to the other files. You can perform the following functions:
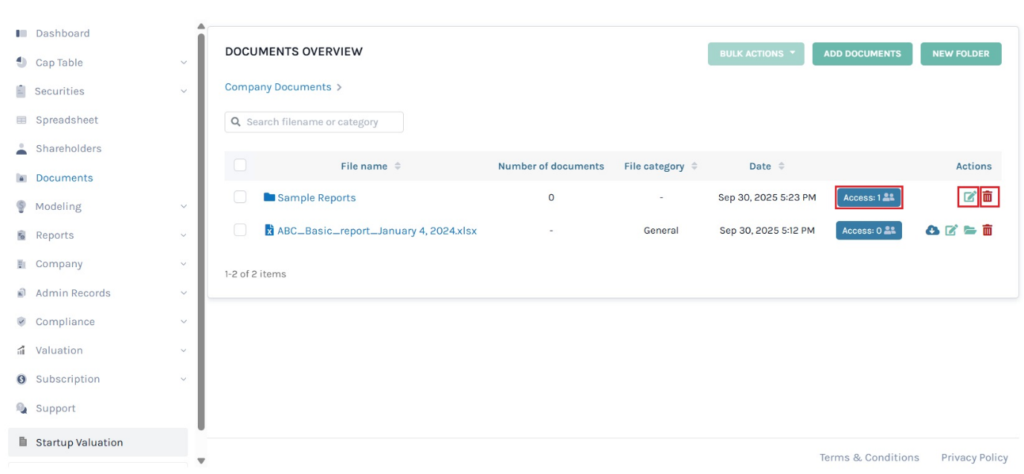
#1 Edit
You can change the folder name by clicking on:

When you click on edit, a pop-up panel appears to edit the folder name.
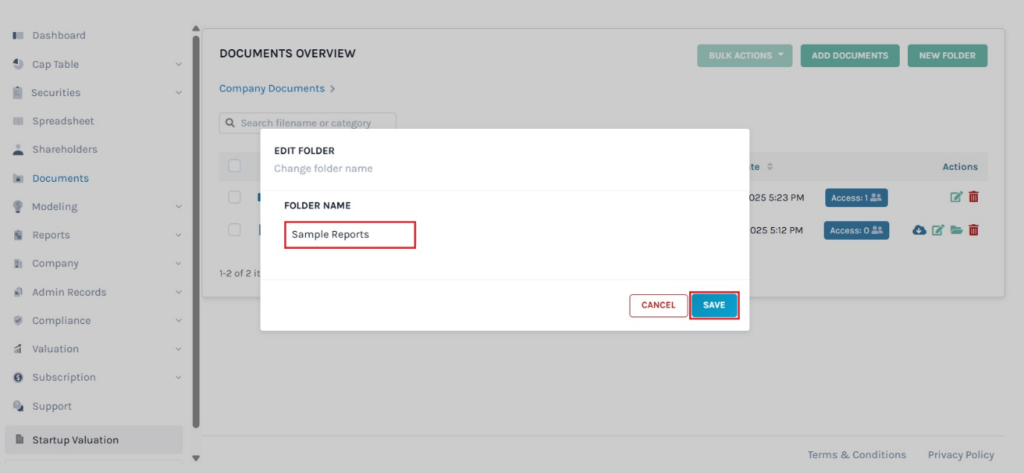
Once done, click on “Save”.
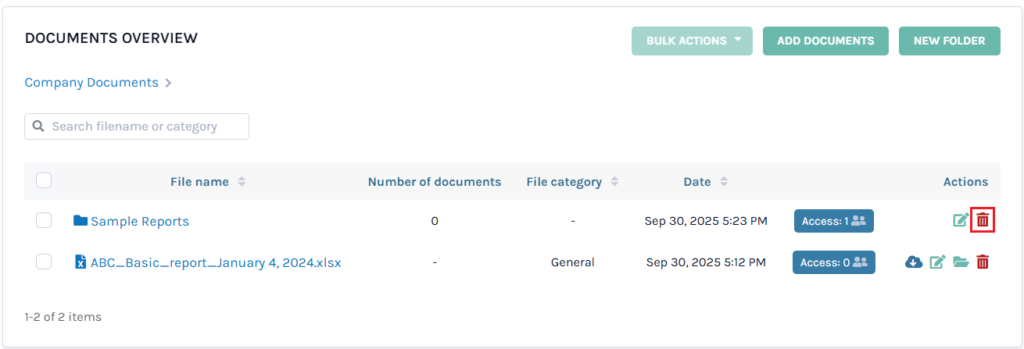
#2 Delete folder
If you want to delete the created folder, then click on:
Note: You can delete a folder when there are no documents added to it.
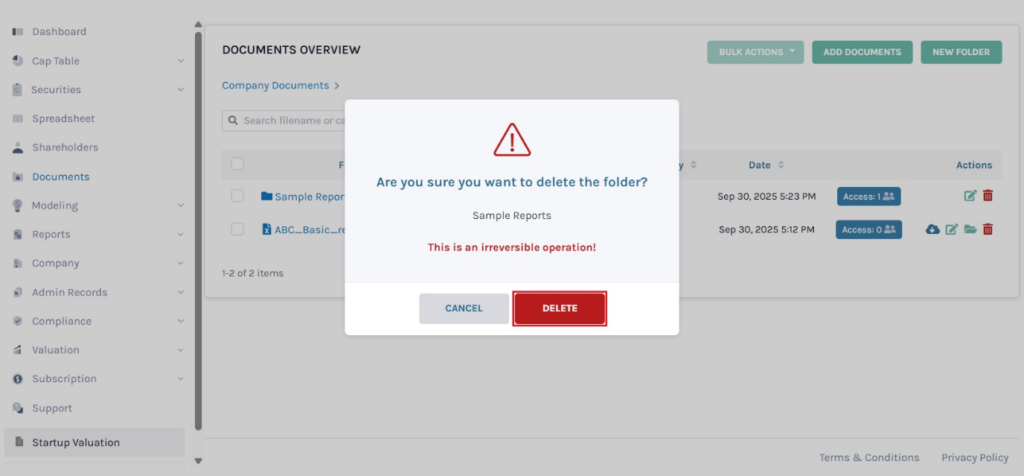
Then, a confirmation message appears, and click on “Delete”. Suppose you want to cancel the process, click on “Cancel”.
#3 Add document to folder
The files can be added to the folder by clicking on it.
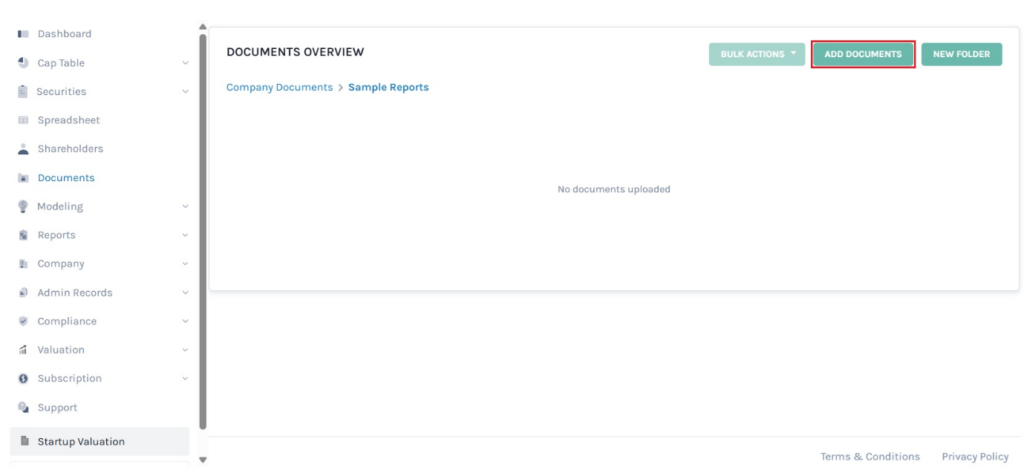
When you click on the folder name, it redirects to the following page. Click on “Add Document” to add a document to the folder.
As soon as you click on the option, a new panel will appear as shown below.
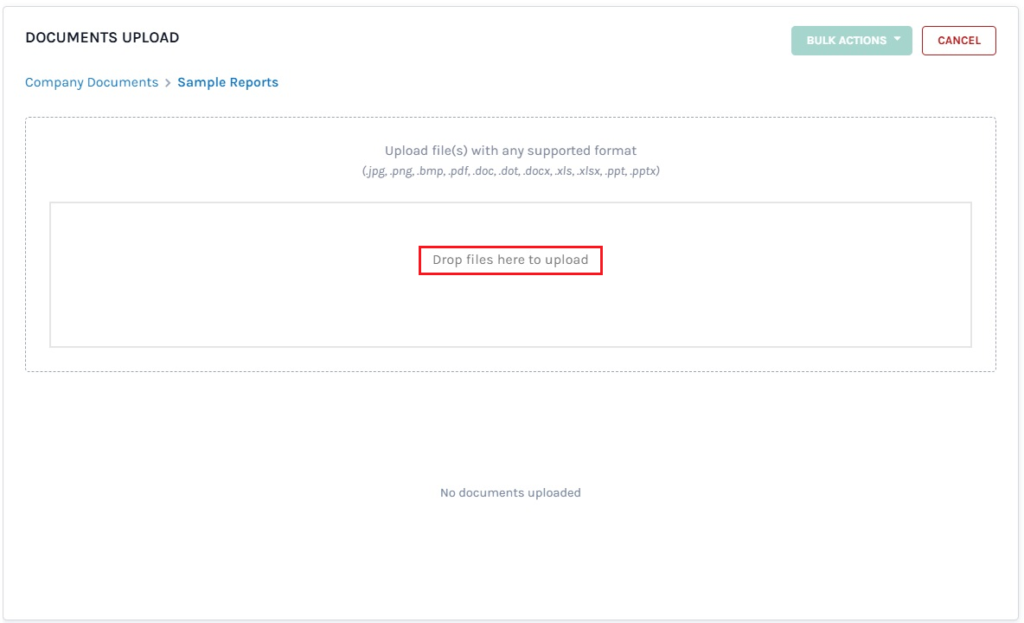
Here, click on “Drop file(s) here to upload” to select the files to upload from your computer.
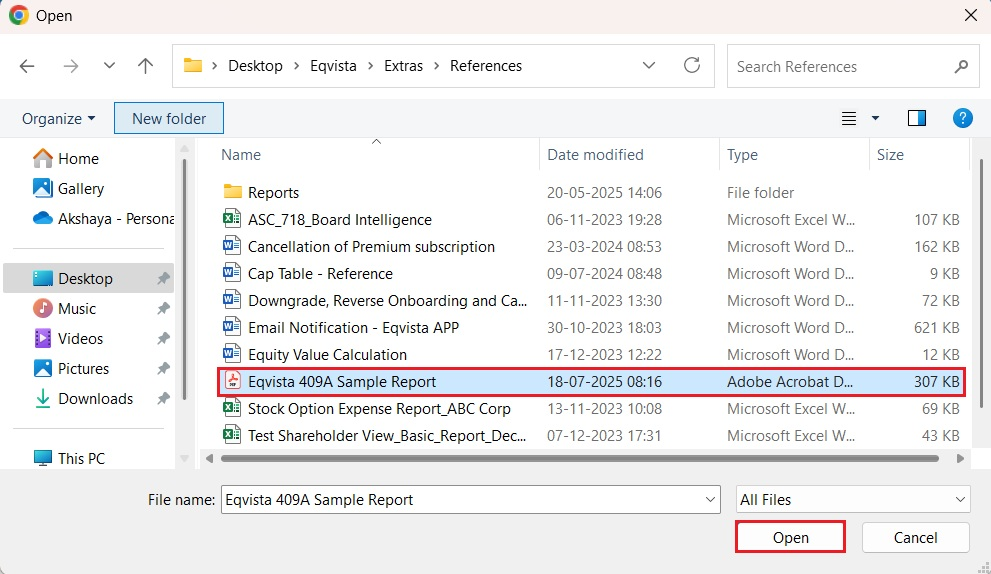
Choose the file that you want to add to the folder and click on “Open”.
When you click open, the file will be added to the folder as shown below.
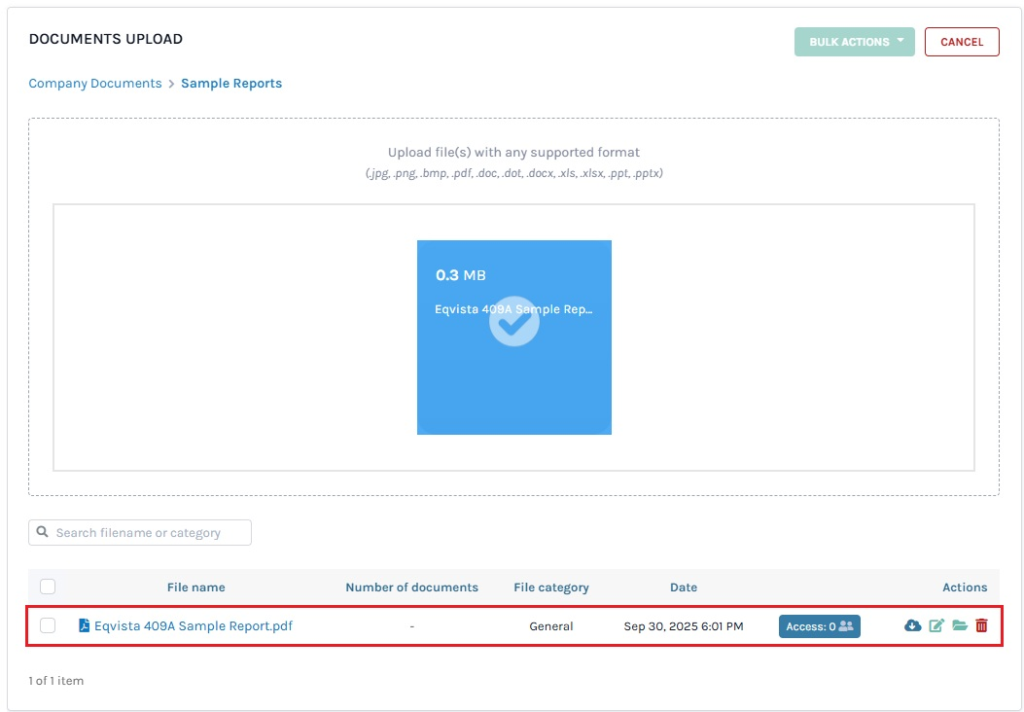
Note: As soon as you upload the file, it will be added, and you can perform many functions. Check out the respective support article to learn about the functions performed on added documents.
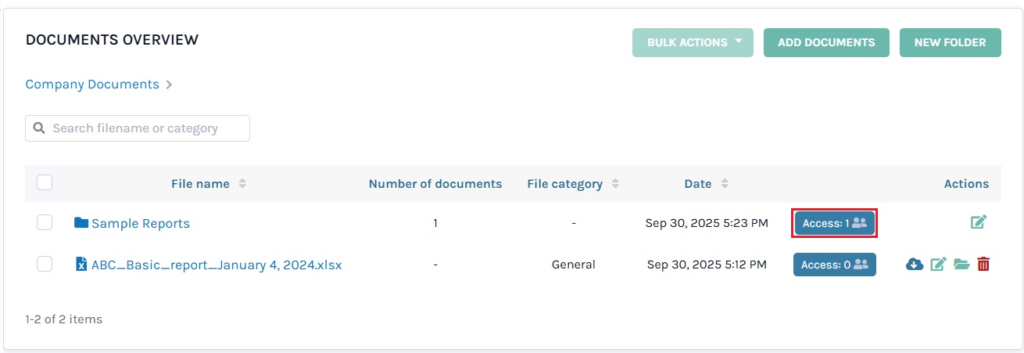
#4 Share access
To share the folder with other shareholders, click on “Access”.
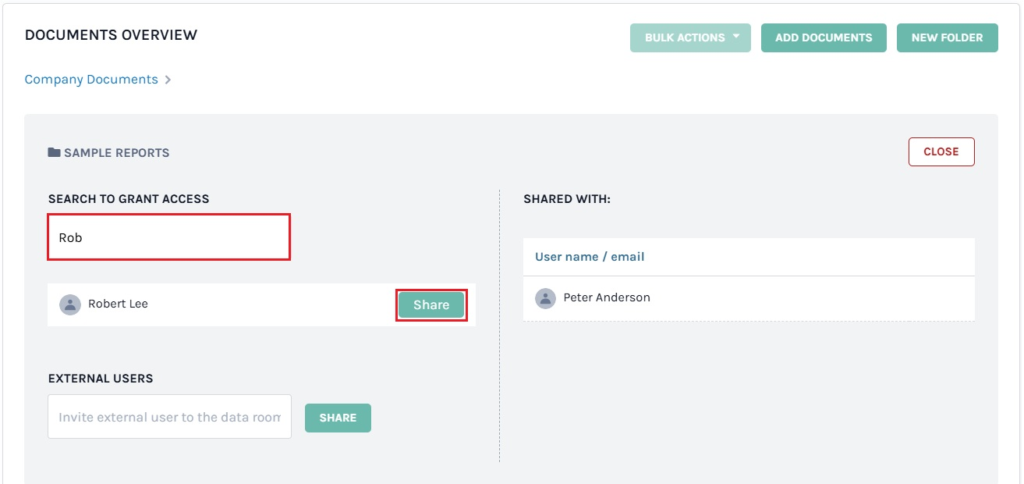
Step 6: When you click on “Access”, a panel will appear along with two options:
Search to Grant Access
You can search for the shareholder by typing in the shareholder’s name to whom you want to share the folder. The name will appear along with an option “Share”.
Note: For the shareholder to view the folder, you should share access to the cap table. Check out the support article to learn about sharing access to shareholders.
External Users
Type the email address of the user to whom you want to share the folder.
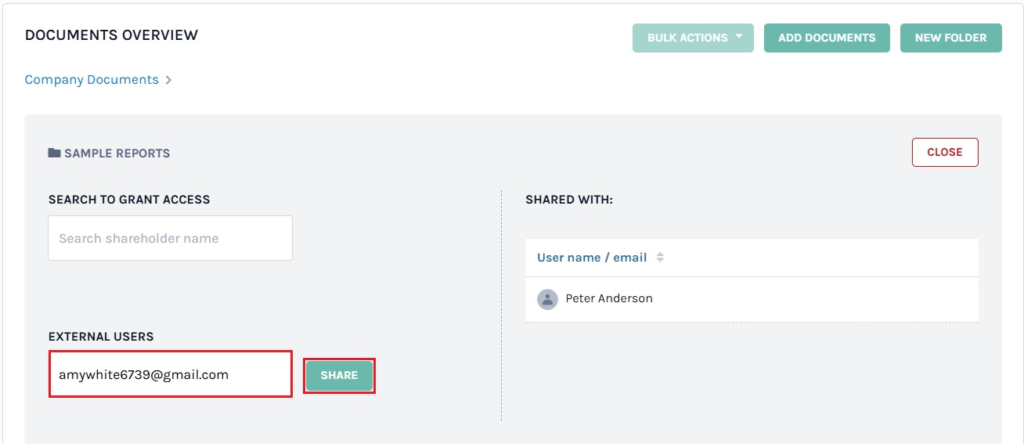
Step 7: Once you click “Share”, the folder will be shared with the shareholder. In this case, we have searched to grant access to “Robert Lee”.
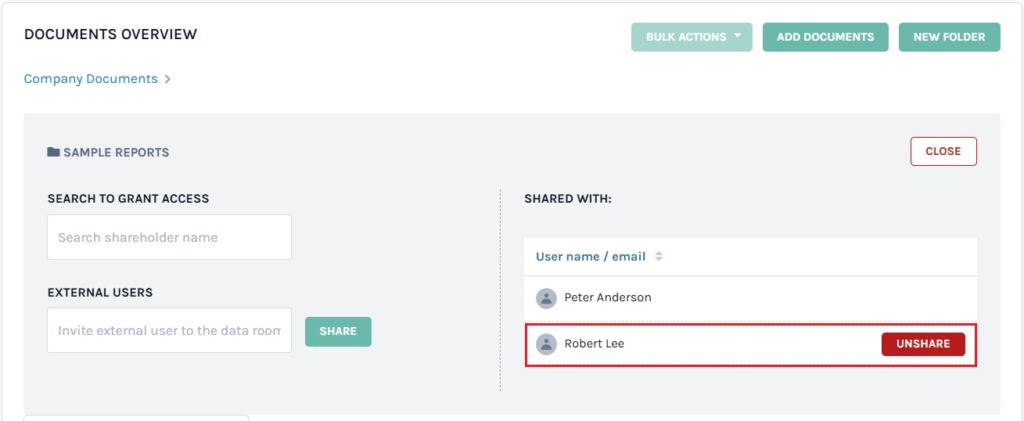
Note: You can view shareholders having access to the folder on the right, and click on “Unshare” to remove access.
By doing this, the folder will be shared with the shareholder. To view the shared folder, you can follow the next steps.
Step 8: On the dashboard, click on “Shareholders” on the left-side panel, and you will be redirected to the shareholders’ page. Click on the shareholder’s name to whom you shared the folder. In this case, it was “Robert Lee”.
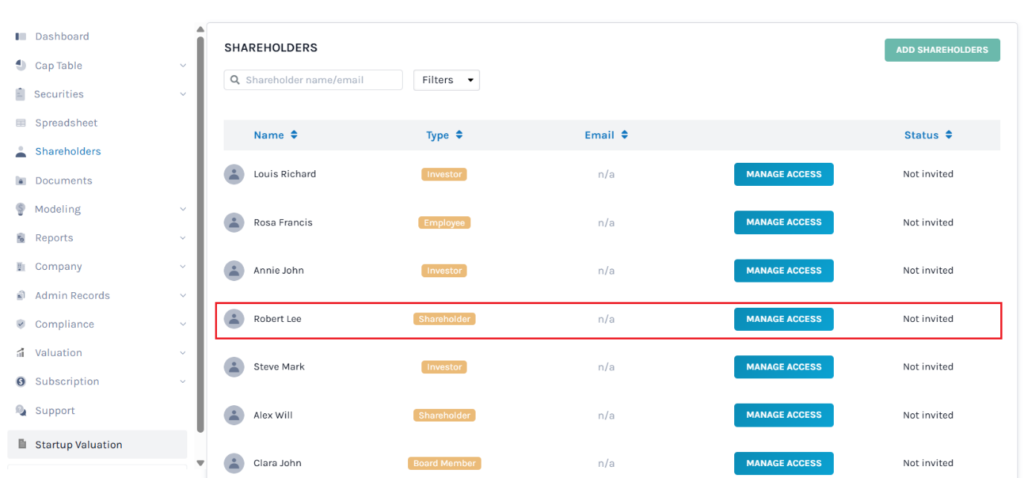
When you click on the name, you will be directed to the page that displays the details of the shareholder as shown below.
Note: Make sure to share access to the cap table with the shareholder to view the shared folder.

Once the folder is shared, the shareholder will receive an email. The shareholder can view the shared folder in the documents section, depending on their access type.
To know more about Eqvista, check out our support articles and knowledge base. For further queries, get in touch with us!
