How to edit the grant/share details of a shareholder?
Did you know that you can easily edit any grant/share details on Eqvista with just a few steps? Well, here is how you can do it.
Edit any grant/share details
If you’re looking to edit any grant or share details on Eqvista, it is a simple process that can be completed in simple steps.
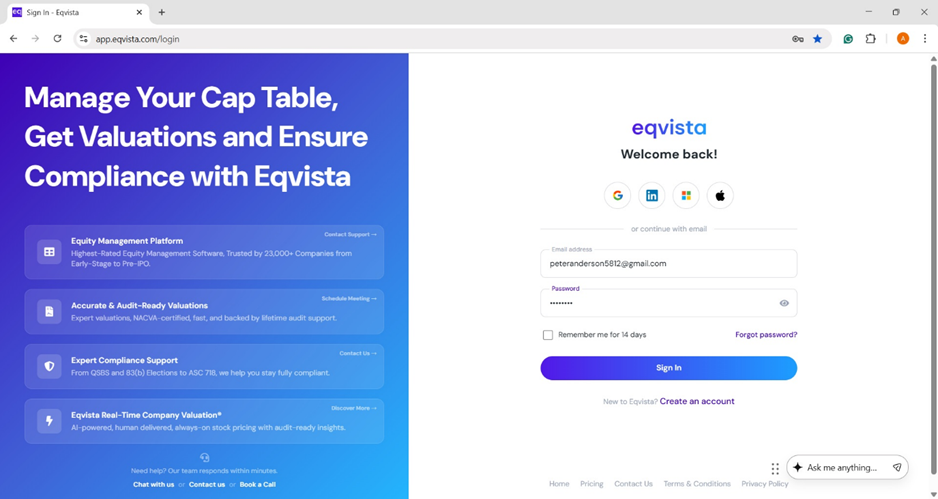
Step 1: Log into your Eqvista account and select your company account.
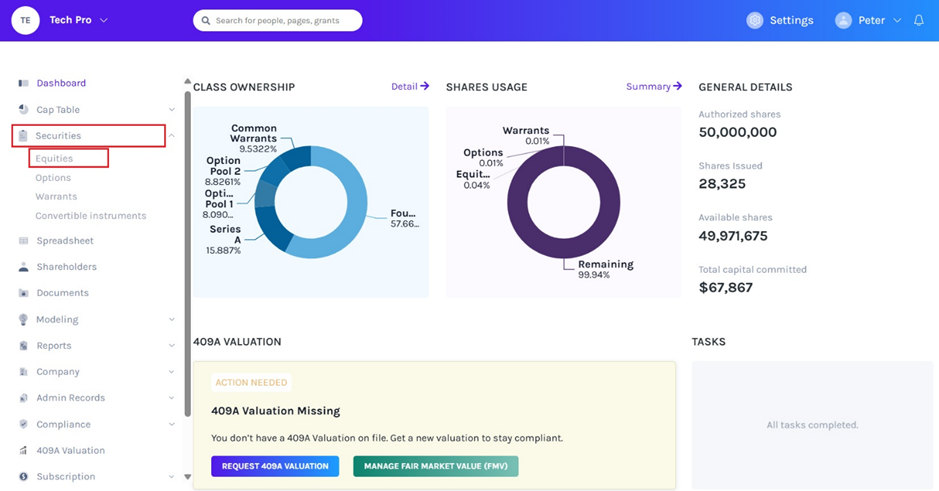
On the dashboard, click on “Securities”. When you click on this, a submenu will appear. Here, select the “Equities” option to reach the following page. Let us begin by issuing a share/grant to a shareholder.
Step 2: You will see all the different equity classes. In this case, there are three classes – one for Founders, the second for “Series A”.
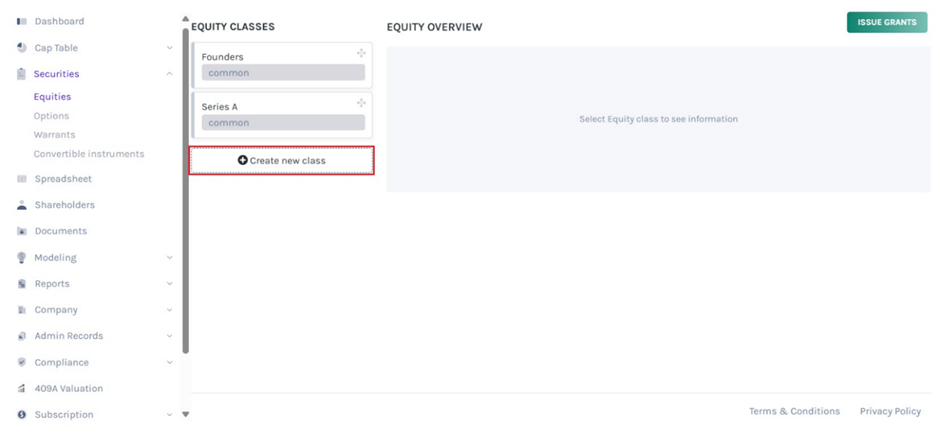
In this example, we will create a new class since the investor is helping with the Series B round of funding in the company. So, the shares that would be issued to this investor would be from the “Series B” equity class. For that, we need to create the class. To do this, click on “Create New Class”.
Step 3: You will reach the following page where you will first have to select the kind of shares. Here you would see the option to choose the kind of shares – common shares or preferred shares that you want to add to the equity class.
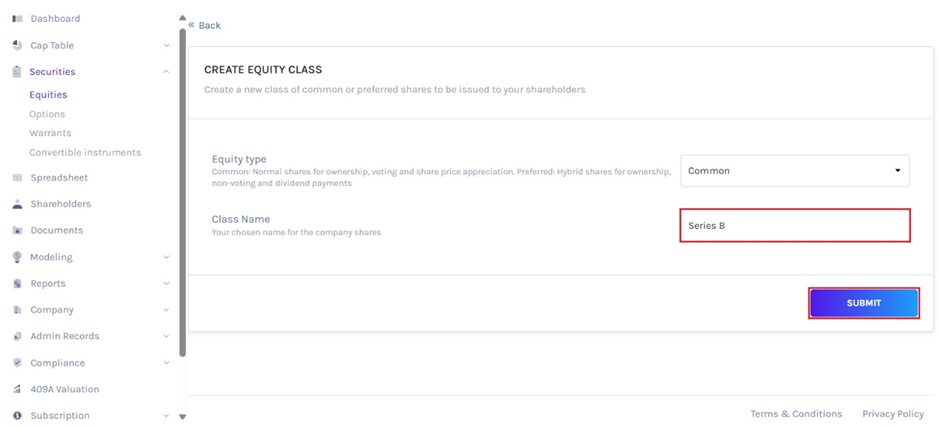
We select the option “Common” here. The next option appears where we need to add the name of the class. Once you have added the name, click on “Submit”.
Step 4: This step of issuing the shares to the shareholder would also add shares to the equity class at the same time. For this, select the class name. A list will appear when you click on the text field. Since we just created the class, we have selected “Series B” here. The moment you do this, a button appears as shown below.

Step 5: Once you do this, you will reach the following page.
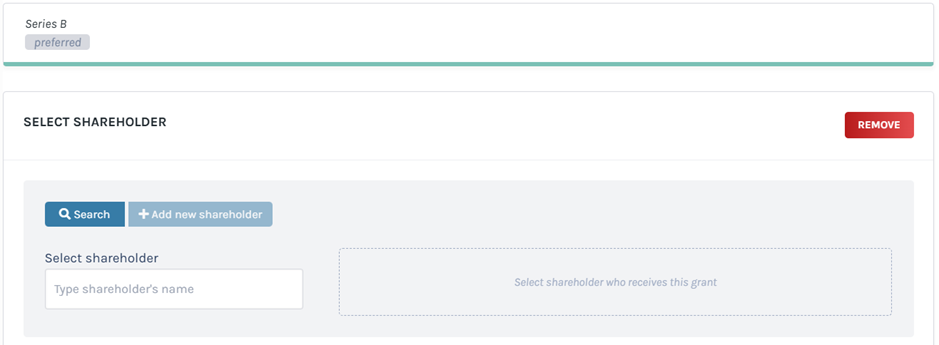
Here, you can add a new shareholder or just use the option to search for an existing shareholder.
Note: You need to have the shareholder profile already created. Check out the support article to add a shareholder. If you do not have it created, you can choose the option “Add New Shareholder” here too.
In this case, we add a new shareholder. To do this, we select the option “Add New Shareholder”.
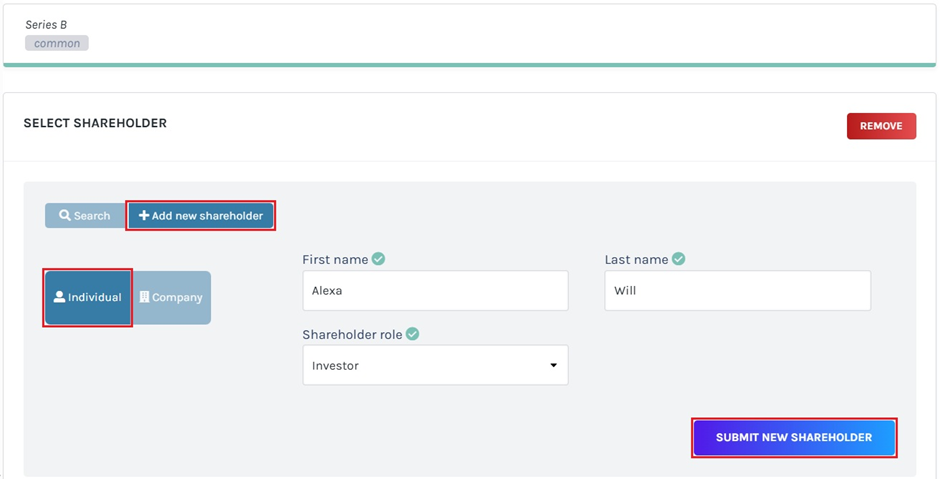
As shown above, add the details of the shareholder, and when done, click on the button “Submit new shareholder”.
Note: A shareholder can either be a company or a person. So, you have the option to note what kind of shareholder you are adding to your company. In this example, we selected an “Individual” as the shareholder.
Step 6: The next step includes adding the details of the grant as shown in the image.
Here, add in the details like the number of shares or select the option anti-dilution, the price per share at the time of the issuance, the date of issuance, and the share name. After this, you will get the option to add a vesting schedule.
Note: You can add a vesting schedule while issuing shares, options, and warrants. In addition to this, you can create your vesting plan or choose from six default plans. To know more about vesting plans, check out the support article here!
In this case, we selected “No” for the vesting schedule.
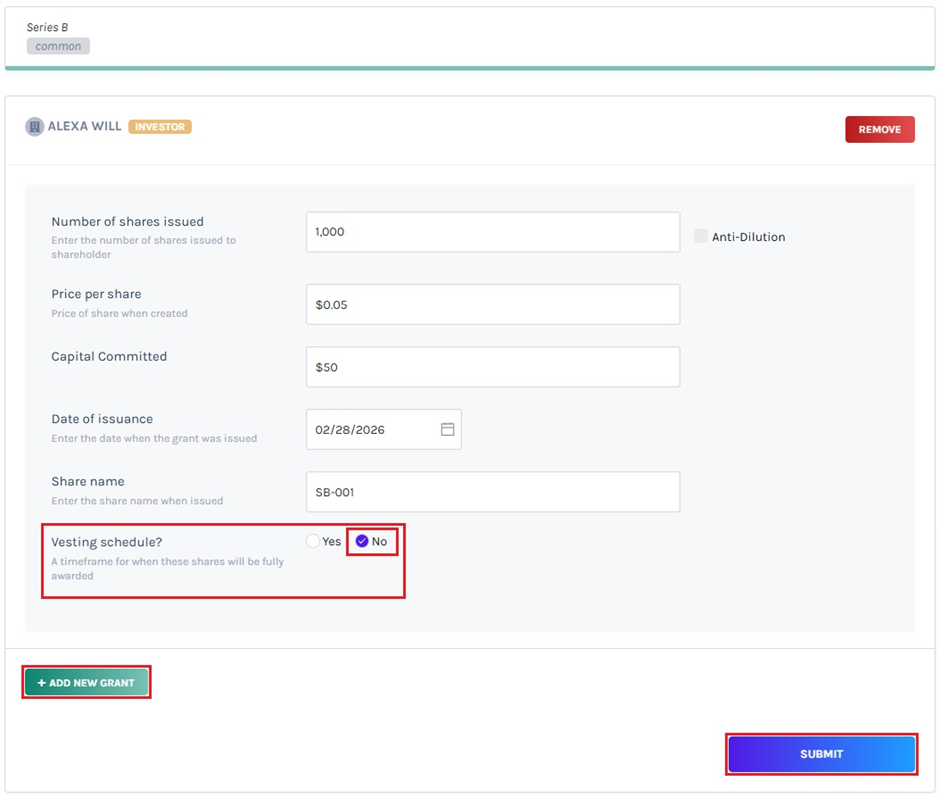
Once you have added all the details, click on “Submit”.
Note: You can add another grant using the “Add new grant”. This is if you want to issue shares from the same equity class to more than one shareholder. All you need to do is click on “Add new grant” and then select the shareholder profile or add a new shareholder and fill in the details.
Step 7: You will then be redirected to the page where you will see all the grants for the “Series B” equity shares. In this case, there is only one grant.
Let us assume that you made a mistake in the number of shares you had to offer this investor and need to edit the grant/share information. For this, click on the “SB-001” of the grant as highlighted below.
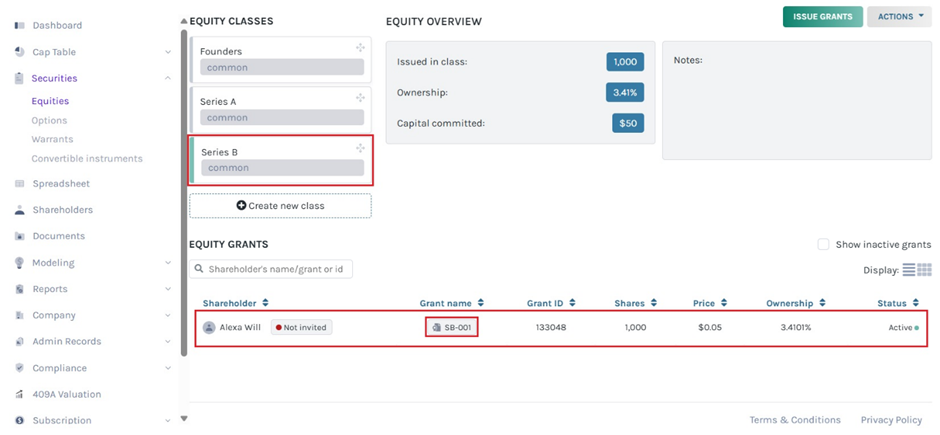
Note: The grant to be edited can also be selected from the shareholder overview page under Transactions.
Step 8: When you do this, you will be taken to the page where you can see all the information about this grant. On the top right-hand side of the page, you will see a button that says, “Actions”. When you click on it, you will get a small drop-down menu where you have various options to choose from including edit grant, transfer shares, repurchase shares, cancel grant and delete grant.
Note: You can add document to the grant by clicking on “Add Document”. Check out the support article to know more about adding documents to grants.
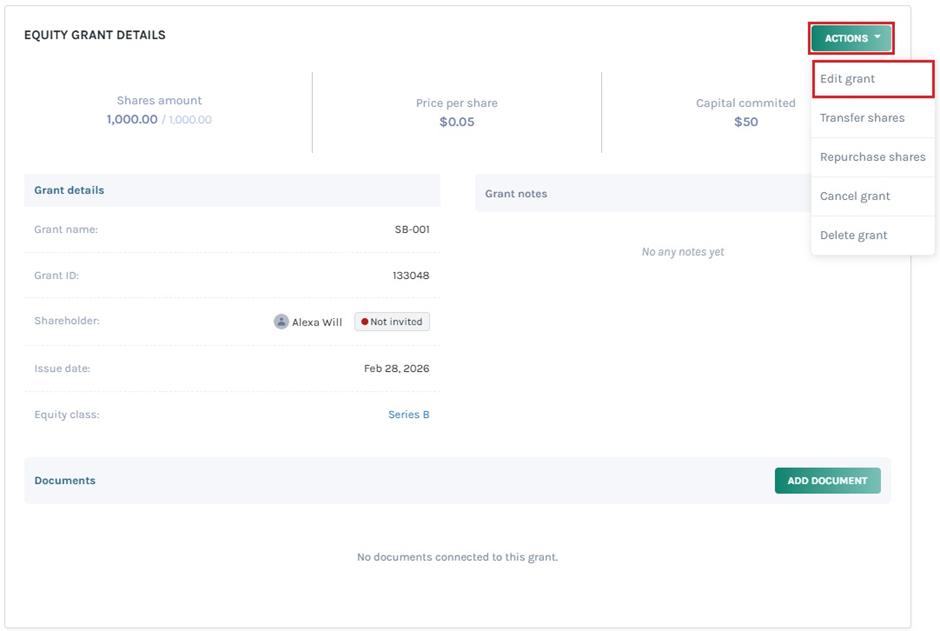
Here is what each option does:
- Edit Grant: This allows you to edit the details of the share/grant made to the shareholder. You can change the number of shares, the amount, the date, and the class from which the shares were given.
- Transfer Shares: This option allows you to transfer the shares to someone else (a second person). And this action comes under the secondary transaction that takes place in the company. To know more about this, check out the support article here!
- Repurchase shares: This option is for the company. It allows the company to repurchase the shares from the shareholders. Once this is done, the company would now own the shares and it would be reserved in the treasury of the company.
- Cancel grant: Just as the name suggests, this is to cancel the grant made. In case the deal falls through, you can easily select this option to cancel the grant.
- Delete grant: This option is used if you made a mistake in the grant, like issuing it to the wrong shareholder in the application. It would just delete the whole transaction.
All these options alter the transaction but since we are talking about editing a grant here, we will select the option of “Edit grant”.
Step 9: By clicking on this, the page will redirect you to the place where you can now edit the details like the shares amount, price, share name, and date.
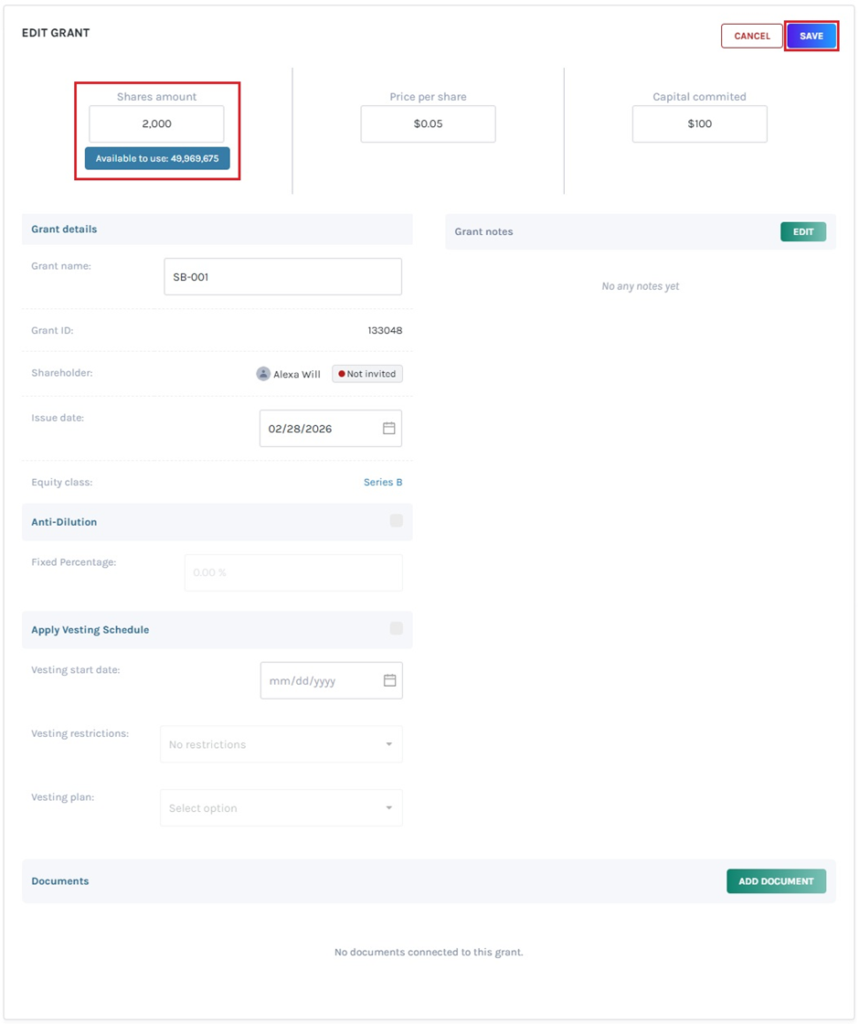
In this case, we edited the number of shares from 1000 to 2000. Once you make the edits, you can then click on “Save”.
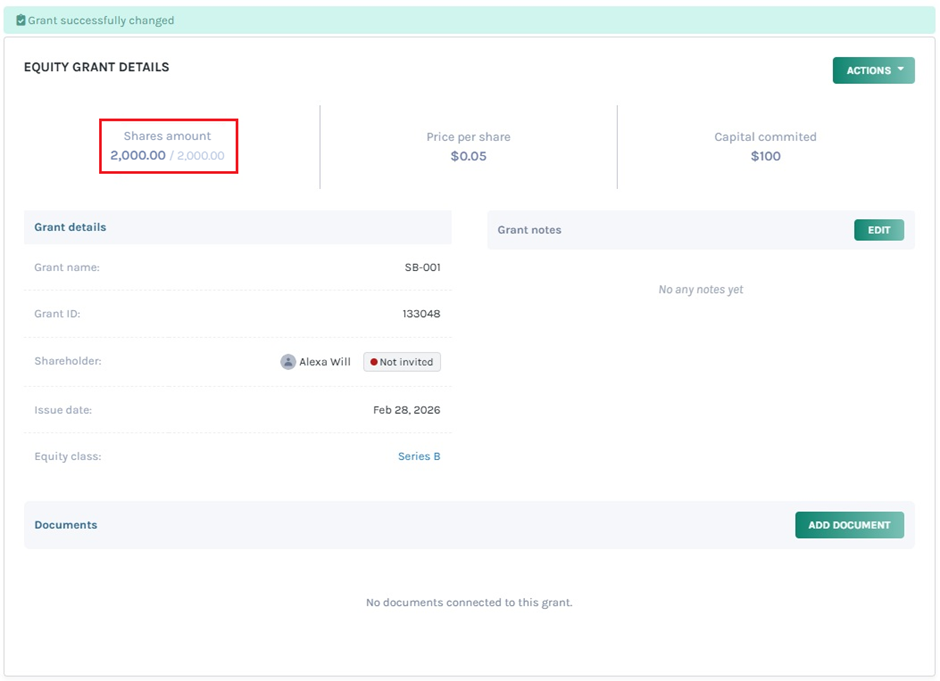
Step 10: With this, you will reach the page where all the details have been updated for the grant as desired. You can keep editing the grant as many times and however needed like this.
As shown below, you can see that the edit has been made.
Note: Similarly, you can also edit issued options, warrants, and convertible notes.
Finally, by following these steps, you would be able to edit any details of a share or grant of a shareholder. To know more about how to use Eqvista, check out the support articles here!
