Sharing Documents With Shareholder
If you have been using Eqvista, you will know that Eqvista strives to be a user-friendly application. It is very easy to create an account on Eqvista, add a company profile, create shareholders, and even share documents with the shareholders.
Share documents with your shareholders
Here is a step-by-step guide that will help you with the process of how to share documents with your shareholders.
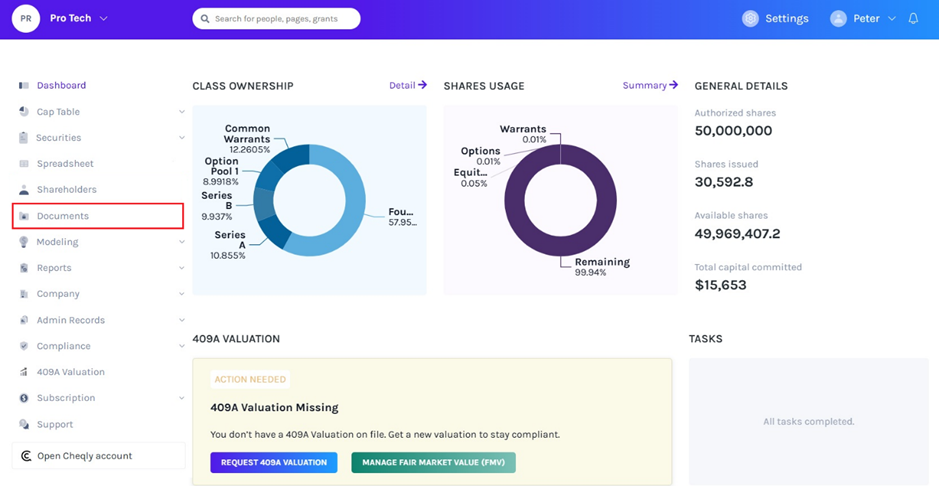
Step 1: As soon as you log into your Eqvista account, and select the desired company account, you will reach the dashboard.
Here, click on “Documents” on the left-hand side panel of the dashboard.
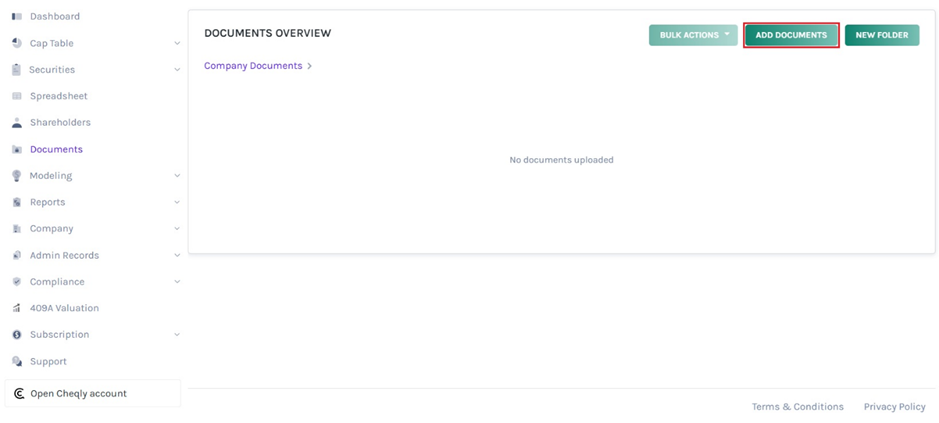
Step 2: Once you do this, you will be directed to the following page. On this page, you will be able to see all the documents that the company has. In case you have not yet added any document to your company’s profile and wish to do that, you can do so by clicking on the button that says “Add Documents”.
Note: Folders can be added by clicking on “New Folder”. Check out the respective support article to learn how to create folders.
Step 3: As soon as you click on the option “Add Documents”, a new panel will appear as shown below.
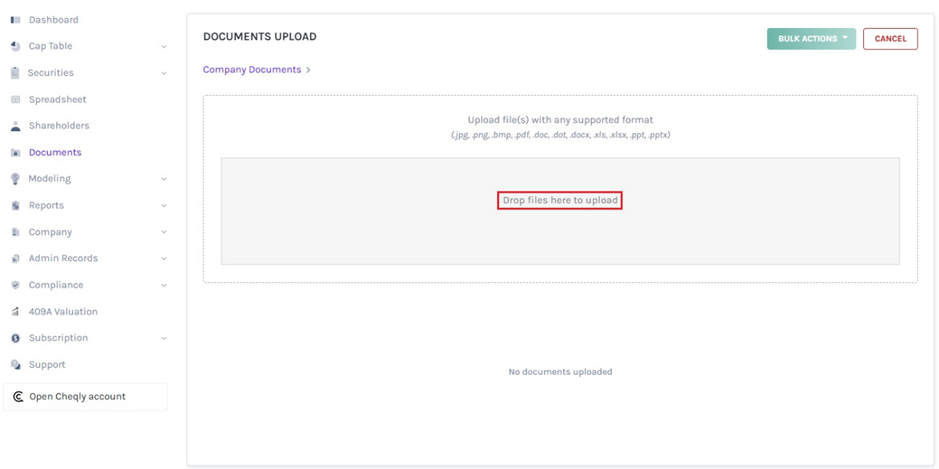
Here, you will see a text that says, “Drop file(s) here to upload”. Click on this to select the files to upload from your computer.
Step 4: Once you click on the field, another dialogue box appears as shown below.
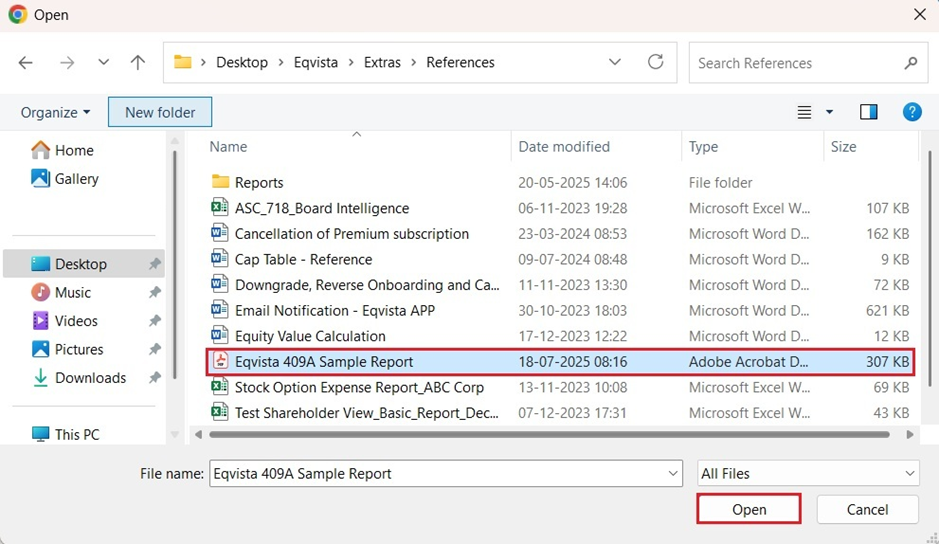
Choose the file that you want to add to your company and click on “Open” when done.
Step 5: When you click on open, the file will be added to the field on the panel from where you can upload the file.
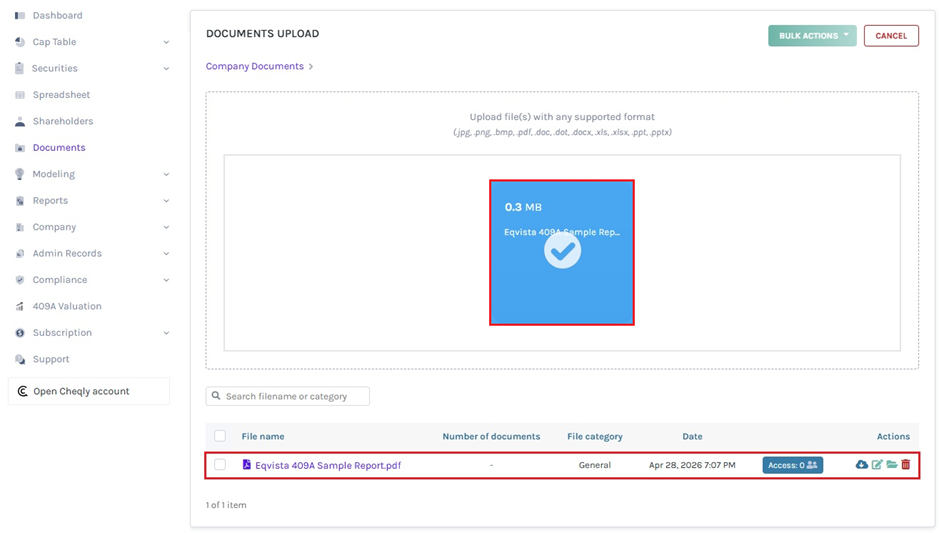
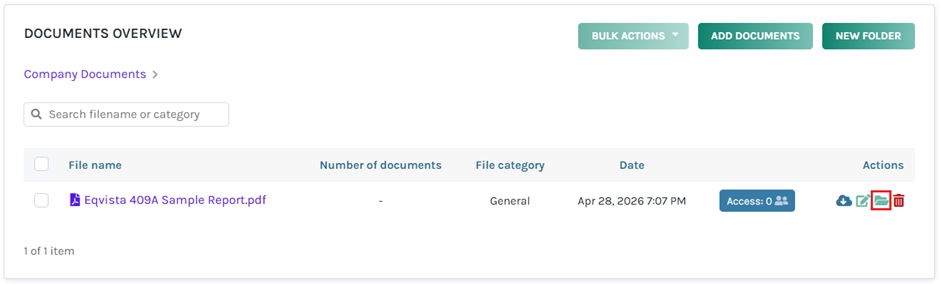
Step 6: As soon as you upload the file, it will be added to the other files as well. From here, you will be able to perform the following functions:
#1 Preview
The preview of the uploaded file can be seen by clicking on
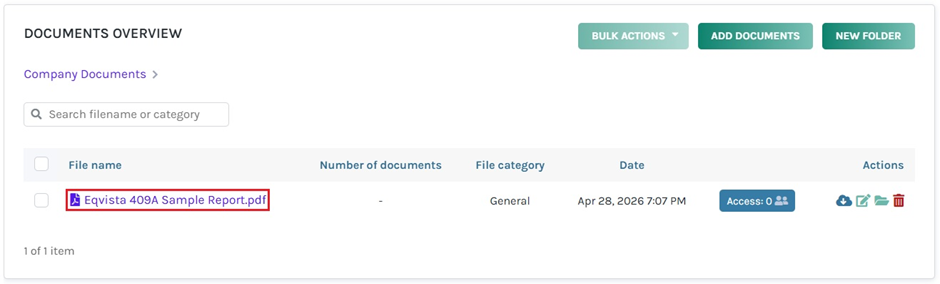
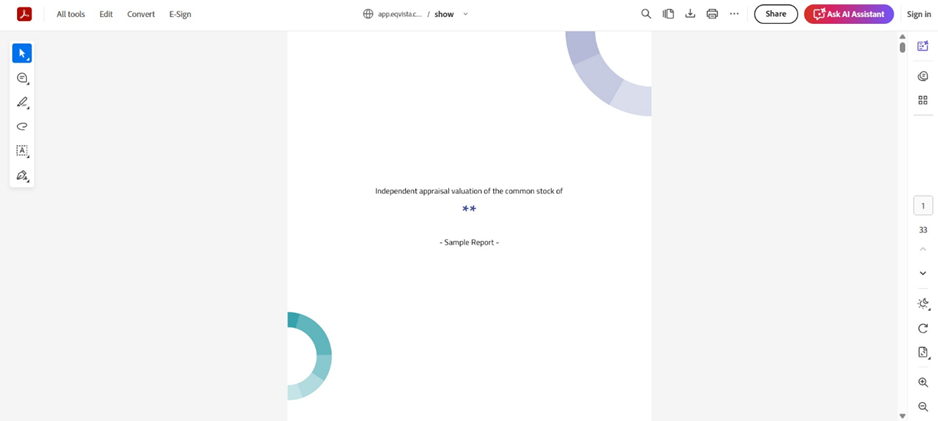
When you click on the file name, it redirects to display the preview of the document.
#2 Download
Just to explain further, you can download the file by clicking on

Once you click, the document gets downloaded to your Downloads.
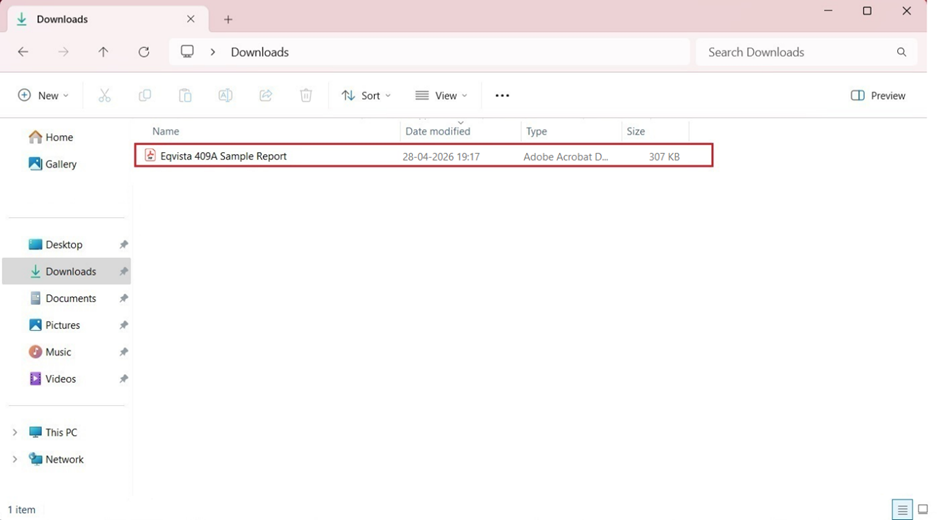
Double-click the PDF to open the downloaded file.
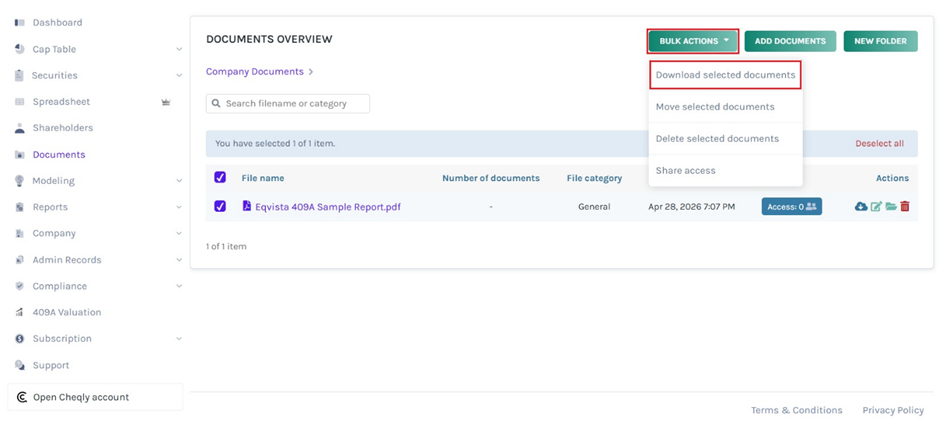
To download multiple files, select the box next to the file name and click on “Bulk Action” to get the drop-down menu. Then, click on “Download Selected Documents”.
Once you click, the document gets downloaded as a zip folder in Downloads.
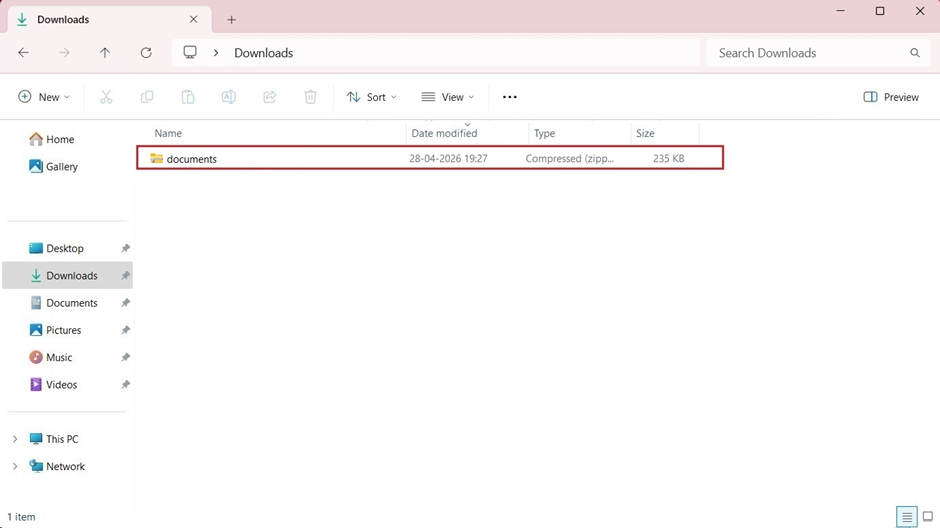
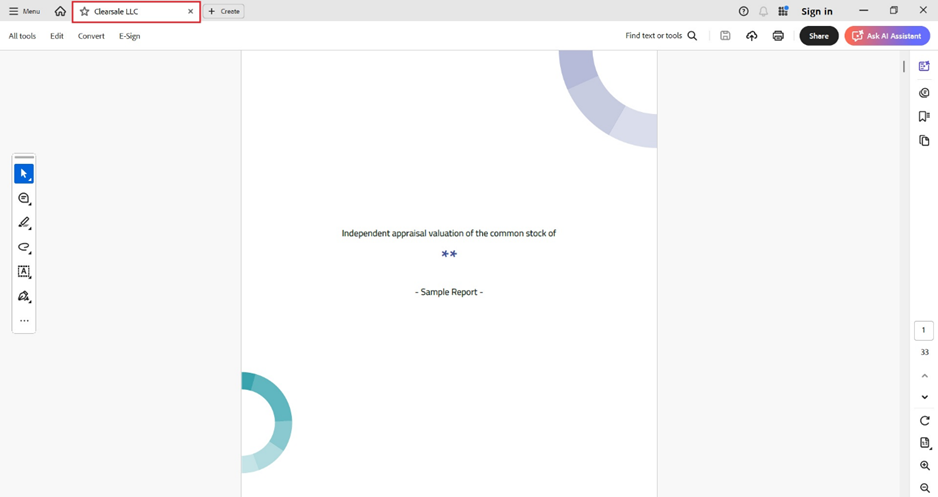
Double-click the zip folder to open the downloaded document in PDF format.
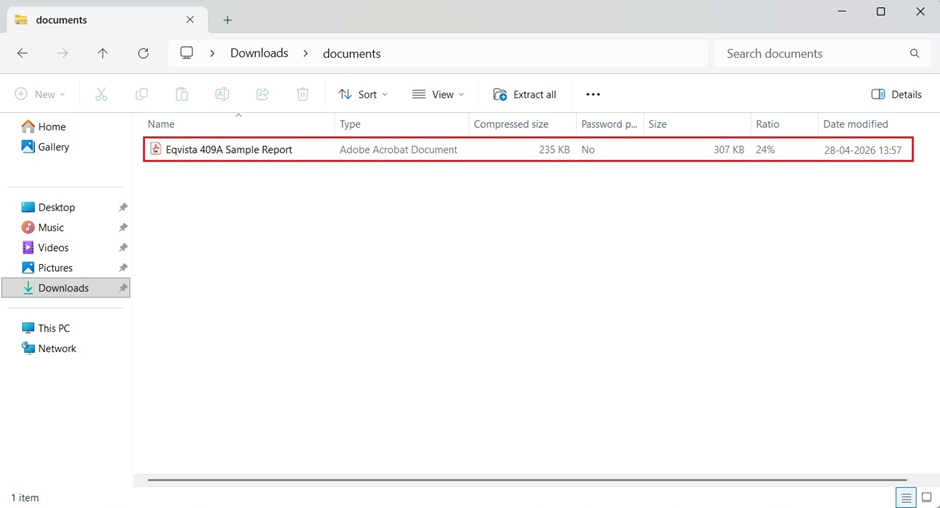
Double-click the PDF to open the downloaded file.

#3 Edit
You can edit the file name along with the file category by clicking on:
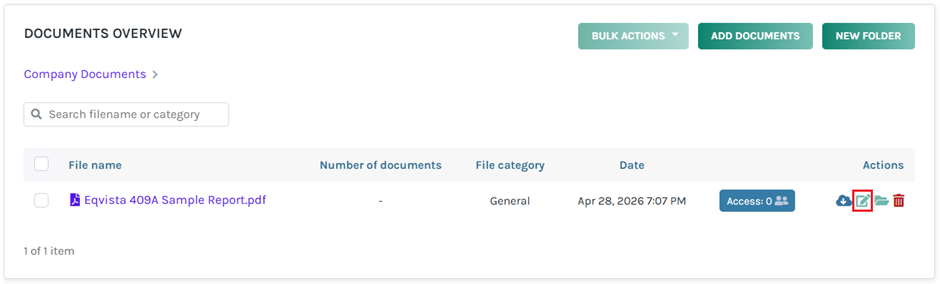
When you click on the button to edit the file, a pop-up panel appears to edit the file name and choose a file category from the drop-down list.
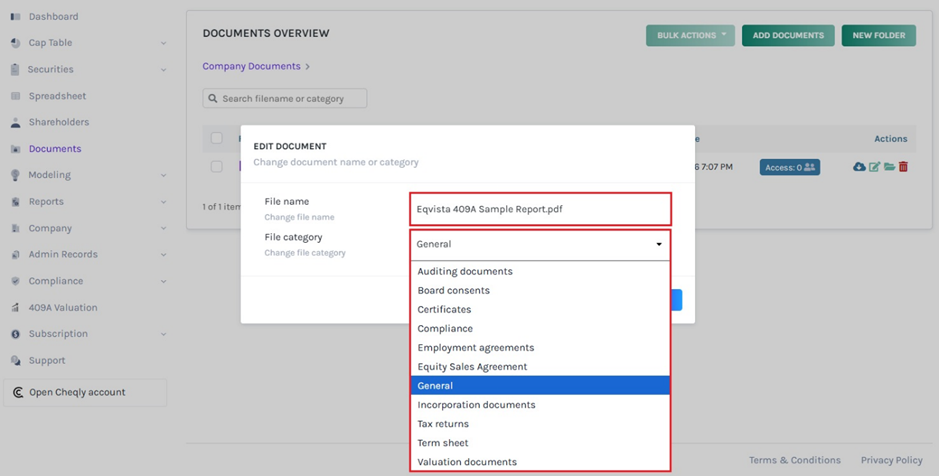
Once done, you can then click on “Save”.
#4 Move File
Suppose you want to move the file, click on:
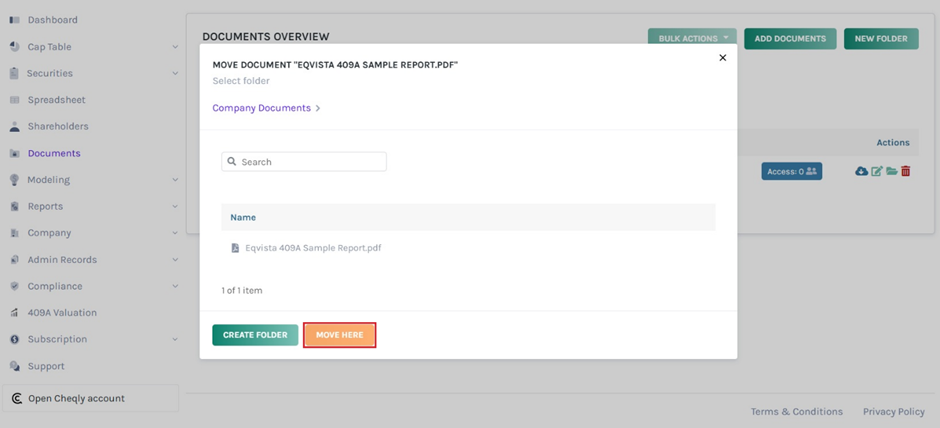
Once you click, a pop-up panel appears along with the option “Move Here”.
Note: You can create a folder by clicking on “Create Folder”. Check out the respective support article to learn how to create folders.
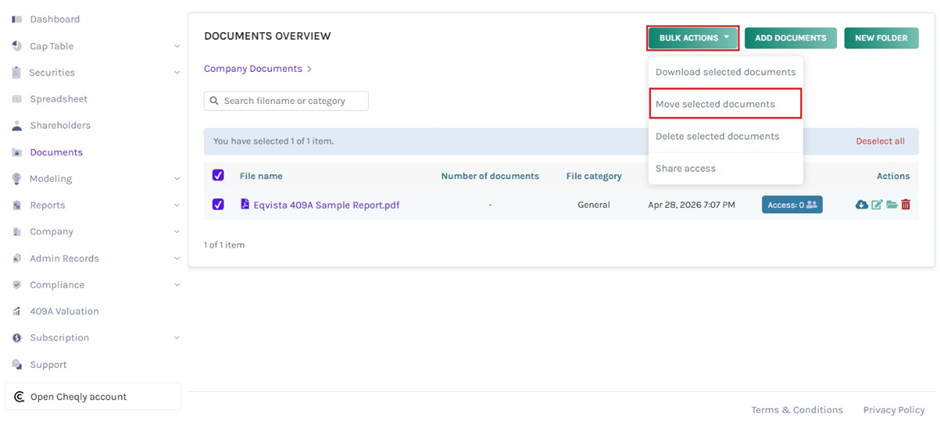
To move multiple files, select the box next to the file name and click on “Bulk Action” to get the drop-down menu. Then, click on “Move Selected Documents”.
Once you click, a pop-up panel appears along with the option “Move Here”.
Note: You can create a folder by clicking on “Create Folder”. Check out the respective support article to learn how to create folders.

#5 Delete File
If you want to delete the uploaded file, then click on:

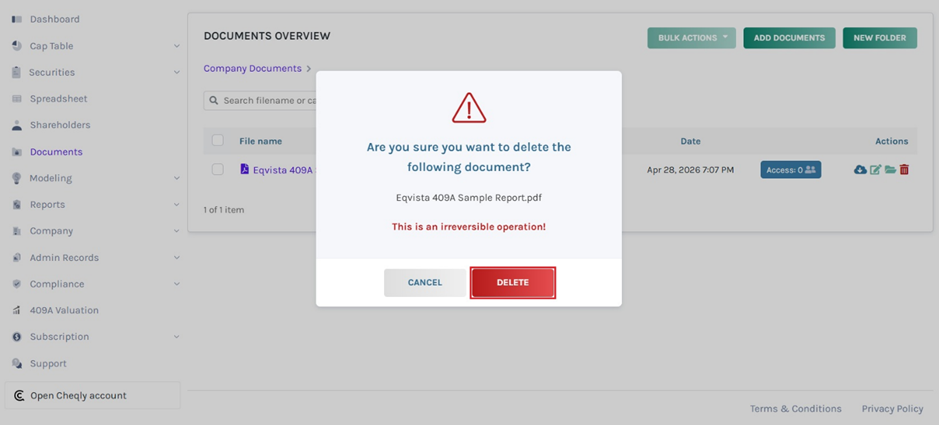
Then, a confirmation message appears in a pop-up panel, and click on “Delete”. If you want to cancel the process, click on “Cancel”.
To delete multiple files, click on the box next to the file name as shown below.
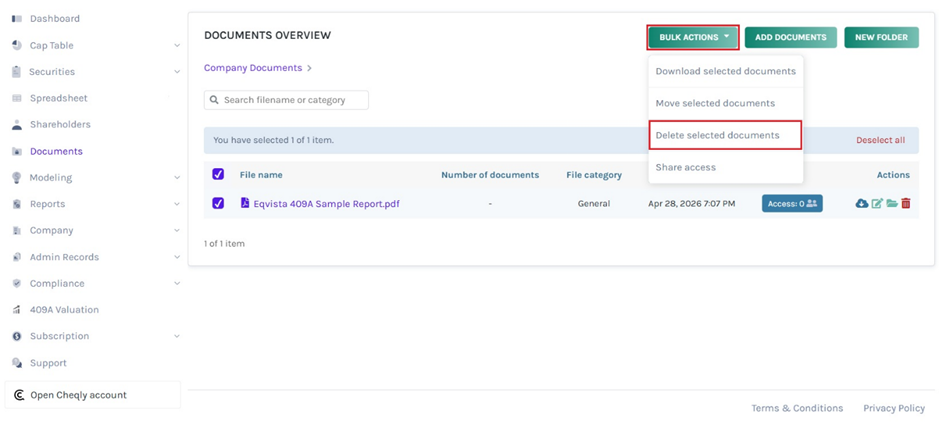
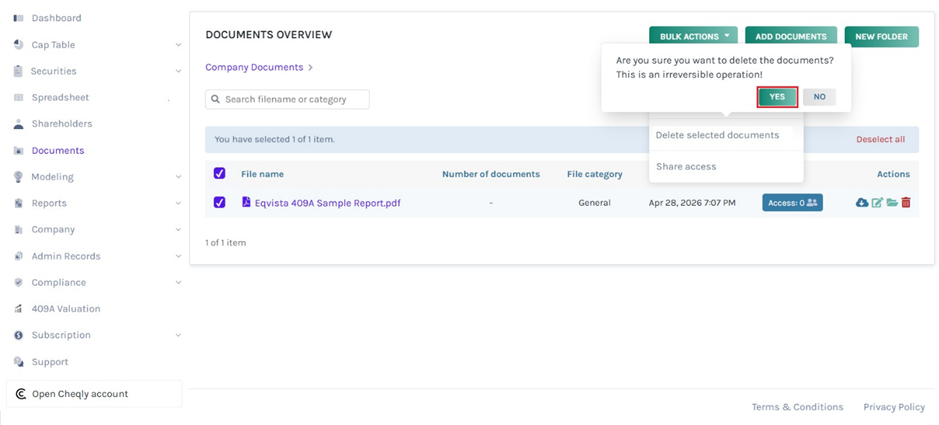
Then, click on “Delete Selected Documents” and a confirmation message will appear in a pop-up panel. If you want to delete the selected files, click on “Yes”.
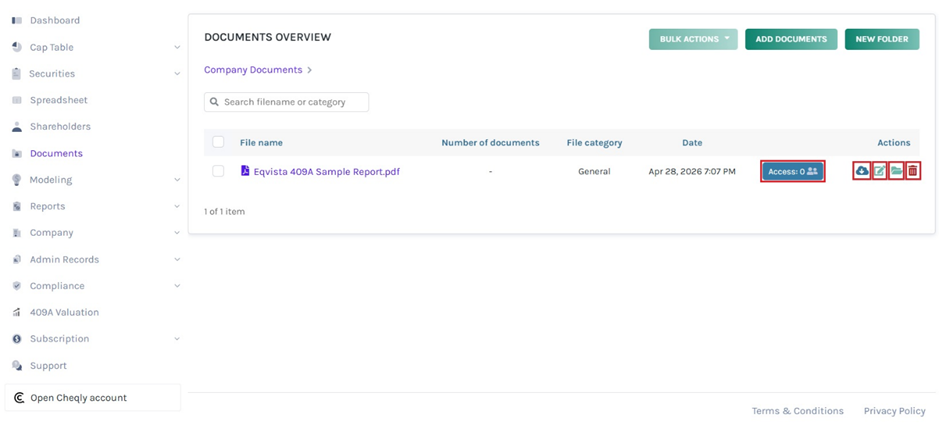
#6 Share Access
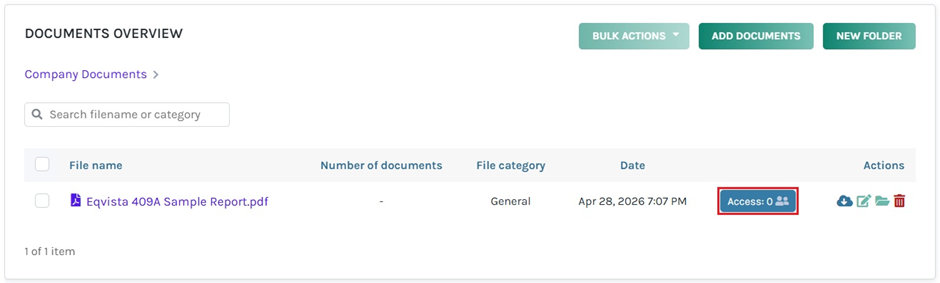
To share the document with other shareholders, click on “Access”.
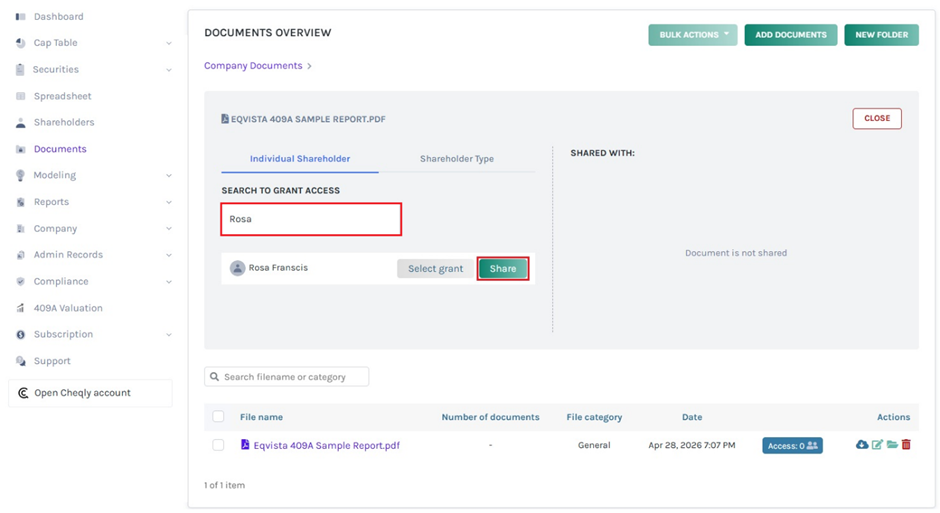
Step 7: When you click on “Access”, a new panel will appear as shown below. To share the document with the shareholder, click on “Individual Shareholder”.
Note: You can click on “Shareholder Type” to share the document with shareholder types. Check out the support article to learn about sharing documents with shareholder types.

You will get a field where you can type in the shareholder’s name with whom you want to share the document. In this case, we added the name “Rosa” and the name appeared with a button beside it saying, “Share”. Click on “Share”.
Note: You can click on “Select grant” to add the document to a grant. Check out the support article to learn about adding documents to a grant.
Like this, you can add as many shareholders as you want to access the document. For the shareholder to view the document, they will need to log into their account on Eqvista. Before that, you should share access to the cap table. That is only when they can view all the shared documents and access them properly.
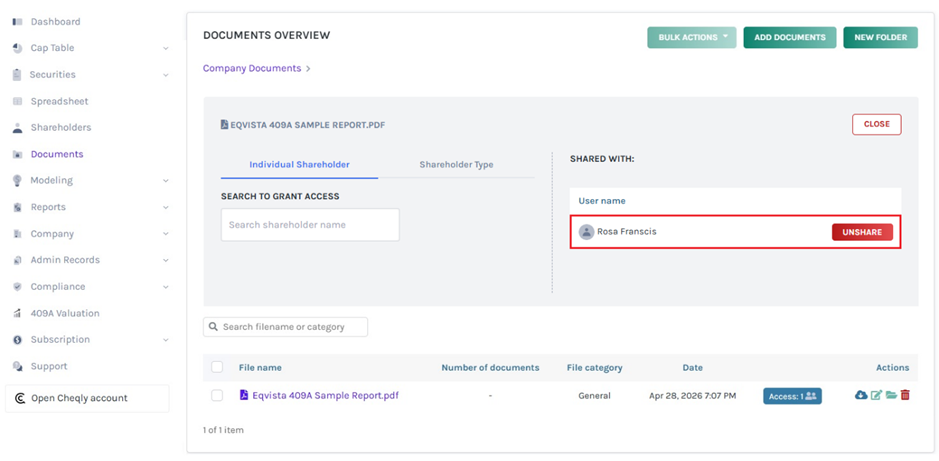
Step 8: After adding whoever you want to add, click on “close” as shown below.

Note: You can view shareholders, grants, shareholder types having access to the document on the right, and click on “Unshare” to remove access.
When this is done, you will see all the documents and the number of people who have access to the document.
To share access to multiple files, select the box next to the file name and click on “Bulk Action” to get the drop-down menu. Then, click on “Share Access”.
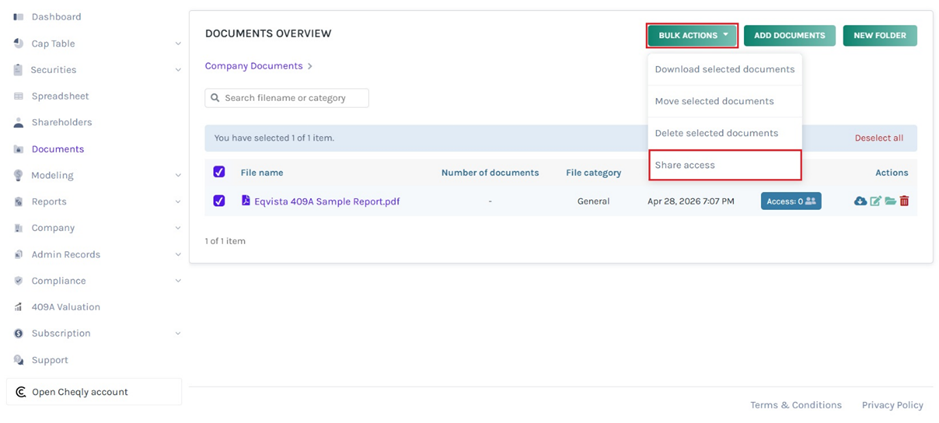
Then, a panel will appear where you can type in the shareholder’s name with whom you want to share the document and click on “Share”. To share the document with the shareholder, click on “Individual Shareholder”.
Note: You can click on “Shareholder Type” to share the document with shareholder types. Check out the support article to learn about sharing documents with shareholder types.
You can add as many shareholders as you want to access the document.
Note: You can click on “Select grant” to add the document to a grant. Check out the support article to learn about adding documents to a grant.
Once you click on “Share”, the document will be shared with the shareholder.
Note: You can view shareholders, grants, and shareholder types who have access to the document on the right.For the shareholder to view the document, share access to the cap table.
By doing this, the document will be shared with the respective shareholders. To see what document is shared, you can follow the next steps.
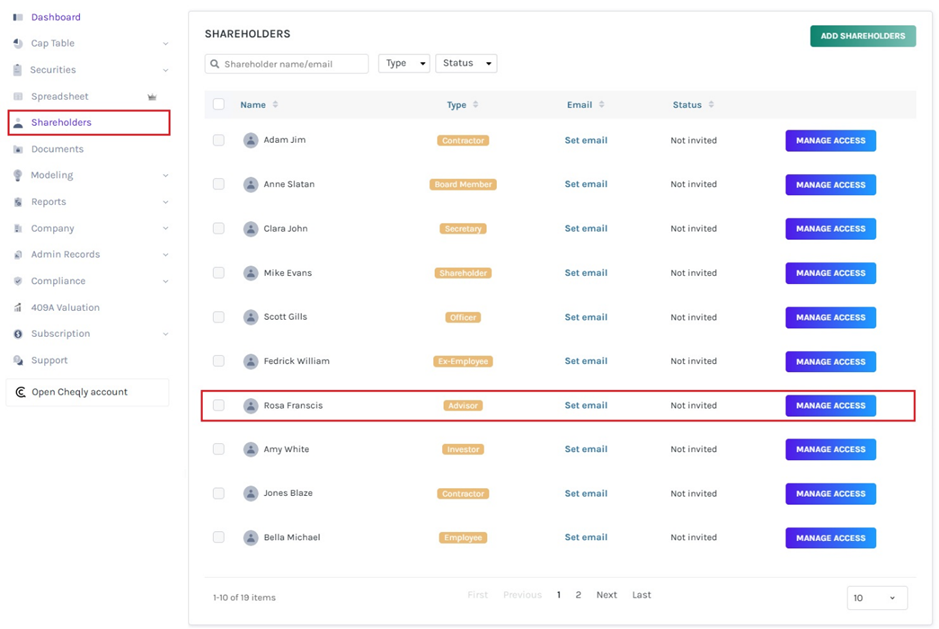
Step 9: On the dashboard, click on “Shareholders” from the left-side panel and you will reach the page where you can see the names of all the shareholders. Click on the shareholder’s name to whom you just shared the document. In this case, it was “Rosa Francis”.
Step 10: When you click on the name of the shareholder, you will be directed to the next page that displays all the details of the shareholder as shown below.
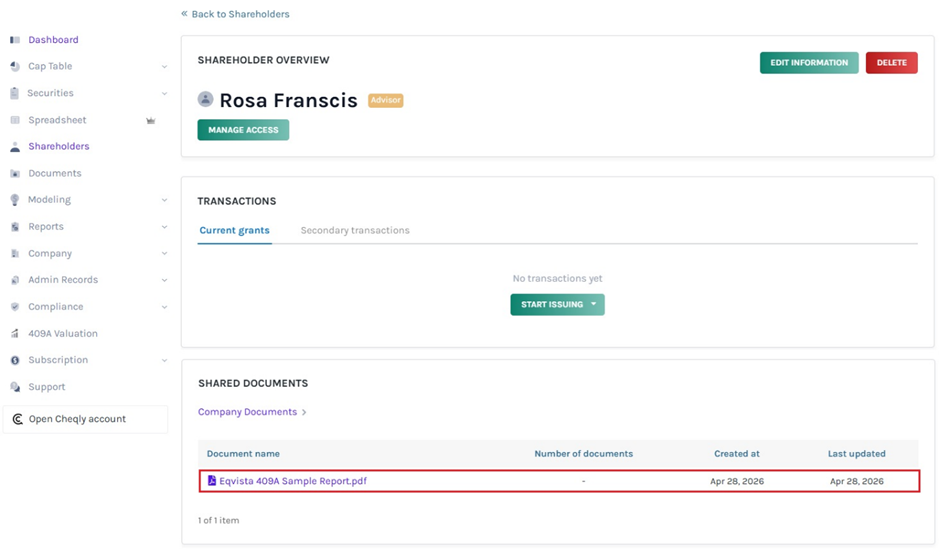
You will be able to see the name of the document you shared with the shareholder. In the case no documents have been shared with the shareholder, it would display the message “No Shared Documents Yet”.
Note: Again, remember to share access to the cap table with the shareholder. Here is how to do it!
Using these steps, you can share as many documents as you want with the shareholder. If you want to know more or understand any other process, check out the other support articles here or contact us!
