Updating New Shareholder
As simple as it is to create a new shareholder, it is that simple to update it on Eqvista as well. Although you cannot edit the name or other parts of the shareholder’s details, you can easily edit the details of each shareholder. All you need to do is click on the name of the shareholder that you want to edit.
This is a step-by-step guide that will help you learn how to update the information of a shareholder.
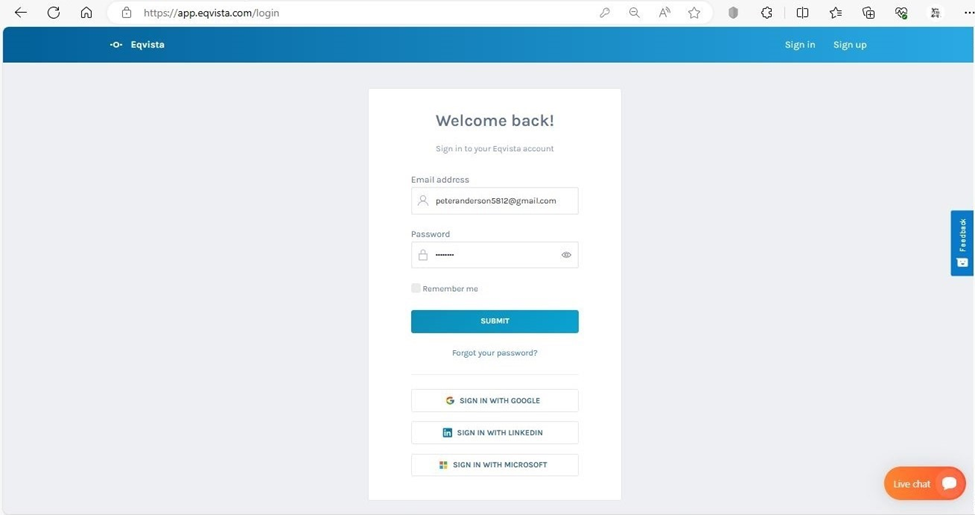
Step 1: Log into your Eqvista account and select your company account.
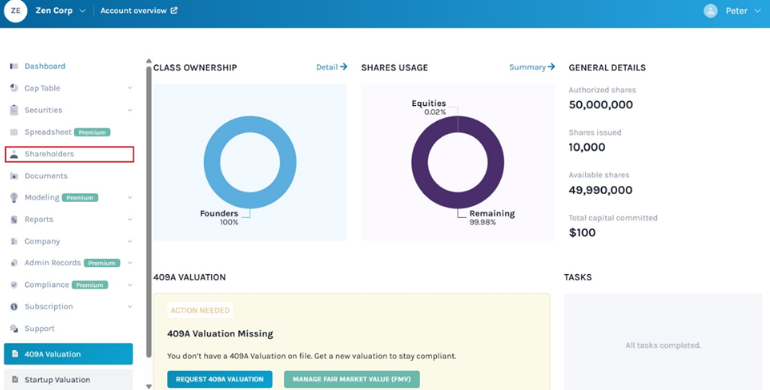
On your dashboard click on “Shareholders” on the left-hand side panel of the dashboard.
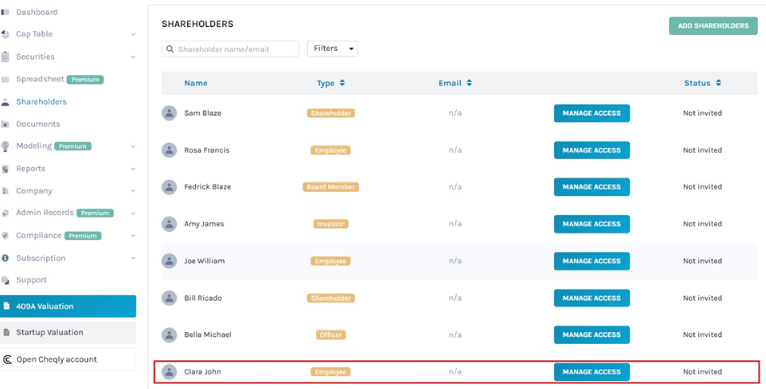
Step 2: Once you do this, you will reach the following page where you can see the company’s shareholder profiles.
Here, click on a shareholder name, in this case, “Clara John”.
Step 3: After this, you will be directed to the shareholder overview page where you can see the details of this shareholder.
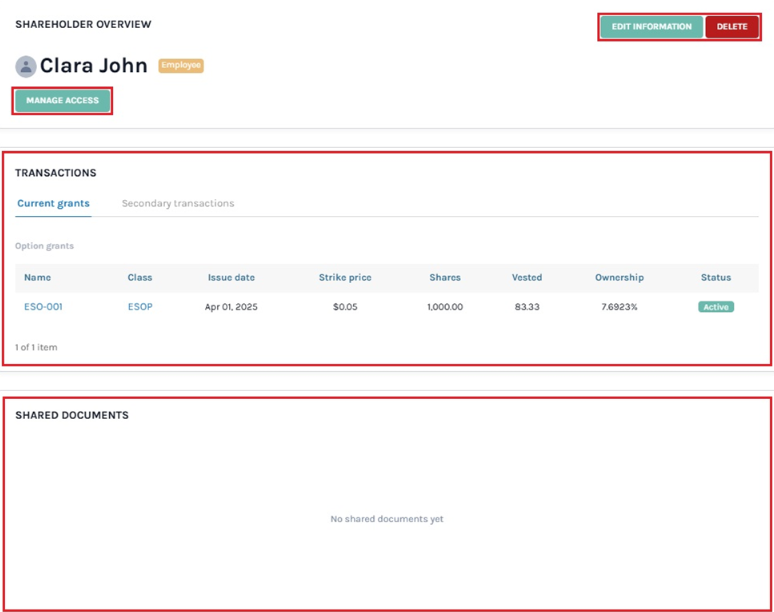
Other than the shareholder’s details, there are three other options on the page:
- On the top right-hand side of the dashboard, there are two buttons – “Edit Information” and “Delete”.
- Below the shareholder’s name, there is an option to “Manage Access” with the shareholder. This is to invite the shareholder to view the cap table.
- There is another part below where you can see all the grants that the shareholder holds in this company.
- The last section displays the documents shared with the shareholder.
Note: If the shareholder has not been issued anything yet, you will see the message, “No transactions yet” with a button that says, “Start Issuing”. Click on the button to issue shares to the shareholder right from here.
In this case, the shareholder has been offered many different securities. You can see all the details here. To see the details of each grant, you need to click on the grant number.
To help you further understand how each button edits shareholder information, we have explained each below:
#Option 1 – Edit Information
If you want to edit the details of the shareholder, you can easily select the option to “Edit Information” on the page. A pop-up box would appear below.
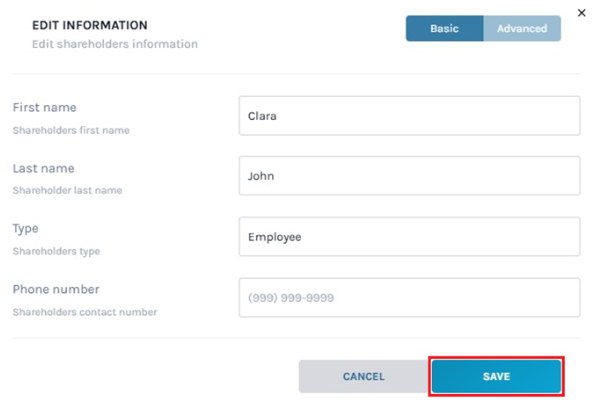
The panel has two tabs – basic and advanced. When this panel appears, you will first see the basic tab where you need to update the basic information of the shareholder including their first name, last name, type of shareholder, and phone number.
If you are done with this and do not want to edit the advanced information, you can click on “Save” to finalize it.
When you click on “Advanced” to edit the other information, the dialog box will extend with another part of the information.
Here, you will have to add details like shareholder ID, tax ID, secondary email ID, termination date, street address, city, state, ZIP, country, and any optional note that you want to add about this shareholder.

After you have added all the details, you can click on “Save” and the information will be updated. If you want to cancel the process, you can click on “Cancel”.
#Option 2 –Delete
Besides the “Edit Information”, there is a “Delete” button that allows you to delete the shareholder profile. Let us say that the shareholder is no longer a part of the company, you can easily delete their profile by selecting the “Delete” button.
Note: If the shareholder has been offered any grants, you will not be able to delete the profile and you will get the following warning.
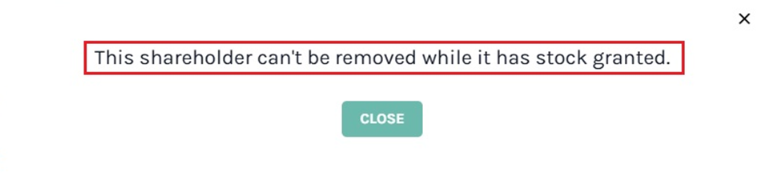
So, you will need to remove all the grants. Once you delete all the grants, you can click on the “Delete” button again.
Once you select this, a pop-up box will appear as below.

Select “Delete” to delete the shareholder profile and “Cancel” if you want to terminate the process.
Note: To further understand the reasons for deleting a shareholder profile, check out the FAQ here!
#Option 3 – Share Access
Note: If you have not yet issued shares to the shareholder, it is always better to first issue the shares and then share the cap table with them. To know all about issuing shares to a shareholder, check out the support article here!
Let us say that you have not shared or delegated access to the cap table with the shareholder yet. In this case, you can choose the option below the shareholder’s name that says “Manage Access”.
Share access and delegate access often refer to different levels of permissions granted to access the cap table and company information.
A. Share Access
Once you click on this, a panel will show up under the shareholder’s name as shown below:

Enter the email of the shareholder in the field for the email address and then click on the “Search” icon.
With this, you will get the option to choose the kind of access you want to give the shareholder. There are two options:
#1 Shareholder access: Under this, the shareholder will get the following access:
- Browse grants to this shareholder
- Sign and request electronic certifies as a shareholder
- Sign grant acceptance to this shareholder

#2 Full access/Admin access: User will have access to:
- Full Admin Access (full access to Company Cap Table)
- Sign certificates as a shareholder
- Sign grant acceptance as a shareholder

Select the option you want and then click on “Provide Shareholder Access” or “Provide Full Access”. If you do not want to send it just yet, you can click on “X” on the top right-hand side.
Note: Apart from the above discussed, to know the various methods of sharing access with the shareholder in detail, check out the support article here!
B. Delegate Access
Once you click, a pop-up panel appears as shown below. To provide access to your account, click on “Invite to Access”.

Here, you must type in the email address to whom you would like to delegate access and select the expiration period (optional).

Note: To further understand about delegating access to shareholders, check out the support article here!
#Option 4 – Issue Shares
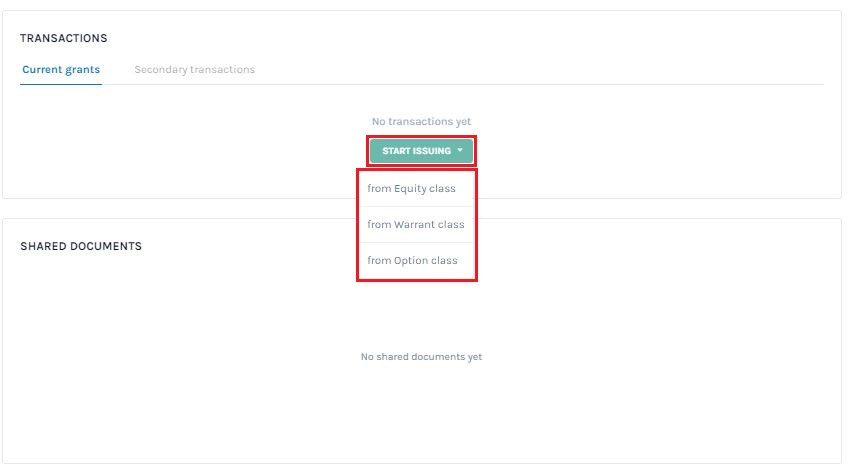
The last option is the one where you can start issuing shares to the shareholder right from here, in case you have not yet issued any grant to the shareholder.
For this, you need to click on “Start issuing” and you will get a tiny drop-down menu with options:
- From equity class
- From warrant class
- From option class
Based on which type of security you want to issue, select the option and begin the process.
Note: To know how to issue shares, options, warrants, and convertible notes, check out the respective support articles.
#Option 5 – Shared Documents
You will be able to see the name of the document you shared with the shareholder. In the case no documents have been shared with the shareholder, it would display the message “No Shared Documents Yet”.

Note: To learn more about sharing documents with shareholders, check out the support article here!
If you want to know more or understand any other process, check out the other support articles here or contact us!
