How to delete a vesting schedule/plan on Eqvista?
When you have created a vesting schedule on Eqvista and don’t need it anymore, you can easily have it deleted from the application.
Delete a vesting schedule
Here are the steps to have the vesting schedule deleted. Each method for deleting the schedule has been explained in detail below.
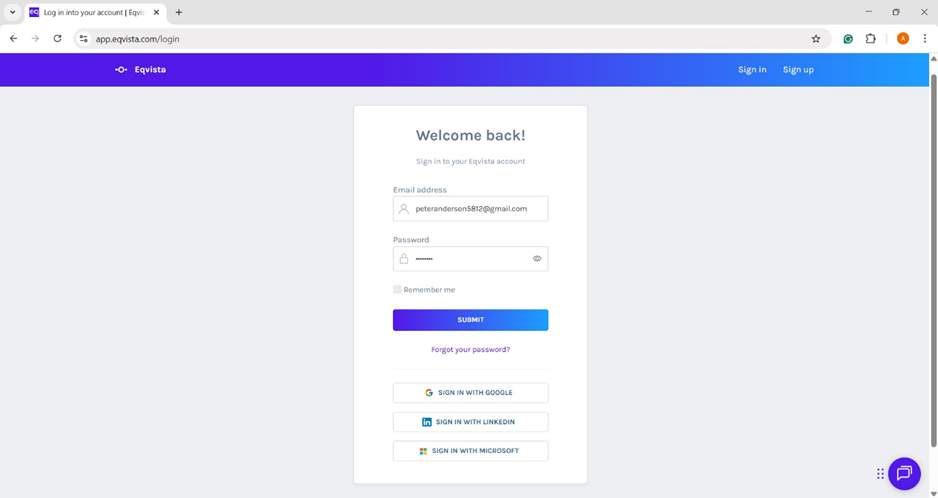
Before you can do anything, you need to log into your Eqvista account and select your company account to reach the dashboard.
Method 1
In this method, you will see how to delete a vesting schedule when you just created it and did not assign it to any share grant.
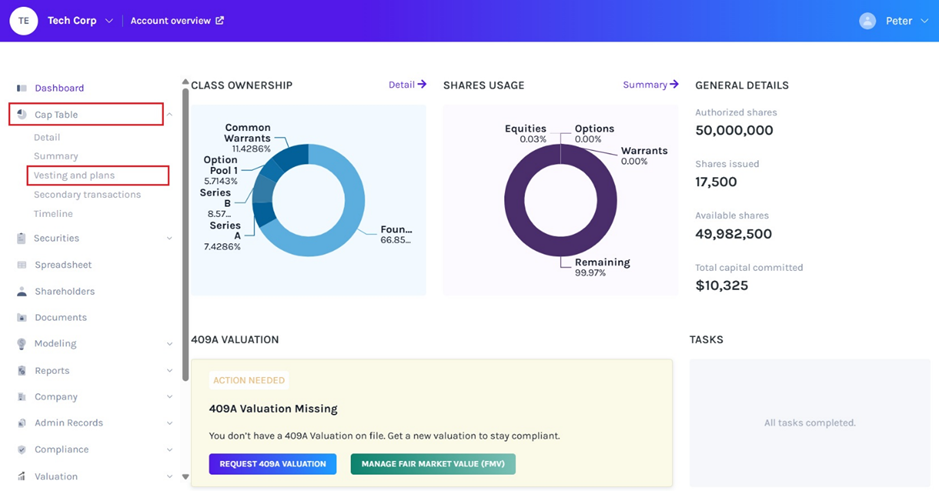
Step 1: From here, click on “Cap Table” on the menu and then “Vesting and plans” from the submenu.

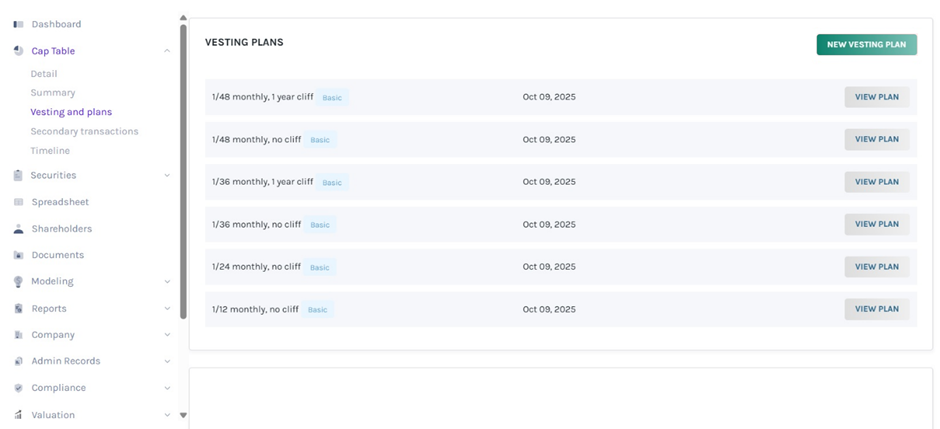
Step 2: You will then reach the page where you will be able to see all the vesting schedules. In case your company doesn’t have any vesting plan, you will see the message saying “There are no vesting plans created” and an option “Create Vesting Plan” below it.
Note: You can create your vesting plan or choose from six default plans. To know more about vesting plans, check out the support article here!
To delete a vesting plan that was created and now you do not want to use it again, click on the button that says “View Plan” beside the vesting schedule’s name as shown in the image.

Step 3: Once you click on it, you will reach the page where you can view the plan.
Note: The vesting plan has not been applied for any share grant.
On the top right-hand side of the page, you will see the “Actions” button. By clicking on this, a list of actions that can be taken on the vesting schedule will appear including, editing the plan, applying the plan on a grant, duplicating the plan, and deleting the plan.
So, for you to delete the plan from here, you just need to select the option, which is “Delete”.

Step 4: Once you click on this, a pop-up message will appear as shown below.
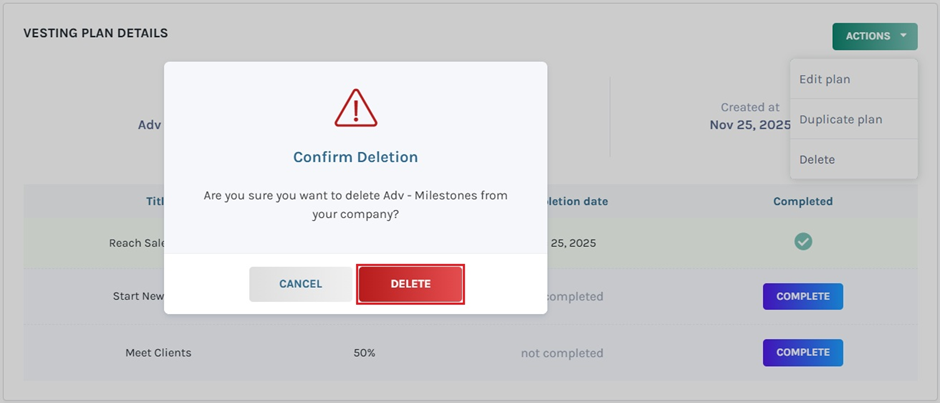
The message asks you to confirm if you want this vesting plan deleted. Since we are sure, click on “Delete”. In case you selected the wrong vesting plan to delete, then you can click on “Cancel” and re-do the above steps with the right vesting plan.
Step 5: This would take you back to the page where you can see all the vesting schedules. Now, you will see that the one you just deleted is not there.
Method 2
Under this method, we will show how to delete a vesting plan when it has already been applied to a grant. Since you cannot delete the vesting plan directly in this case, you need to first cancel the grant and then delete the vesting plan.
Here are the steps to do this.
Step 1:
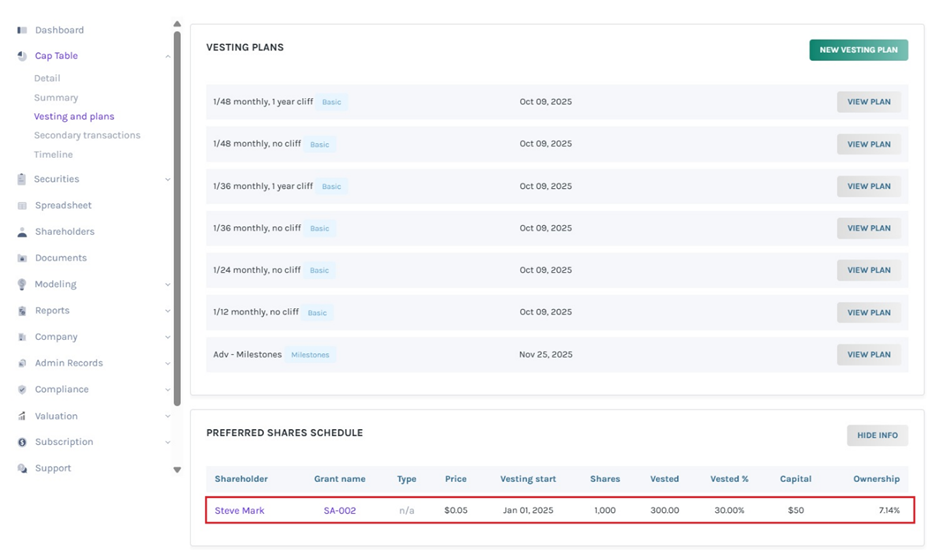
On the dashboard, click on “Cap table” and then on “Vesting and plans”. This will take you to the page where you can see all the vesting plans.
Step 2: On this page, click on the “grant name” beside the shareholder’s name, whose grant you want to cancel.
Step 3: Once you do this, you will be directed to the page where you can see the details of the grant as shown below.
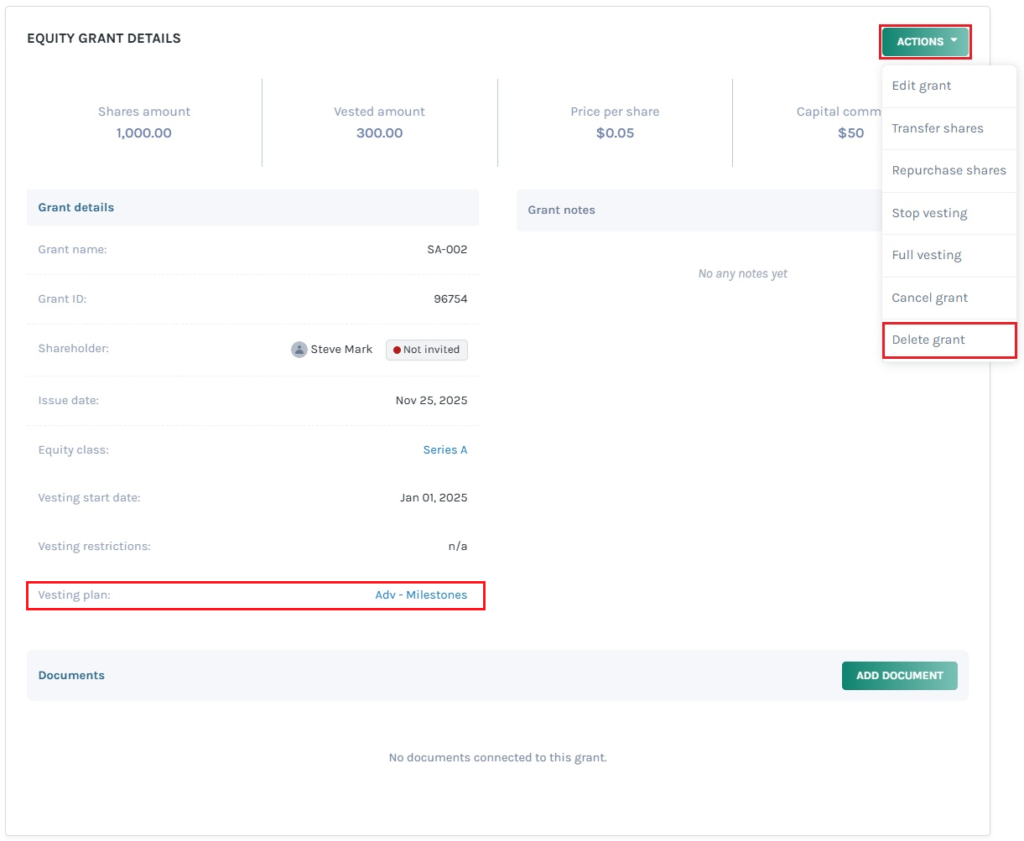
From here, you need to click on the top right-hand side button that says, “Actions”. A tiny drop-down menu will appear and you will see the various actions that you can take on the grant including editing the grant, transferring the shares, repurchasing the shares, stopping the vesting, canceling the grant, and deleting the grant.
Since we are about to delete the vesting schedule, we will be deleting the grant here. So, select the option “Delete grant”.
Note: Ensure that you are deleting the right grant. You can check the name of the vesting plan on the left side information panel as shown above. If the plan is the vesting plan you want to delete, then delete the grant.
Step 4: Once you do this, a message will appear asking you if you are sure you want to delete the grant as shown below.
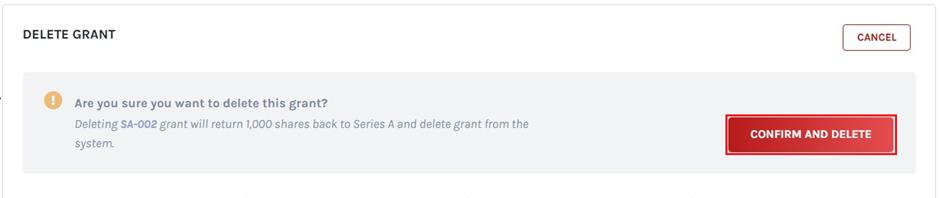
Here, click on the button “Confirm and Delete”. If you have selected the wrong grant name or decided not to move ahead with the plan, you can also choose the option “Cancel”, which is on the top of the “Confirm and Delete” button.
Step 5: By clicking on that, the grant would be deleted. Now, you can easily delete the vesting schedule by following the same steps as mentioned in Method 1. All you need to do from here is – go back to the “Cap Table” and then “Vesting and plans” to click on “View Plan” beside the vesting plan that you want to delete as shown below.
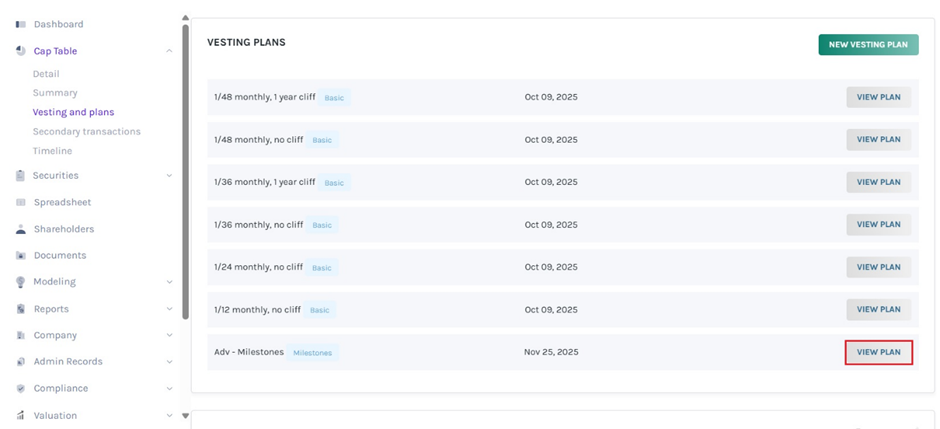
Then, follow the steps from Method 1 and Step 3 to delete the plan.
In short, following all these steps shared above, you can easily delete a vesting plan.
To know more about how to work on other things like creating a vesting schedule and applying, check out the support articles here.
