How to apply/implement vesting schedules for equities in spreadsheet view?
With the help of Eqvista, it is easy to implement a vesting schedule for equities in the Spreadsheet view.
Note: The spreadsheet feature is only available to Premium account holders. Please upgrade your account if you want to unlock this feature.
How do you track share vesting schedules?
On Eqvista, you can manage your vesting schedules of shares in a similar way to Excel spreadsheets using the spreadsheet feature. You can add, edit, and delete information easily and store everything securely.
To make things easier for those who need some help, here is a step-by-step guide on how to apply/implement vesting schedules for equities in the spreadsheet view.
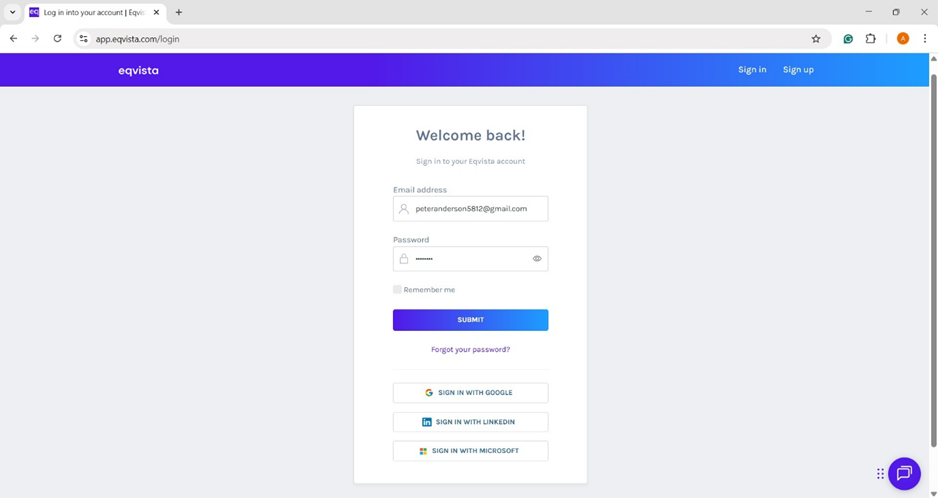
Step 1: Log into your Eqvista account with your credentials and select your company account to reach the dashboard.
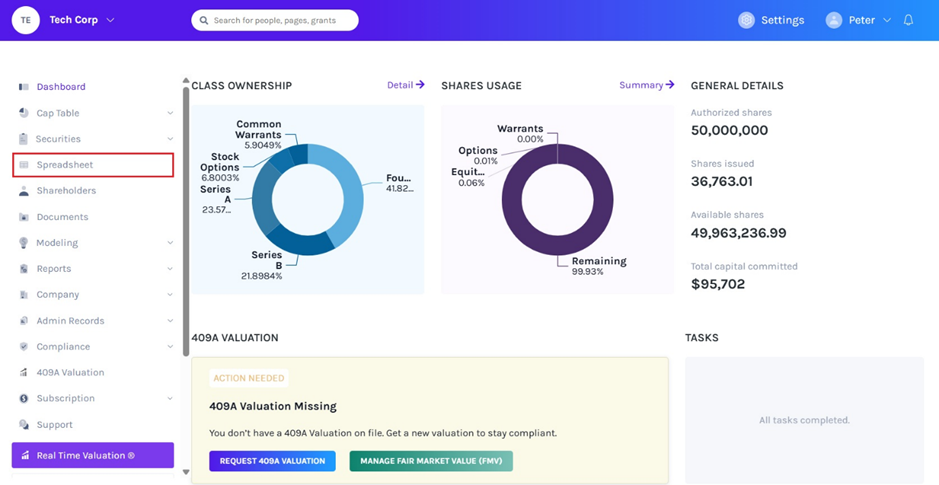
Now, click on “Spreadsheet” from the left side menu. There, you will find the page below.
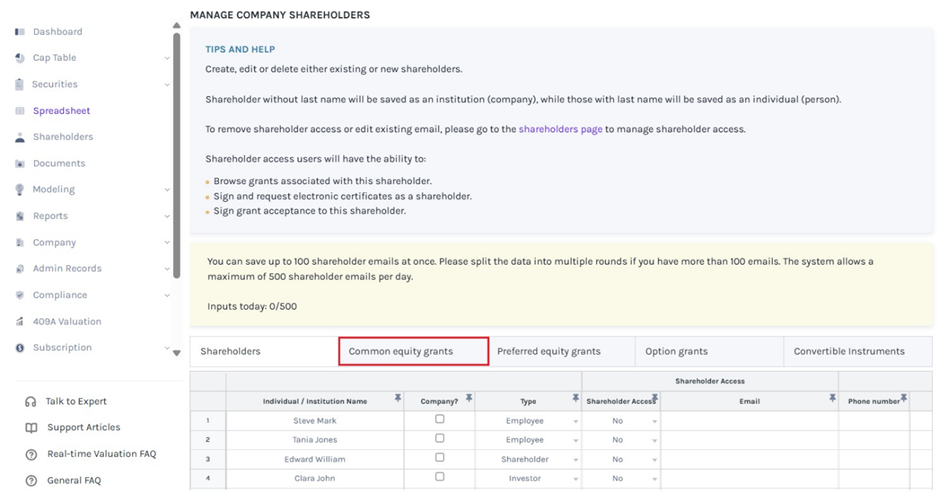
Step 2: Once you click, a page will open for you as shown below. Under “Select Table Type” on the right-hand side, select “Common Equity Grants”.
Step 3:
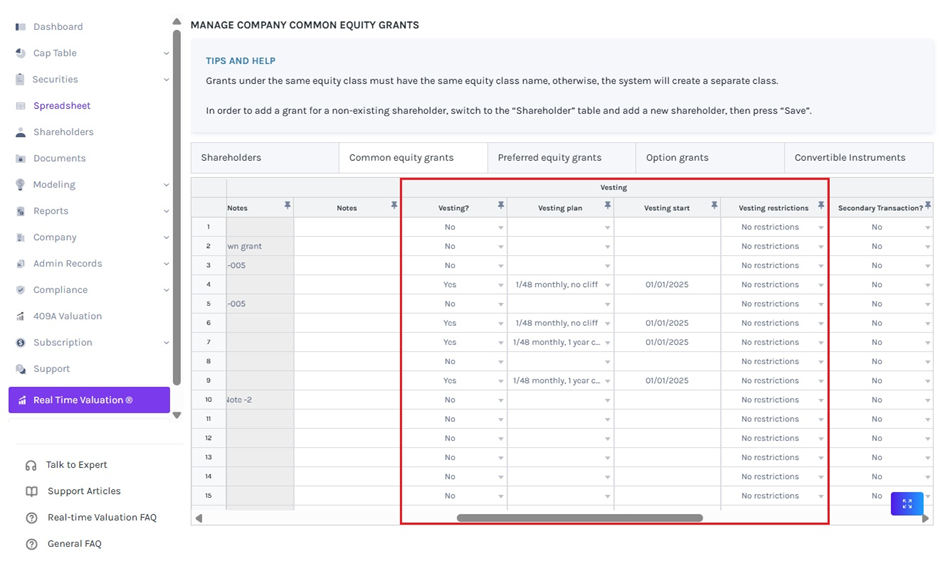
Note: On this page, you can add a new shareholder, equity class, grant name, share amount, share price, and other vesting details. Check out the support article to learn more about the common equity grant table under spreadsheet view.
The vesting section has four subcategories. The first one is “vesting” which tells whether the shareholder has vesting or not, next is the “vesting plan” wherein you can choose the plan and the next one is “vesting start” wherein the starting date of the vesting plan is entered, and the last one is “vesting restrictions” wherein the restriction is selected.
Note: Before you can choose a vesting plan for a shareholder, you must create a vesting schedule or choose from six default plans under “Vesting and plans”. To know more about vesting plans, check out the support article here!
To perform secondary transactions, under the “Secondary Transaction” section, the first one is “Secondary Transaction”, which provides the different options to choose from.
Note: You can perform Transfer, Repurchase, and Cancelation on common equity grants. Check out the respective support articles on how to perform secondary transactions.
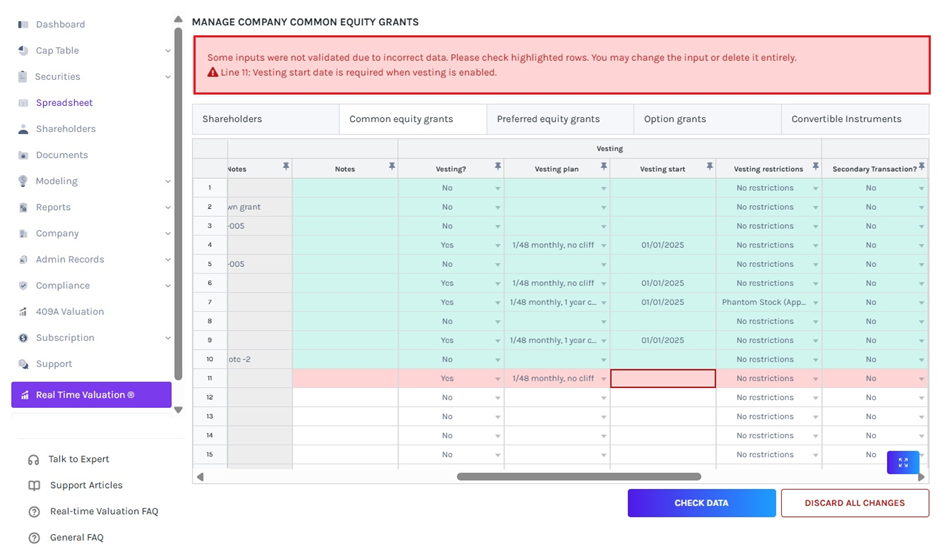
Step 4: After adding or editing the details, click the “Check Data” button. If you want to cancel the process, click “Discard all Changes”.

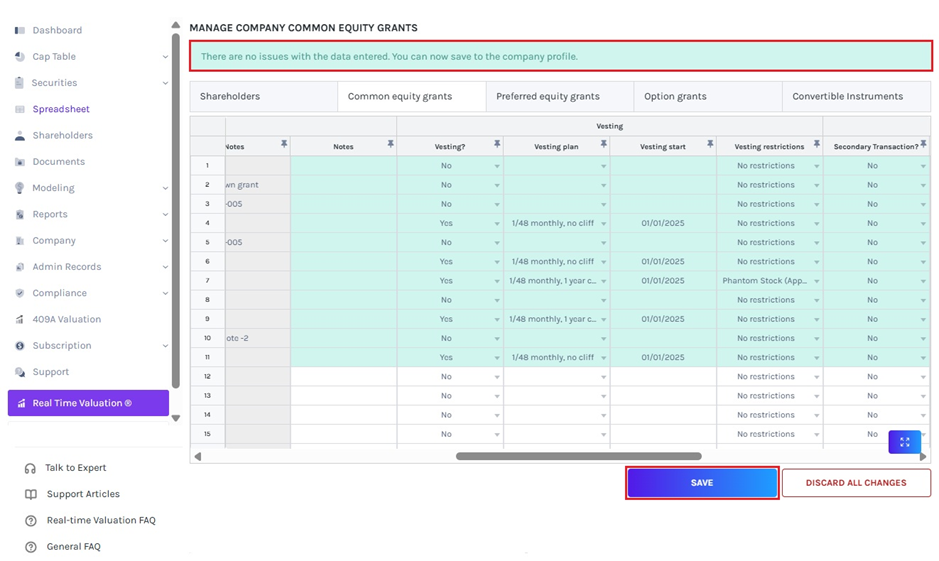
Step 5: After your information has been checked, a data validation message will appear and two things can happen: either the entered information is right and you can save it, or some information may be missing or incorrect.
If there are some issues or some details are missing, the validation message will appear in “Red” along with details of the issue, as shown below.
Once the information has been checked, click on “Save”.
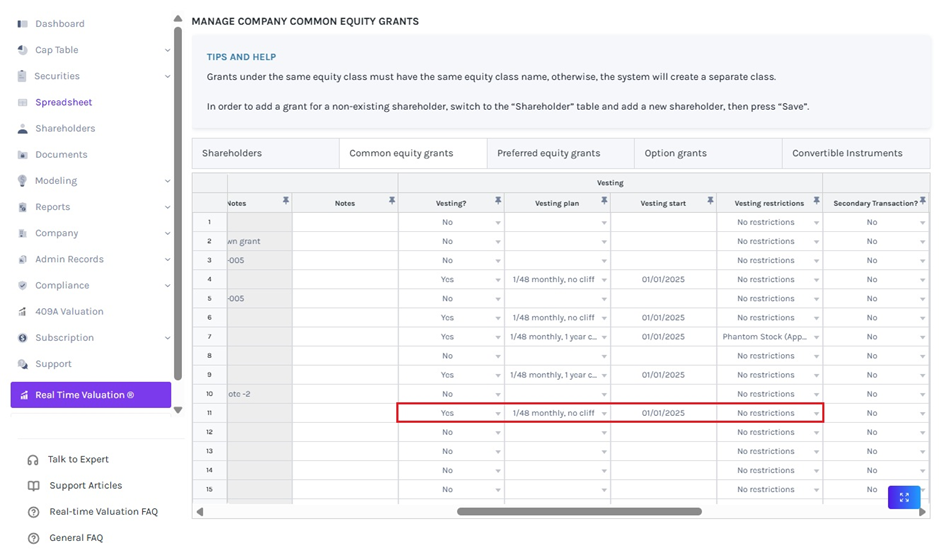
Step 6: After data validation, the vesting details will be added to the spreadsheet under the “Common Equity Grants” table as shown below.
Step 7: The vesting schedule can also be seen by clicking “Securities” on the left-hand side to get a drop-down menu. Then, click on “Equities” and you will see all the equity classes.
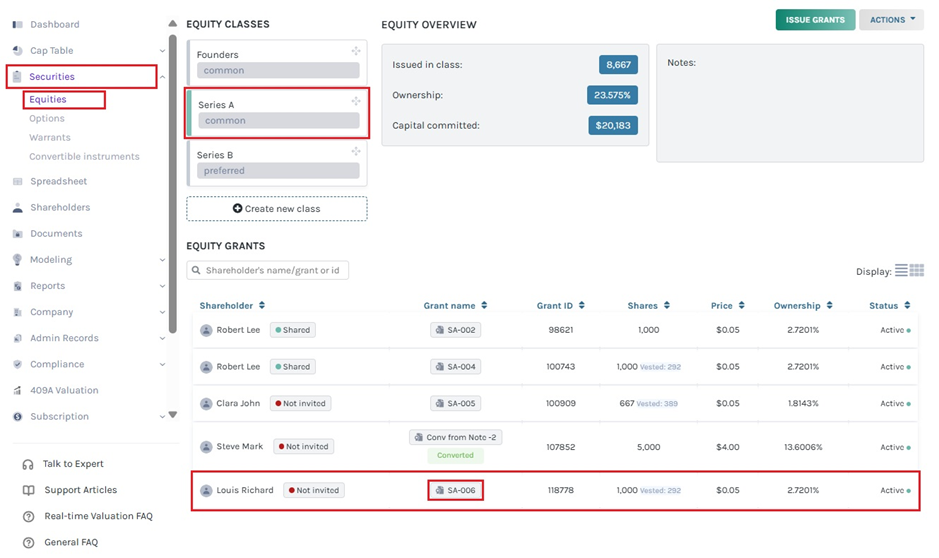
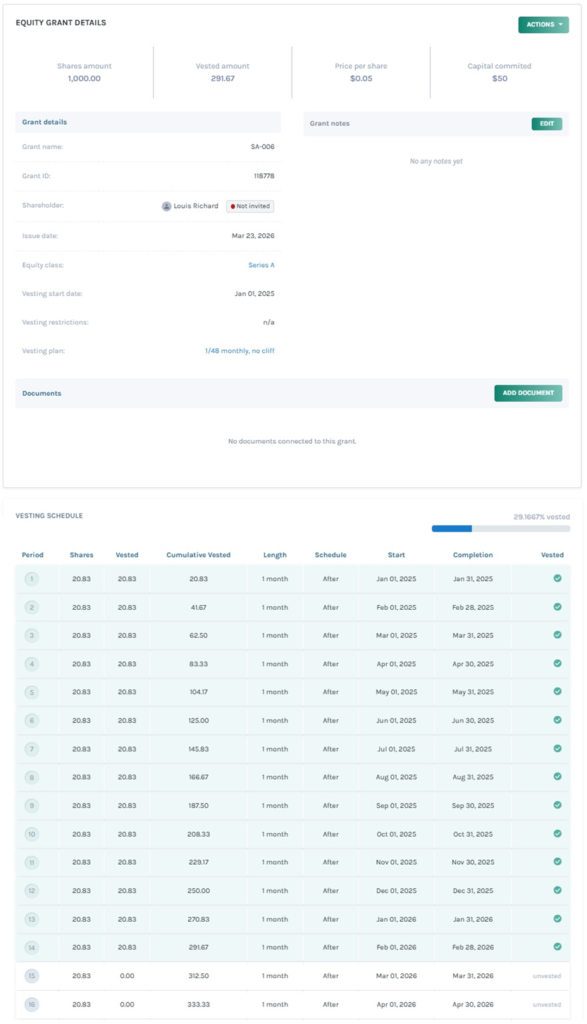
If you want to see the vesting schedule, click on the grant name. In this case, click on “SA-006”.
This would take you to the page where you can see the details of the option issuance.
Note: You can add document to the grant by clicking on “Add Document”. Check out the support article to know more about adding documents to grants.
Similarly, you can apply the vesting details for preferred equity grants and option grants under the spreadsheet view.
Check out our other support articles on how to use the spreadsheet feature for shareholders, common equity grants, preferred equity grants, and option grants.
If you want to know more about Eqvista’s service, please don’t hesitate to contact us.
