Converting Notes Using Price Per Share Method in Spreadsheet
Converting notes into company shares is one of the most important transactions an investor can make in a company. Using Eqvista’s spreadsheet, convert notes into shares using valuation or price per share method.
Convert notes into shares using price per share method
Here are the steps to follow:
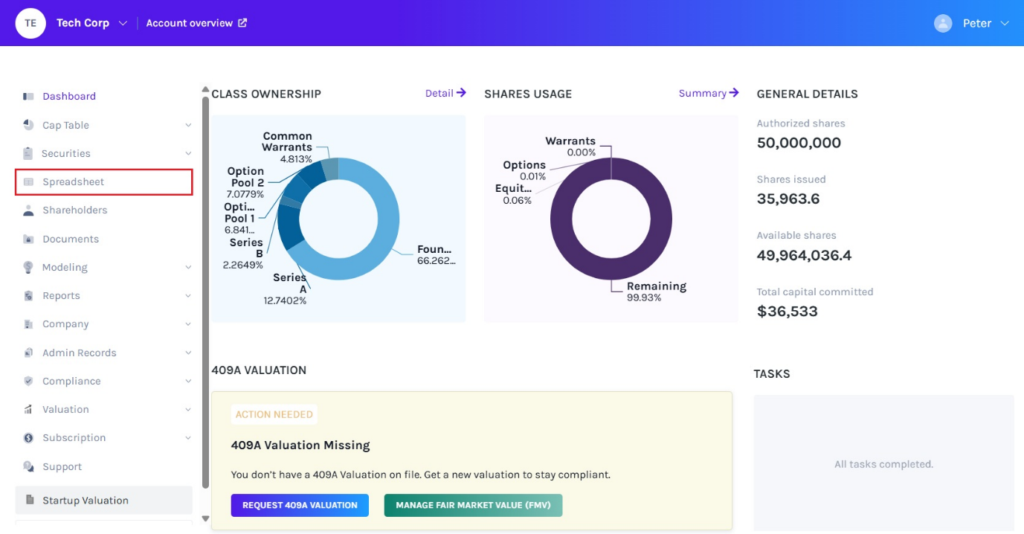
Step 1: Log into Eqvista and select your company.

On the dashboard, click “Spreadsheet” on the left-side menu on the page below.
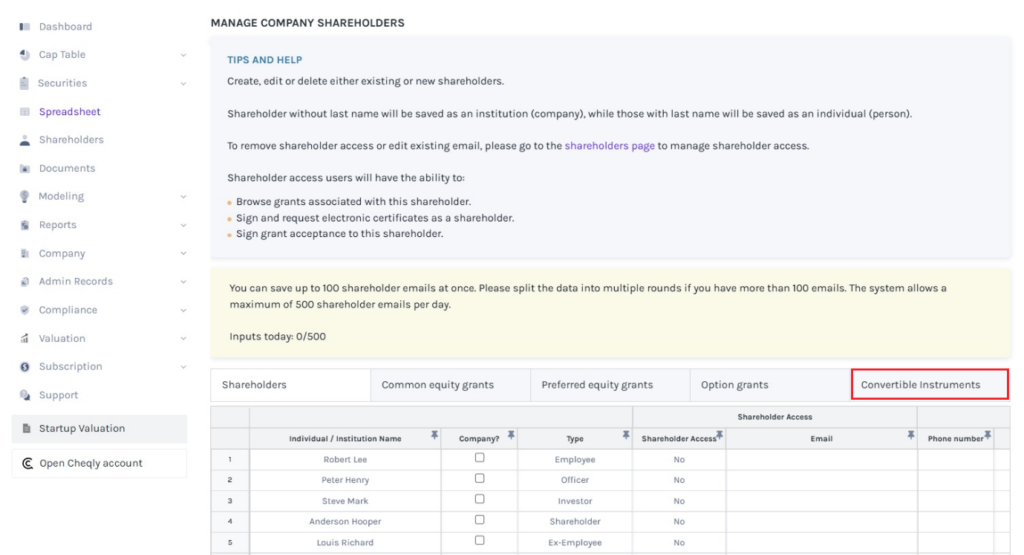
Step 2: Then, you will be directed to the page as shown below. At the top of the table, click on “Convertible Instruments”.
Step 3:
Note: On this page, you can view all the convertible notes issued to shareholders. Check out the support article to learn how to issue convertible notes using spreadsheet.
Under the Conversion section, the first one is “Conversion” which provides two options: “Yes” or “No”. Once you select the option, choose the “Method” from the drop-down menu.
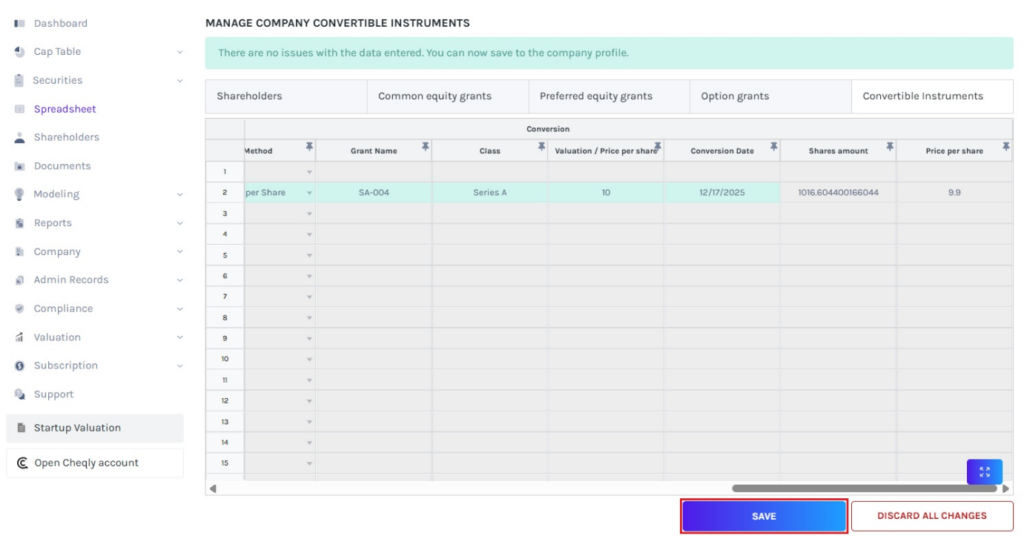
In this case, select “Price per share” method, enter the grant name, class, price per share, and conversion date. Based on the price per share entered, the share amount and price per share will be automatically displayed as shown below.
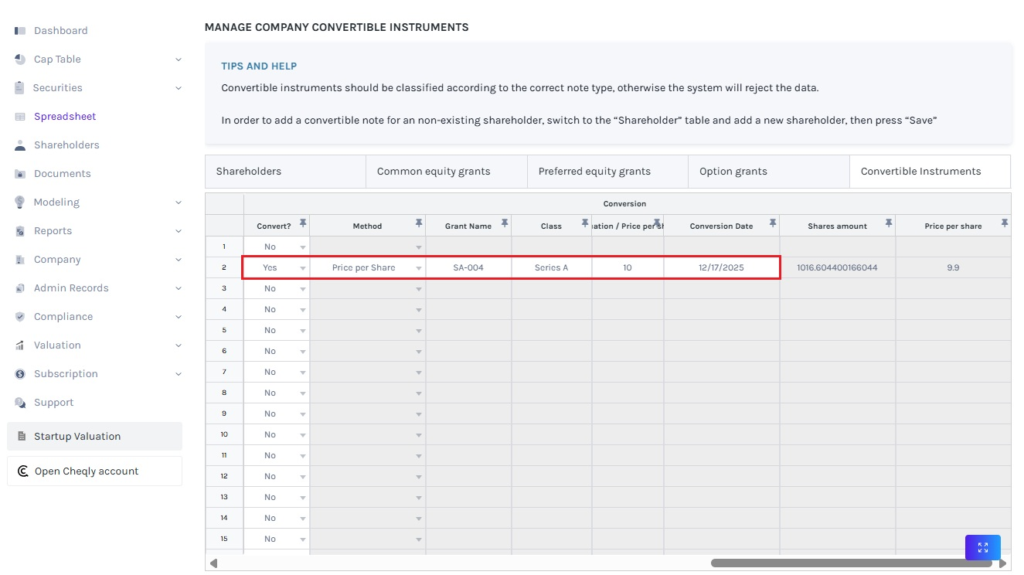
Note: You can convert notes using the valuation method by selecting “Valuation”. To understand how to convert using valuation, check out the support article!
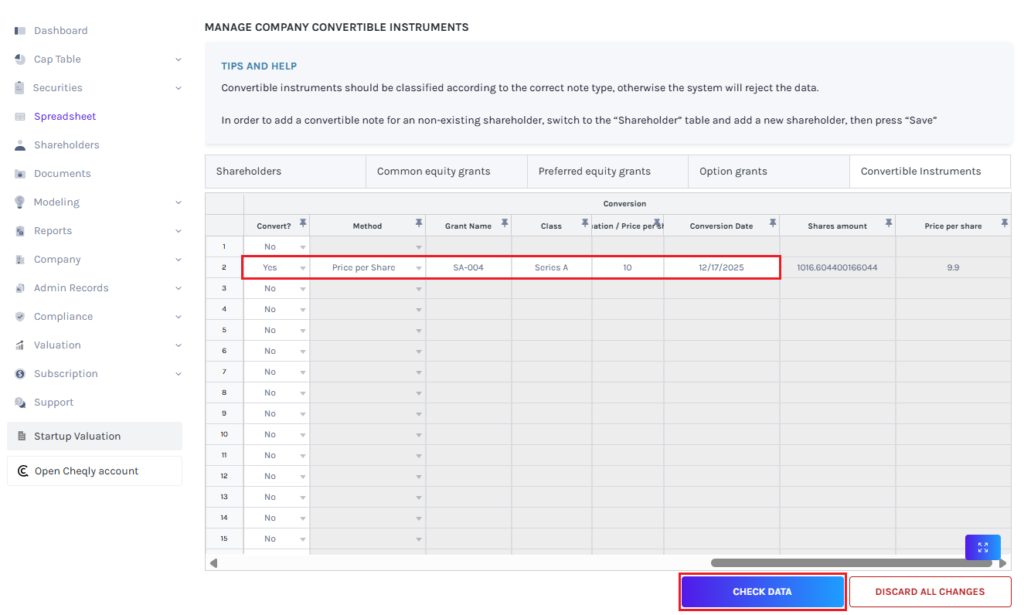
Step 4: After filling in the details, click on “Check Data”. If you wish to cancel the process, click “Discard all Changes”.
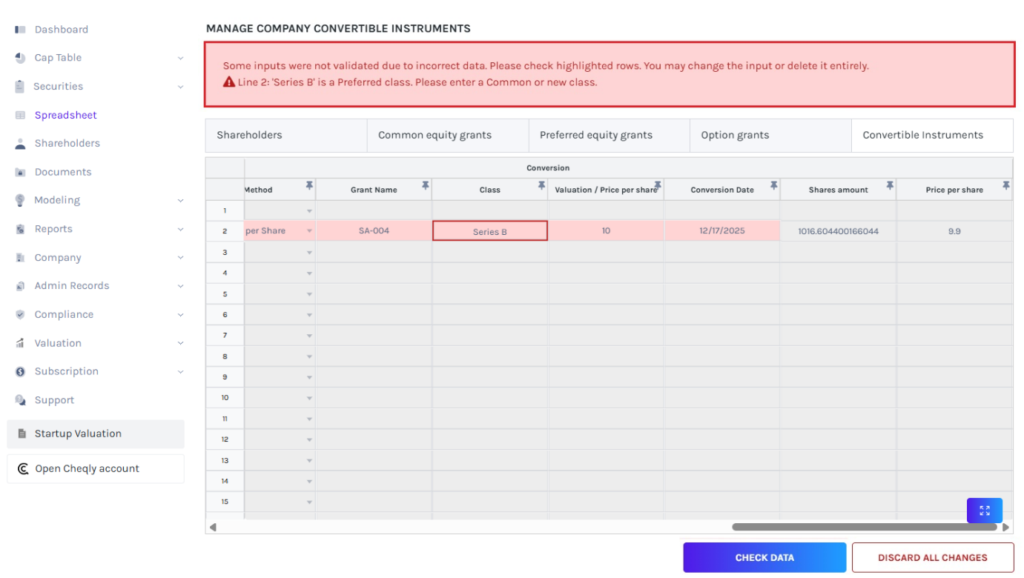
Step 5: Once details have been checked, a data validation message appears: either the entered details are right and you can save, or some information may be missing or incorrect.
If there are issues or missing information, the validation message appears in “Red” along with details of the issue.
Once the entered details have been checked, click on “Save”.
Step 6: After data validation, the secondary transaction will be performed in the “Convertible Instruments” table and saved successfully, as shown below.

Step 7: The record of the conversion can be viewed by clicking “Cap Table” on the left to get a drop-down menu and select “Secondary Transactions”. On this page, click on “Conversions” to verify if the grant is converted.
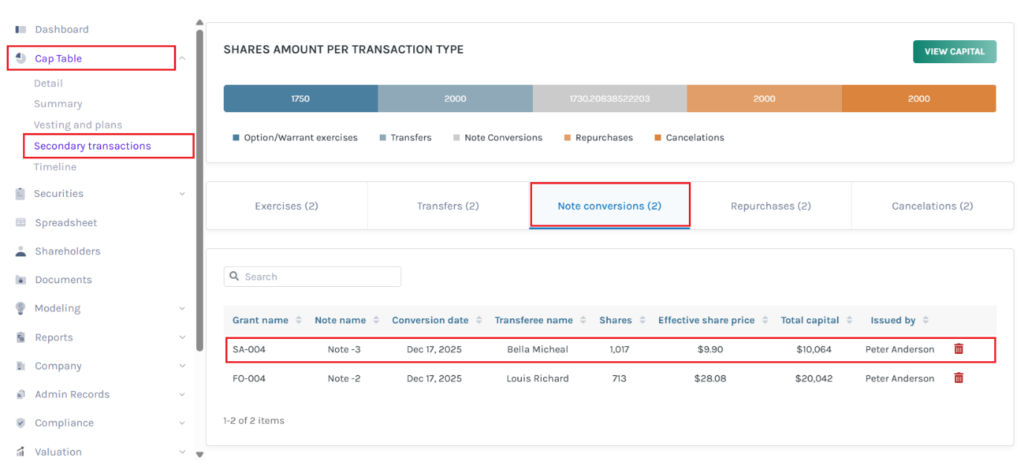
Once you click, you can view the secondary transaction details and click on the grant name to view the conversion.
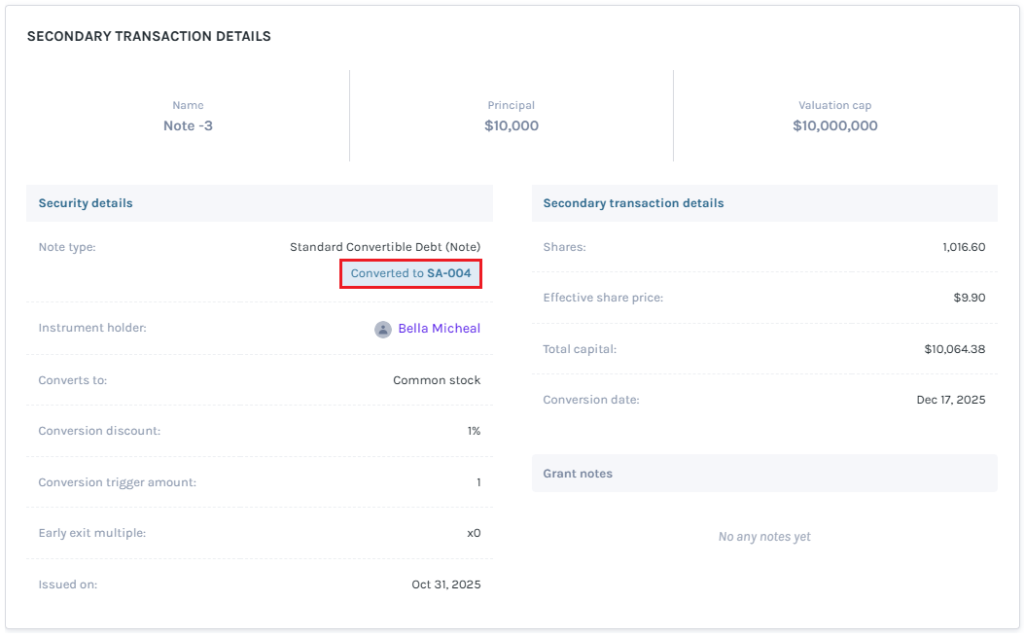
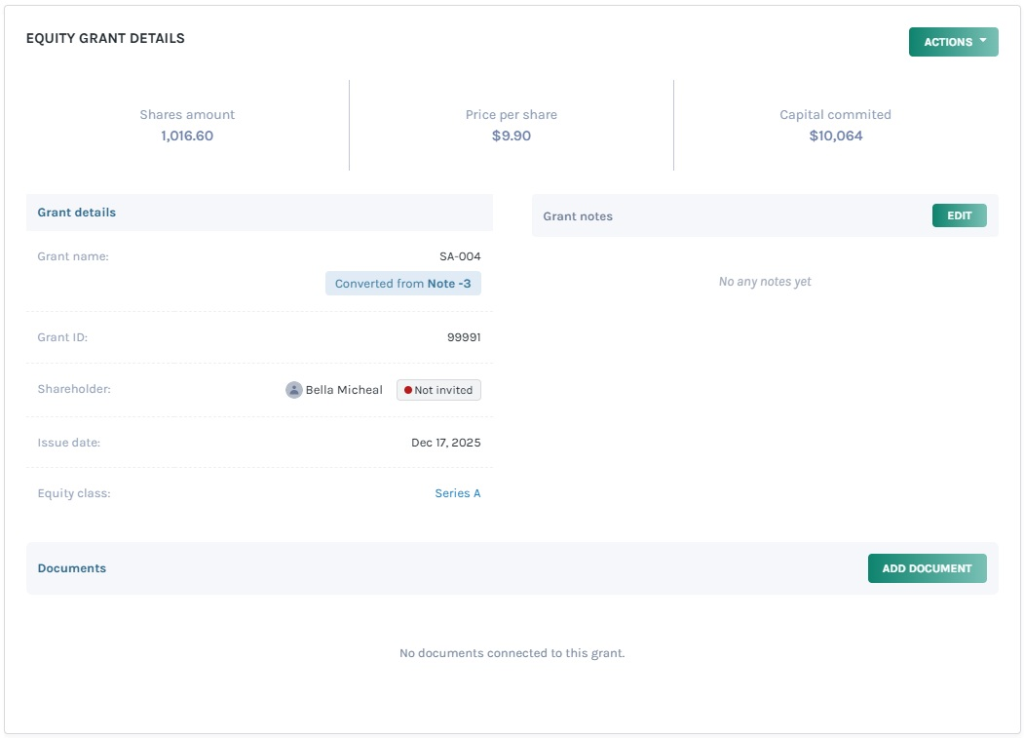
Step 8: Then, you will be directed to the page to view the details of the conversion, as shown below.
Note: You can add a document to the grant by clicking on “Add Document”. Check out the support article to learn about adding documents to grants.
To know more about Eqvista, check out our support articles and knowledge base. For queries, get in touch with us!
