Secondary Transactions – Transfer All Shares
Secondary transactions take place after primary issuance has been granted. One of the important secondary transactions is a share transfer.
Transfer all shares from one shareholder to another
Here is a step-by-step guide on how you can transfer all shares from one shareholder to another.
Step 1: Log into your Eqvista account and select your company account.
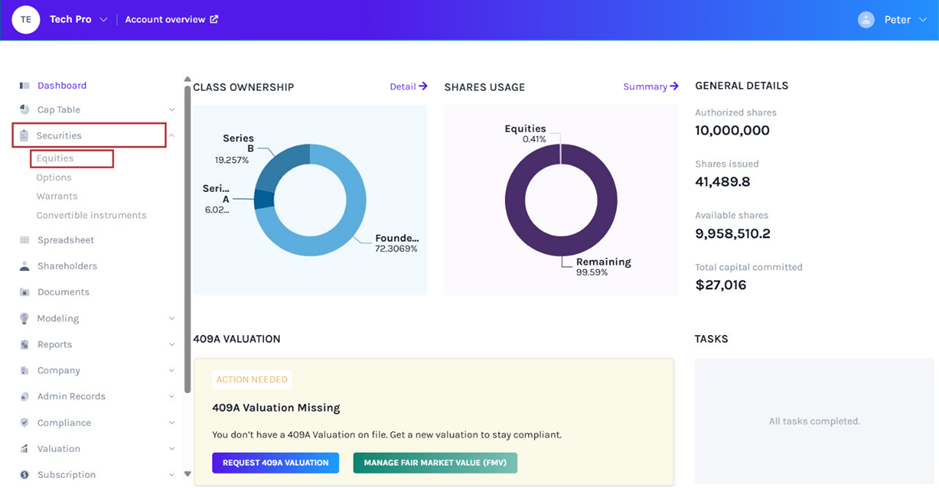
On the dashboard, click on “Securities” on the left-hand side to get a drop-down menu. Then select “Equities”.
Step 2: Once you select, you will be redirected to the following page.

Note: On this page, click on “Create New Class” to create an equity class and if you have created one, you can issue shares and implement a vesting schedule.
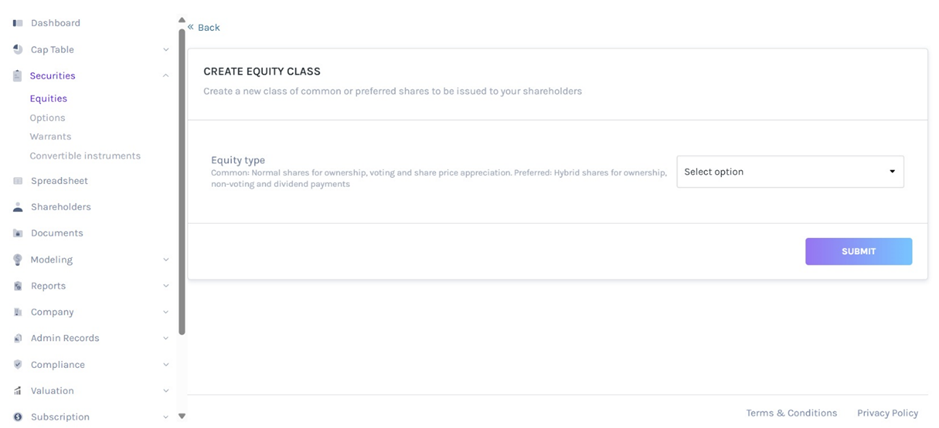
Then, click the equity class created, a panel will appear showing the details of those who have been issued shares from this class.
In this case, we will click “Series B” and select the grant “SB-006”.
Step 3: You will be redirected to the grant details page below.
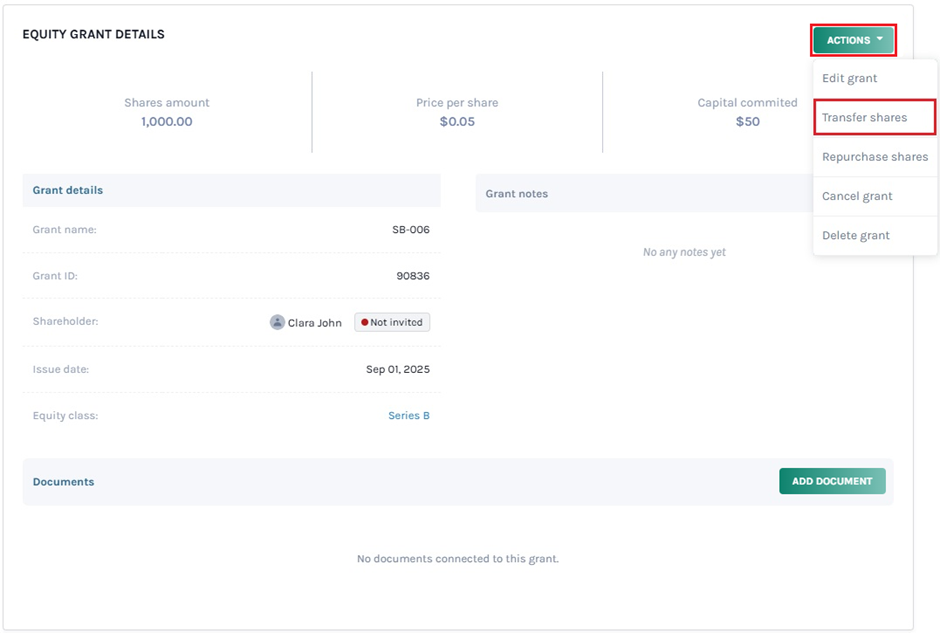
Once here, you can begin the process of transferring shares. Click on “Actions” and then from the mini drop-down menu, click on “Transfer Shares”.
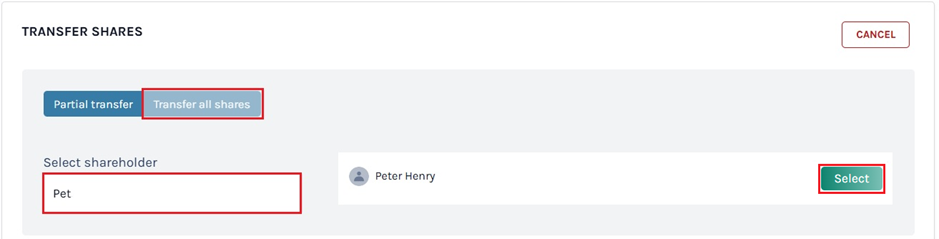
Step 4: By doing this, a new window will appear. The first step is deciding whether it will be a Partial transfer or Transfer all shares.
In this case, we selected the option “Transfer all shares”. Type the shareholder’s name in the field, and it will appear for you to select on the right-hand side. When the name comes up, you need to click the button that says “Select”.
Note: You need to have a shareholder profile already created to transfer the shares to them. You can also partially transfer shares issued to you by clicking “Partial Transfer”. To learn how to partially transfer shares, check out the support article!
Step 5: With this, a new panel will appear.
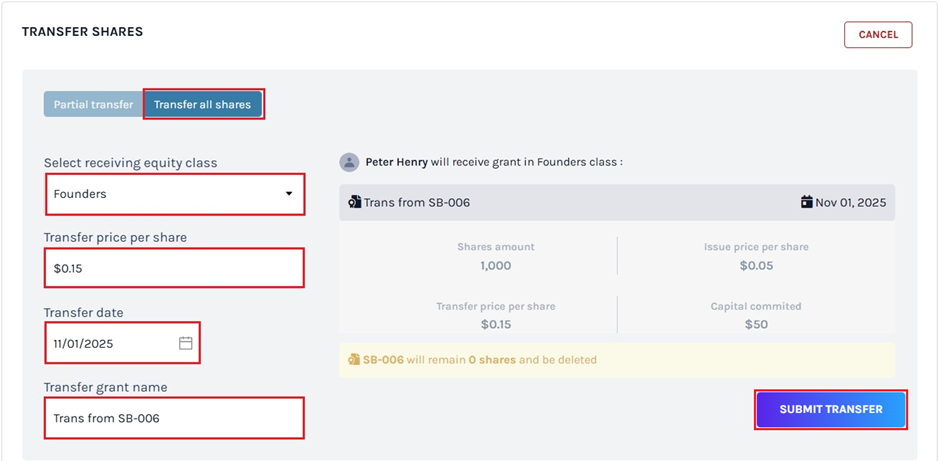
Select the equity class of which this new grant would be a part. Then, the price per share, transfer date, and transfer grant name will be automatically filled.
If the transfer date is not today and the price per share is not the same as the initial share grant, you can edit that as well. As you edit the details, the right-side panel gets updated.
Once you have filled in the details, click “Submit Transfer”.
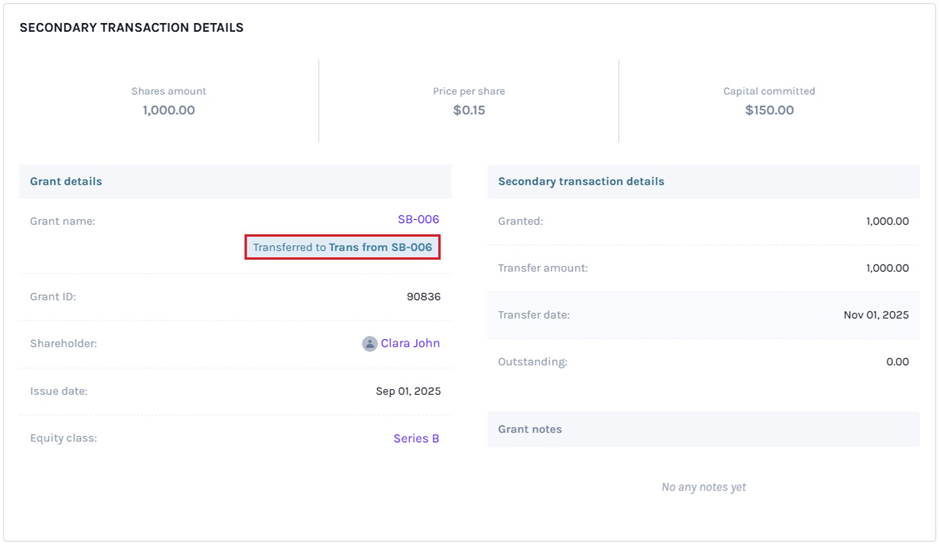
Step 6: Then, you will be redirected to the secondary transaction details, and click on the grant name to view the transferred grant.
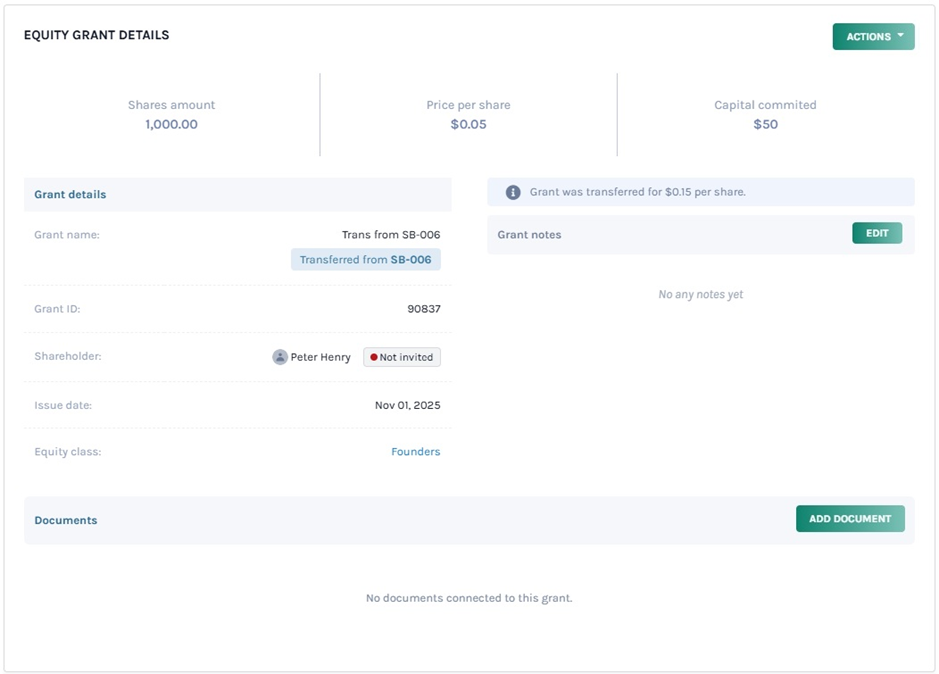
Step 7: Then, you will be redirected to the new share details page.
Note: You can add document to the grant by clicking on “Add Document”. Check out the support article to know more about adding documents to grants.
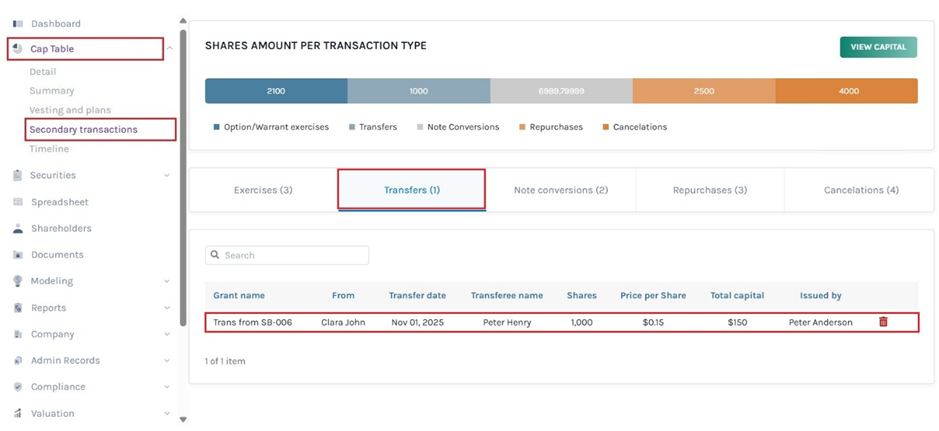
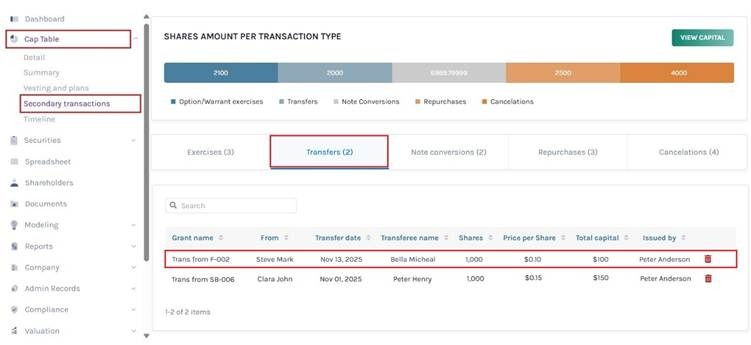
Step 8: The record of the transferred grant can be seen by clicking “Cap Table” on the left-hand side to get a drop-down menu. Then, click on “Secondary Transactions” and you will see all the transactions – Exercises, Transfers, Note conversions, Repurchases, and Cancellations.
On this page, click on “Transfers” to check if the grant is transferred.
Transfer using spreadsheet
Step 9: Suppose you want to perform transfer using the spreadsheet feature. At the top of the table, click on “Common Equity Grants”. Under the Secondary Transaction section, the first one is “Secondary Transaction” which provides the different options to choose from. Once you select “Transfer” from the drop-down menu, enter the date, amount, price per share, select the receiver, receiving equity class, and grant name.
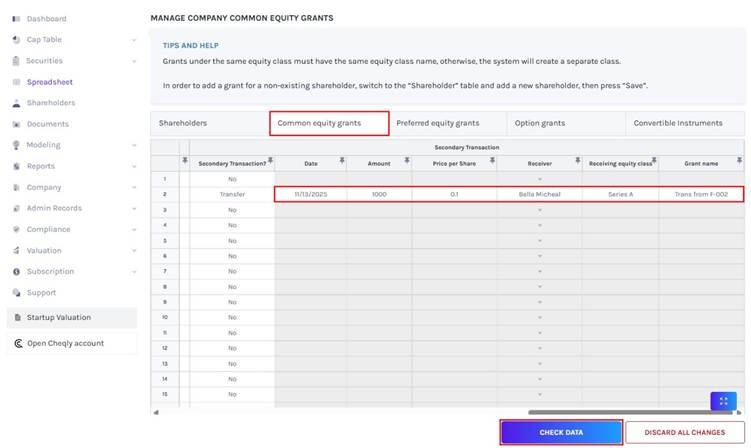
After adding the details, click on “Check Data”. If you want to cancel the process, click “Discard all Changes”.
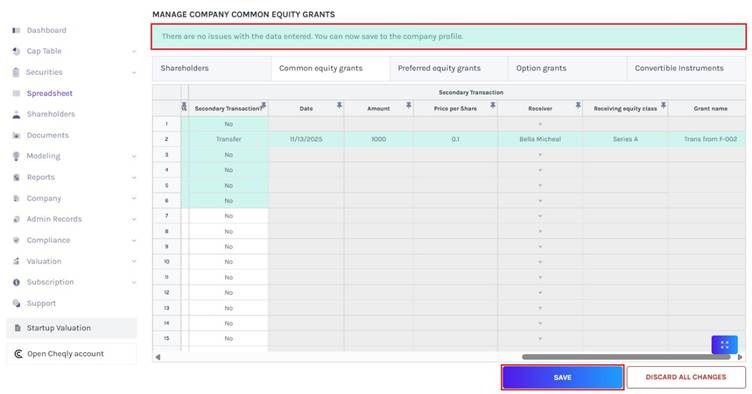
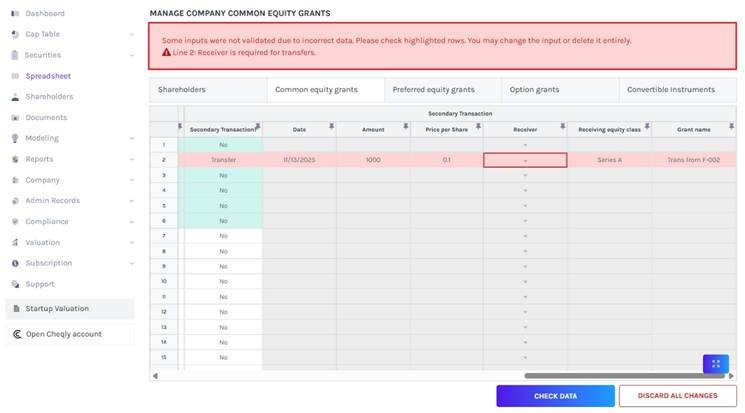
Step 10: Once your details have been checked, a data validation message will appear: either the entered details are correct and you can save them, or some information may be missing or incorrect.
When there are some issues or missing information, the validation message will appear in “Red” along with the details of the issue.
Once the details have been checked, click on “Save”.
Step 11: The record of the transfer can be seen by clicking “Cap Table” on the left side to get a drop-down menu and selecting “Secondary Transactions”. On this page, click on “Transfers” to verify if the grant is transferred.
For more information on Eqvista’s other features, check out our support articles or get in touch with us today!
