How can a user request a 409a valuation on Eqvista?
If you are on Eqvista, you already know that using the application is quite simple. The best thing about this application is that you can also request a 409A valuation right from the dashboard. It also keeps all the records and previous valuation results to help you keep track as your company grows. Not sure how?
Note: A 409a valuation is applicable for 12 months or year after the valuation date unless there is a significant material event.
Request a 409a valuation
On Eqvista, you can request a 409A valuation right from the dashboard in just a few clicks
Here are the steps to do it:
Step 1: Log in to the application, select your company to request a 409A valuation.
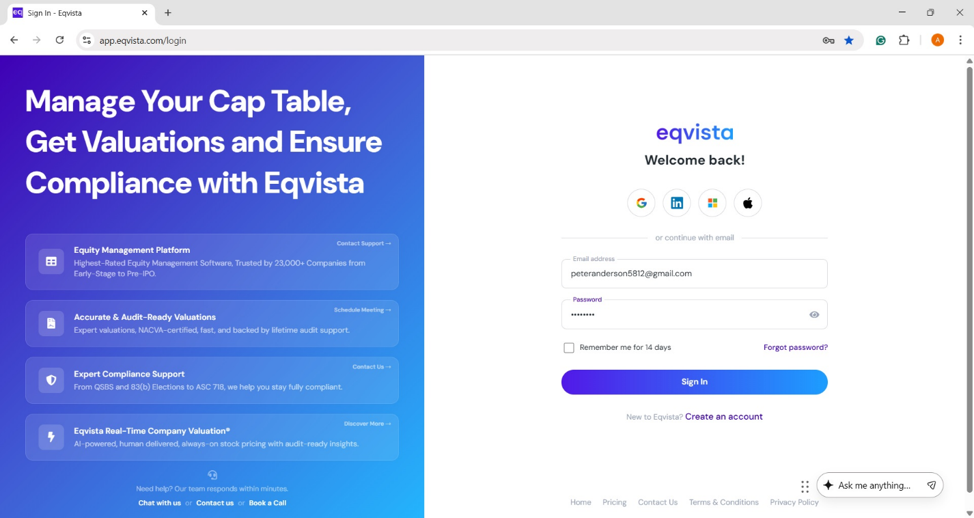
There are two ways in which you can add it to the company.
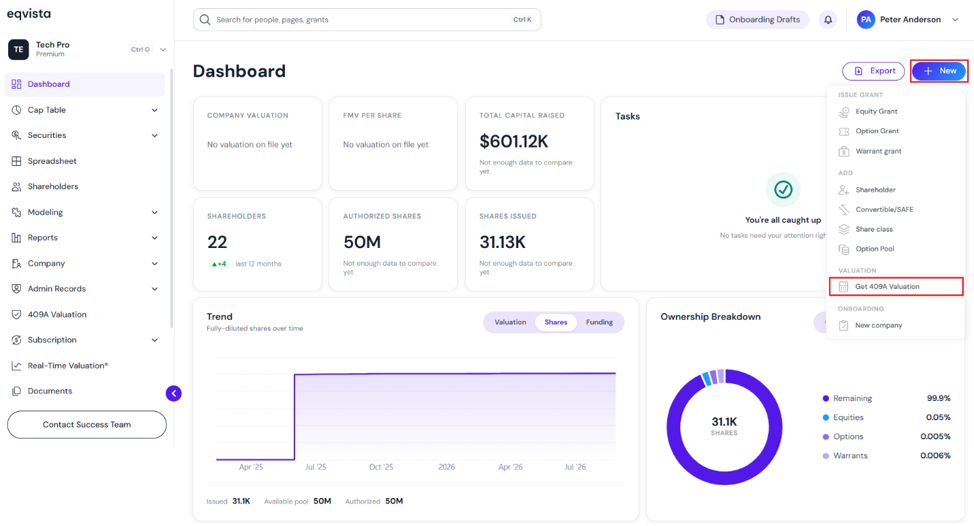
Method 1
On the dashboard, click on “New” on the right-hand side to get a drop-down menu and select “Get 409A Valuation”.
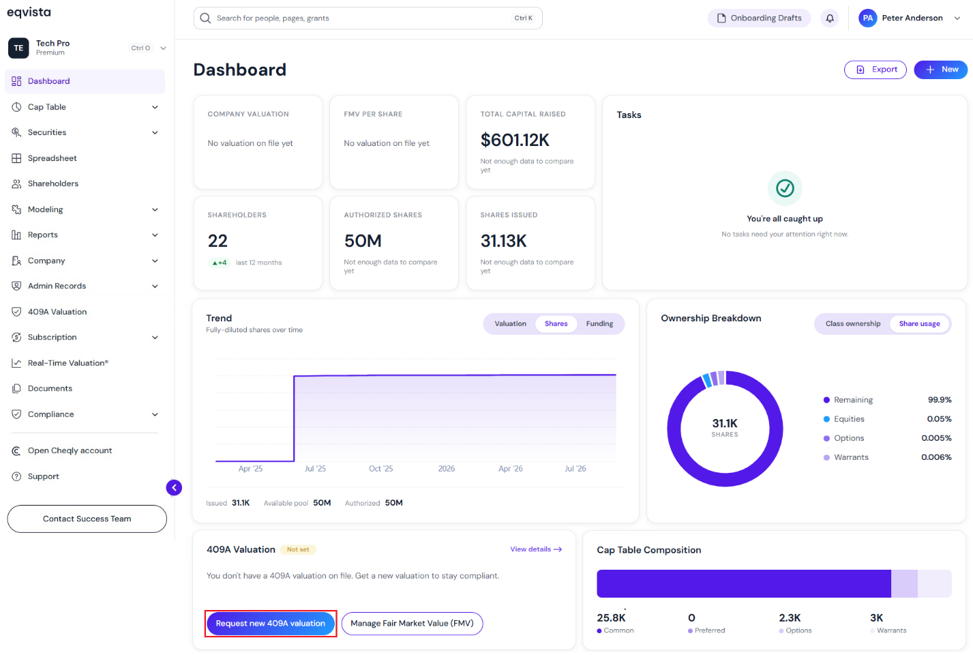
Method 2
On your dashboard, click on “Request 409A Valuation” as shown below.
Step 2: Once you do this, you will be redirected to the following page.
Fill in the details for each field including total outside capital raised, approximate annual revenue, number of stakeholders on cap table, and purpose of valuation.
Note: A 409A valuation is applicable for 12 months or year after the valuation date unless there is a significant material event.
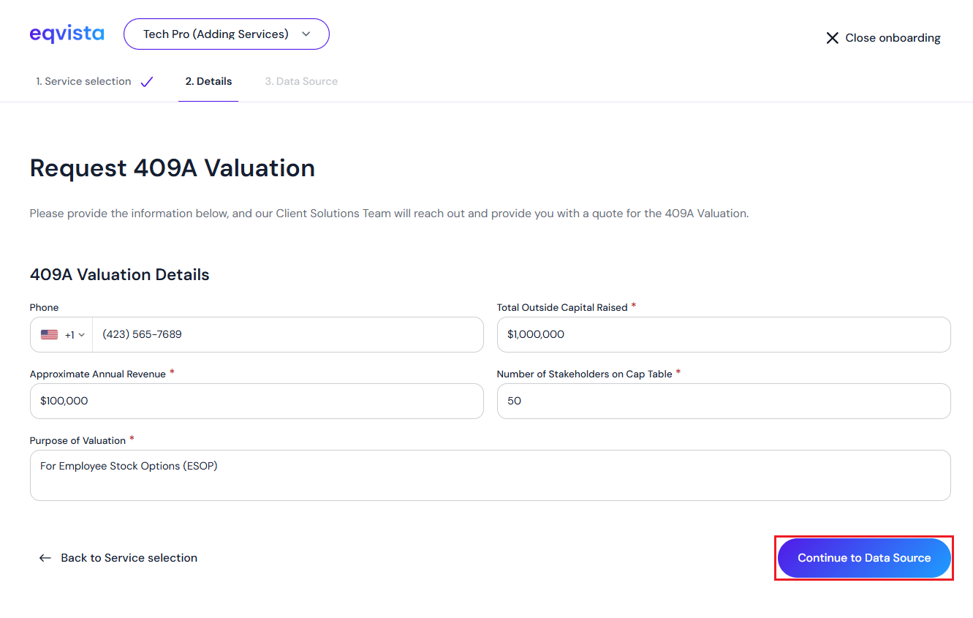
Once done, click on “Continue to Data Source”.
Step 3: Then, you will be directed to choose the method to connect your financial data – connect to QuickBooks or manual document upload.
Note: You can skip this step and manually enter your financial metrics later. You will be able to manage your Real-Time Valuation data sources in Company Profile Overview > Financial Statements at any time.
In this case, we have selected the option “Connect to QuickBooks”.
QuickBooks Integration
Connect each company’s financials from QuickBooks to build its real-time valuation. QuickBooks is optional, and any company you leave unconnected will use the figures from your import instead.
Note: Connect a company to import its financials and build a real-time valuation automatically. Check out the support article to learn more about connecting QuickBooks in real-time valuation.
Once you click “Connect QuickBooks”, a panel will appear to fill in the period start and period end to pull financial data from QuickBooks for a custom date range.
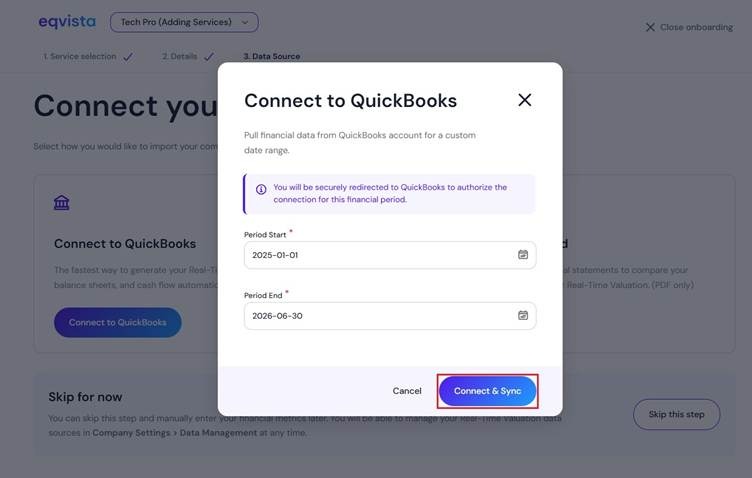
Once done, click on “Connect & Sync”.
Then, you will be redirected to enter the email or User ID of QuickBooks as shown below.
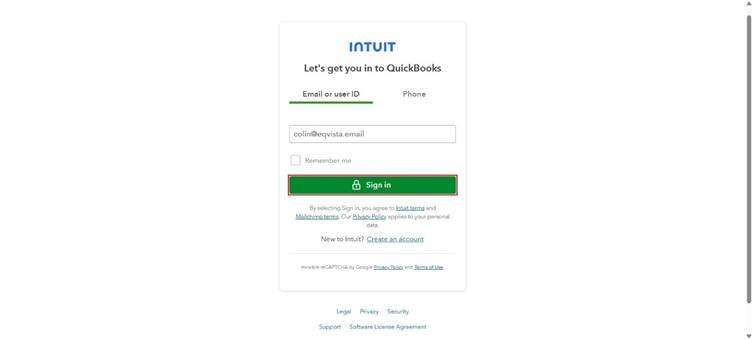
Once you click “Sign in”, you will be redirected to enter your password and click on “Continue”.
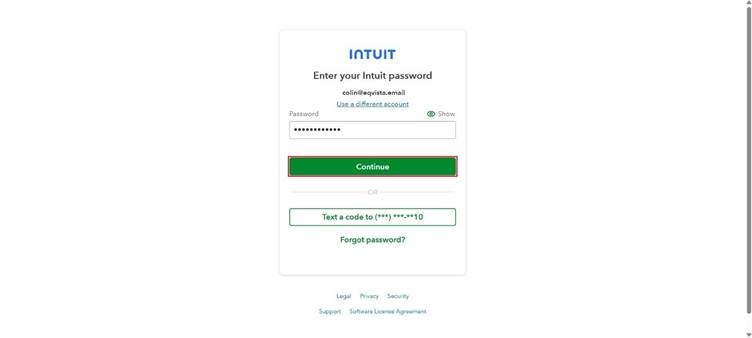
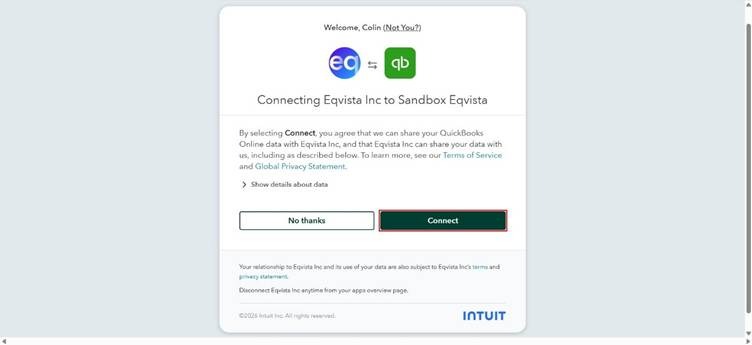
Once you do this, you will be directed to the following page. By selecting “Connect”, you agree that we can share your QuickBooks Online data with Eqvista.
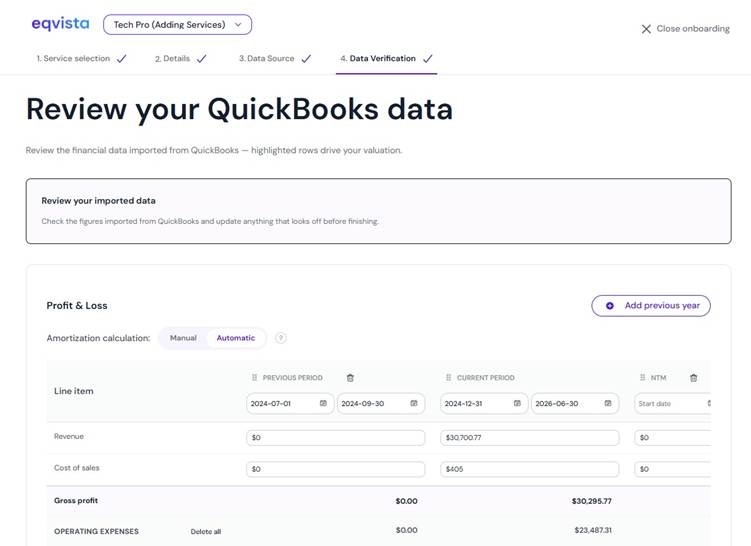
Then, you will be directed to verify the financial data pulled from QuickBooks for the entered period.
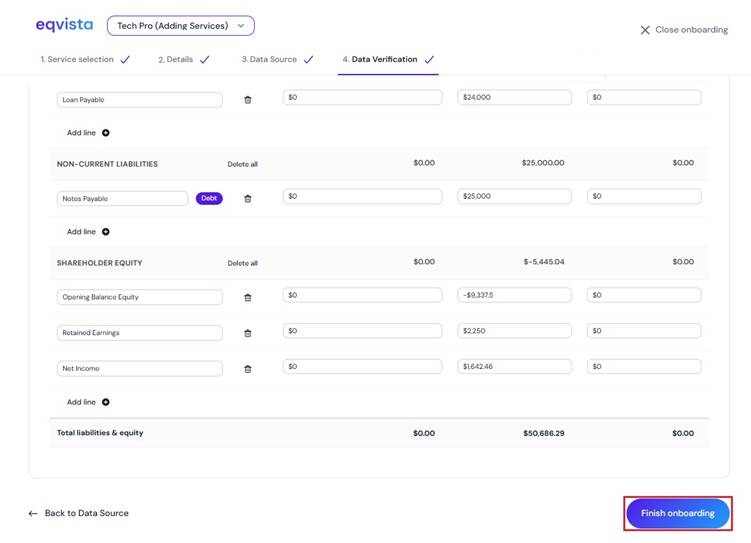
Now, after you have added everything that you wish to add click on “Finish Onboarding”.
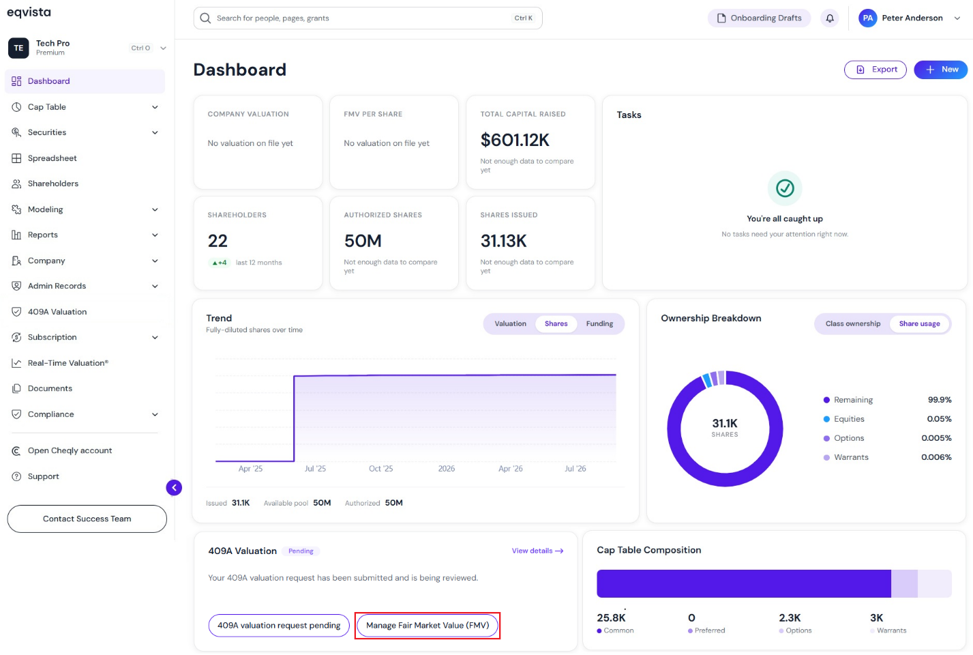
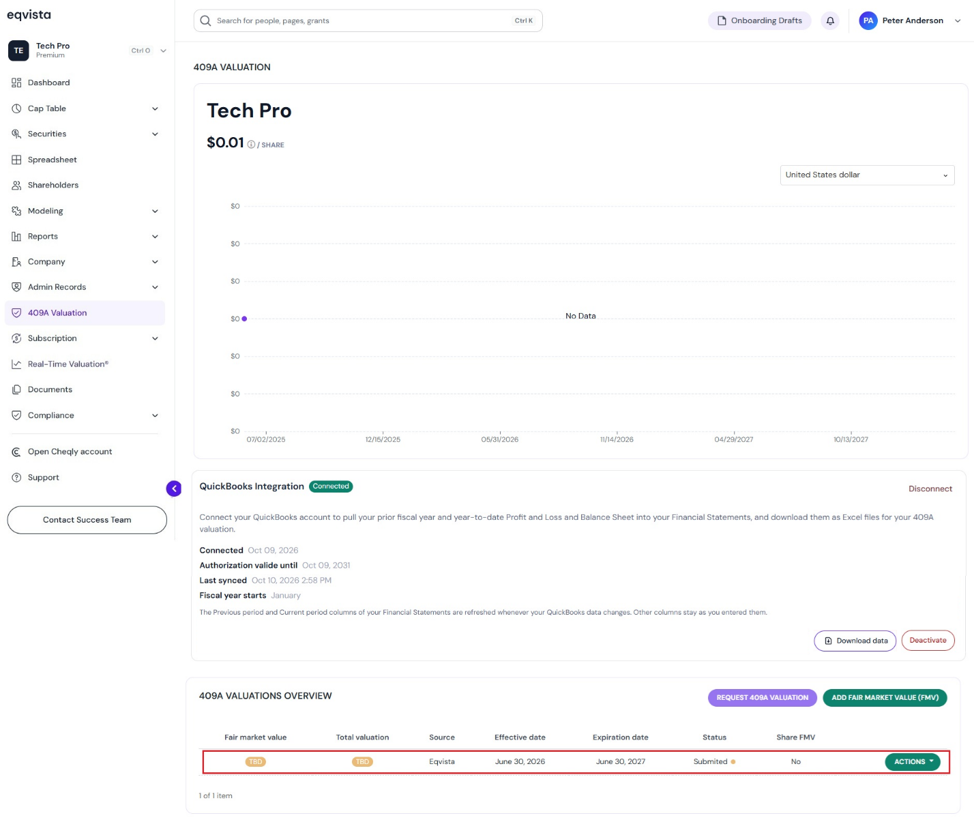
Step 4: The 409A valuation can be viewed by clicking on “409A Valuation” on the left side of the dashboard or by clicking on “Manage Fair Market Value (FMV)”.
Step 5: When you get a valuation report from us, the valuation result will be updated here. Let us assume you keep getting a report for each year for the next 10 years. All the valuation results will be updated here and a graph will be shown to help you see how your company has grown over the years. It will look like this as shown below.
Note: By clicking the “Add Fair Market Value“, you can add the fair market value. To share and edit the fair market value entered, check out the respective support article.
The “TBD” can only be deleted by clicking on “Actions”.
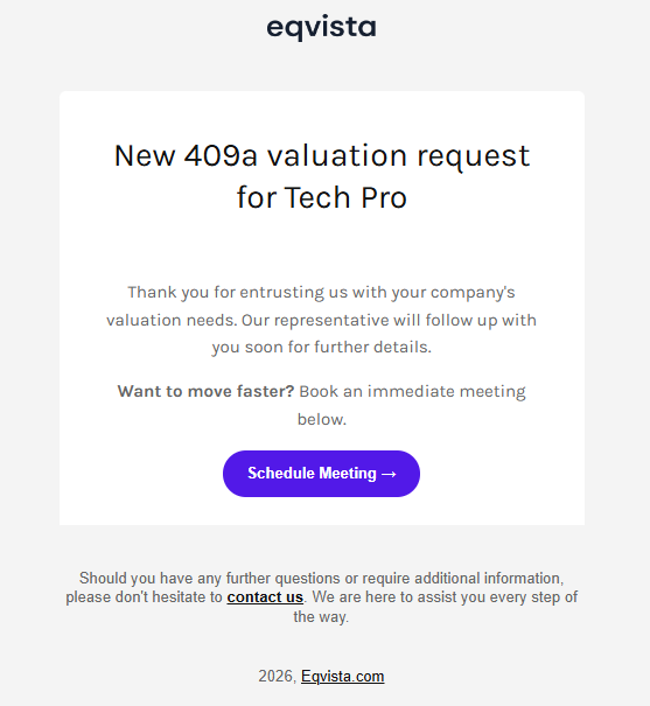
You will receive an email confirming that your request has been successfully submitted.
Step 6: Since QuickBooks has been connected to access your financial data and automatically generate quarterly real-time valuations.
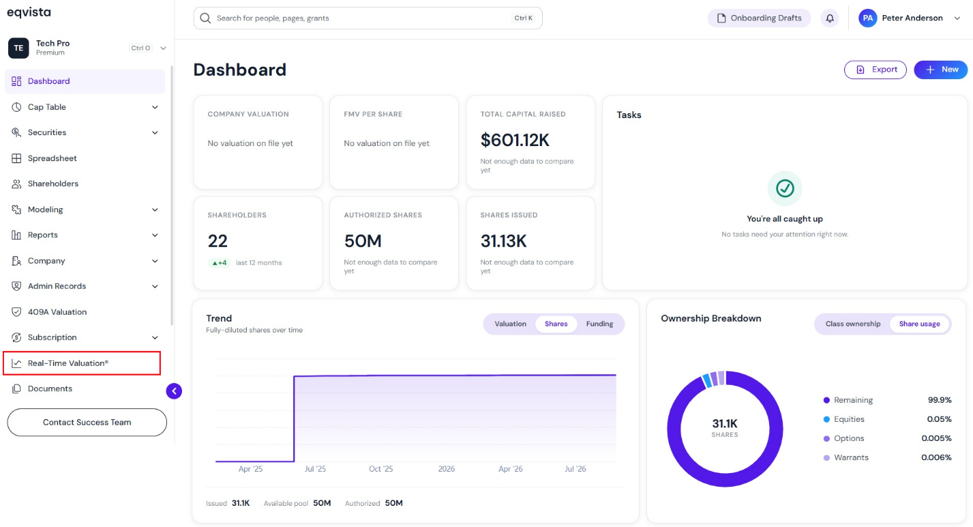
The real-time valuation generated by QuickBooks can be viewed by clicking on “Real Time Valuation” on the left side of the dashboard.
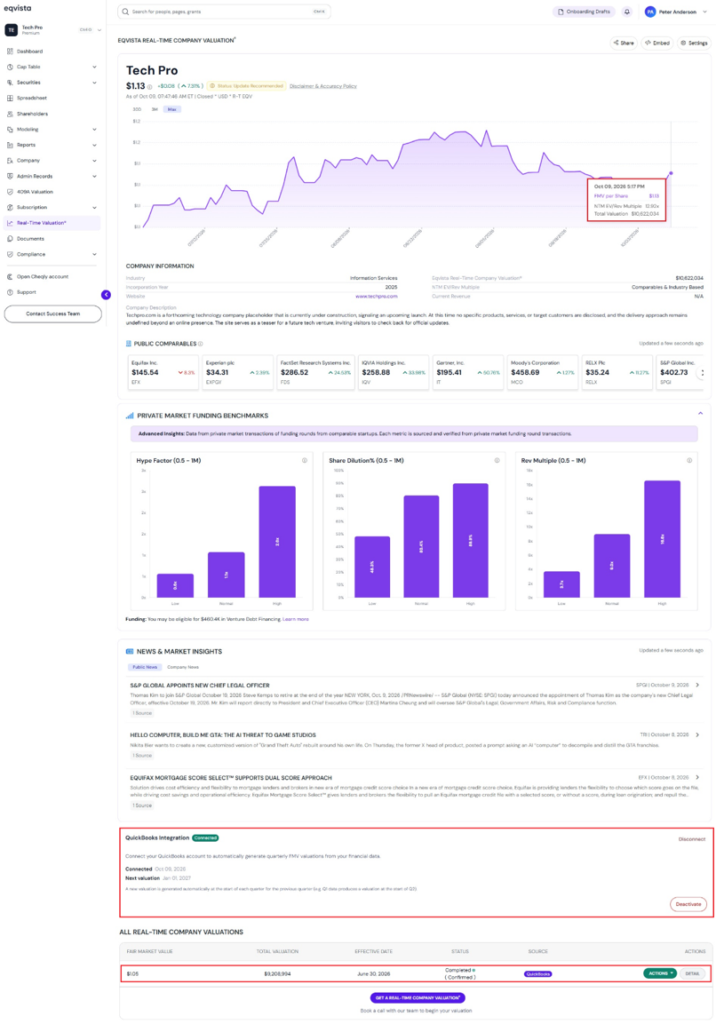
Then, you will be directed to the page displaying the fair market value of real-time valuation and the source as “QuickBooks”.
The QuickBooks integration displays the status “Connected” along with details of the next real time valuation schedule, and an option to “Disconnect”.
Note: On this page, you can view the real-time valuation graph and to embed the real-time valuation, click on “Embed”. To share your real-time valuation report, click on “Share”. View company news on real-time valuation by clicking on “Settings”. Check out the respective support articles to learn more about it.
Just like this, you can easily request a 409A valuation report using the Eqvista application and even keep track of it.
To know more, check out our support articles and knowledge base here. Contact us for any queries!