How to View the Timeline
Just like you have a timeline in your social media, Eqvista has incorporated the same idea in its application as well. This means that you can keep a note of all the things that you do right from one place, in the Timeline.
View the Timeline on Eqvista
Here is a guide to help you understand how to view the timeline and use it on Eqvista.
Step 1: Once you have logged into your account, select your company account.
On the dashboard, click on “Cap Table” from the left side menu, and then on “Timeline” from the tiny drop-down menu to reach the timeline page.
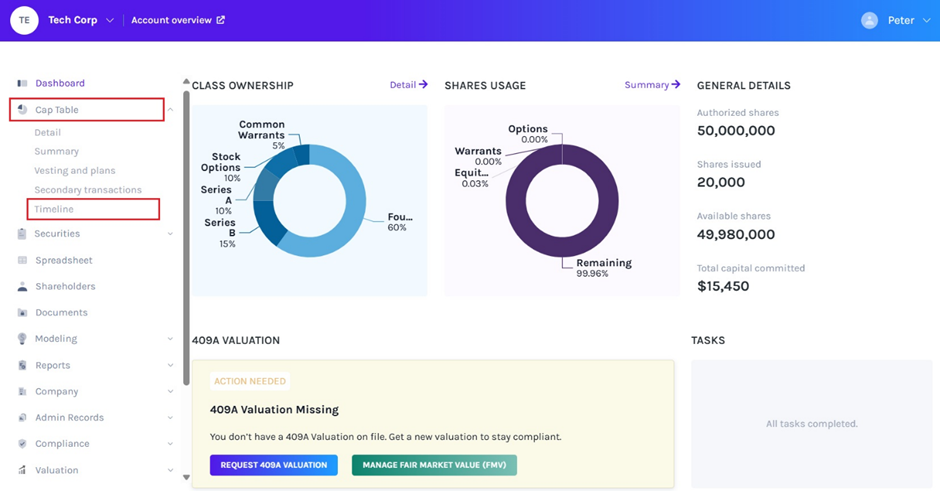
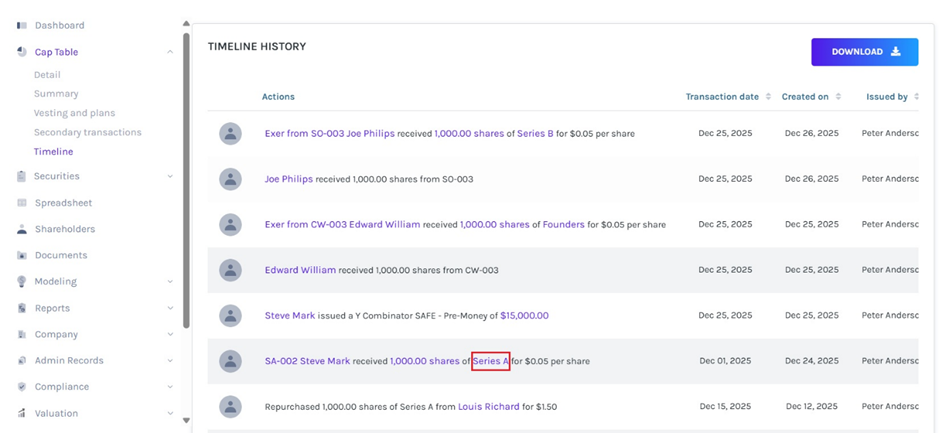
Step 2: When you do this, you will be redirected to the above page where you can see all the actions that have taken place in the company.
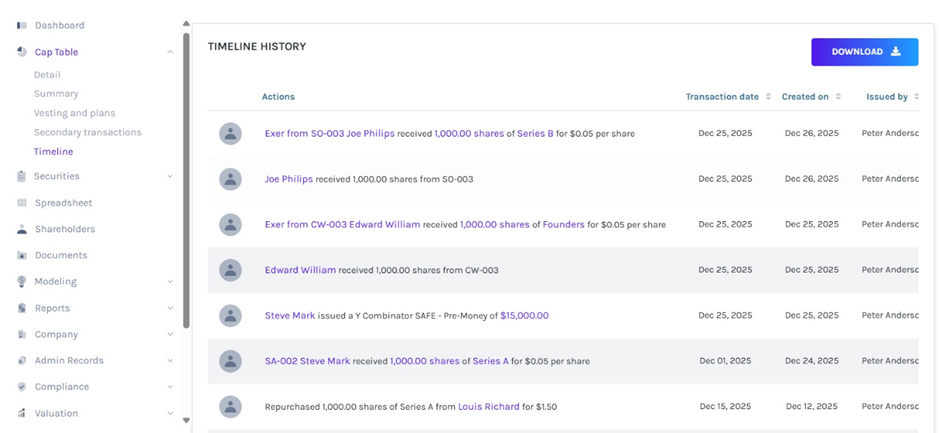
Timeline history
This is an expanded timeline. You can see every action from the time the company was founded till the current transaction that took place, along with “Transaction Date”, “Created On”, and “Issued by”, including:
- Number of shares authorized
- Share Class created and shares issued
- Option/Warrant Classes created and issued
- Convertible Note created and issued
- Shareholders created and actions taken for them
- How many shares issued
- Number of shares reserved in equity classes
- Secondary transactions performed
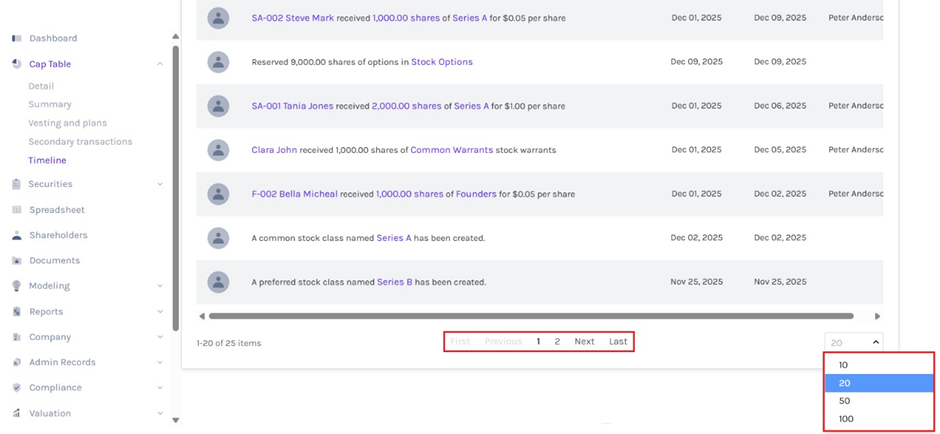
Step 3: If the timeline is long, then many transactions have taken place in the company, and you will find many pages. To view the next pages, scroll down and click on the next page number. It also displays the options to select from drop-down menu the number of transactions to be displayed on the page.
Step 4: Here, you can click on any of the highlighted words in blue, and you will be directed to the source of that action in the company. For instance, we clicked on “Series A” as shown below.
By doing this, we were directed to the following page.
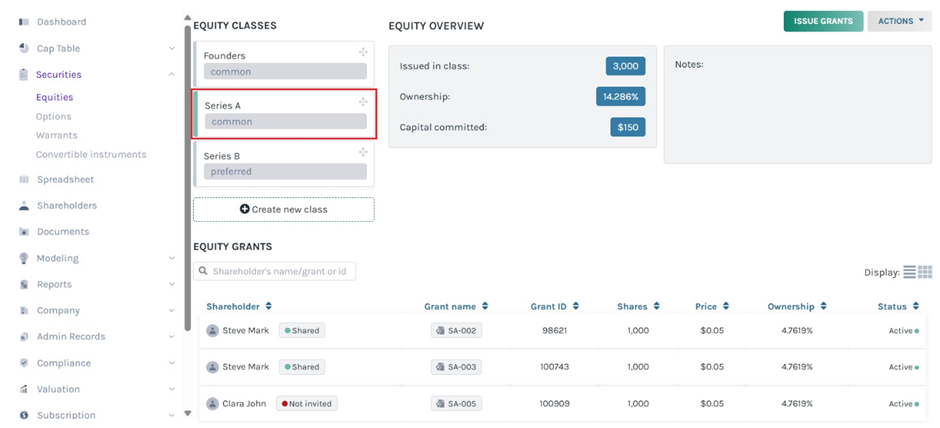
This is the page where you can see the details of the “Series A” class equity, such as the number of shares issued in the class, capital committed, and percentage of ownership. It also allows you to issue more shares to a new shareholder from here. To know more about this, check out the support articles here!
Similarly, if you click on any blue word or phrase from the timeline, you will be directed to the page related to the word/phrase.
Step 5: If you would like to download the timeline, click on “Download” as shown below.

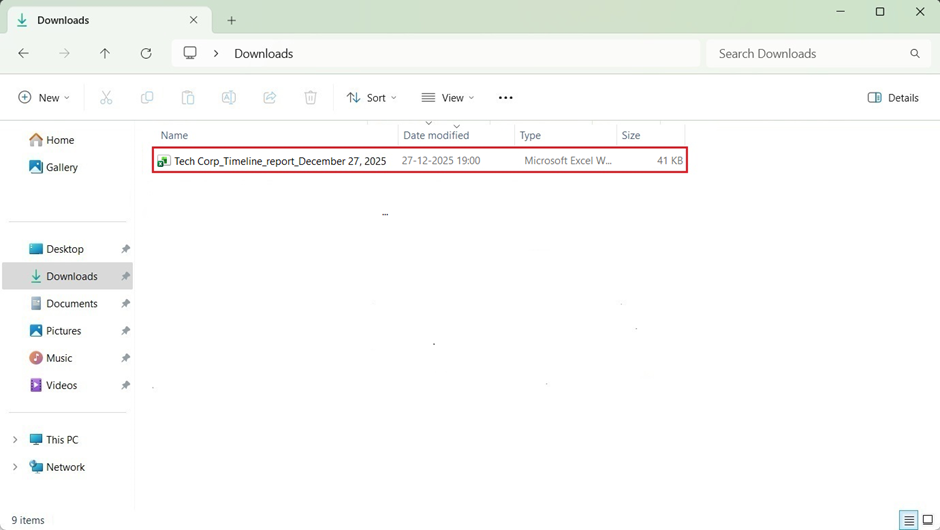
The timeline gets downloaded to your Downloads. In this case, it gets downloaded in Excel format.
Step 6: Double-click the Excel sheet to open the downloaded timeline. You will see that the report has two sheets. The first sheet is just like a cover that tells you what the report is about and what you will find in it, with the company name.
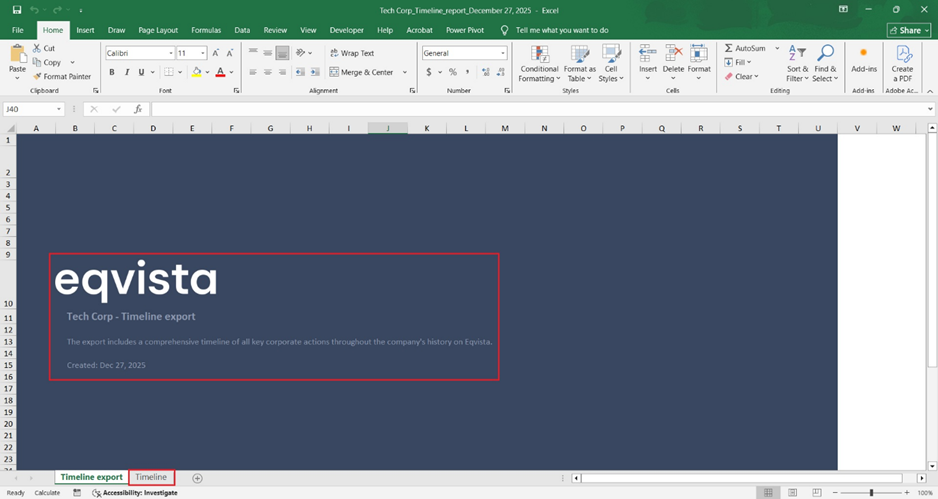
Click on “Timeline” to see the second sheet, which looks like this.
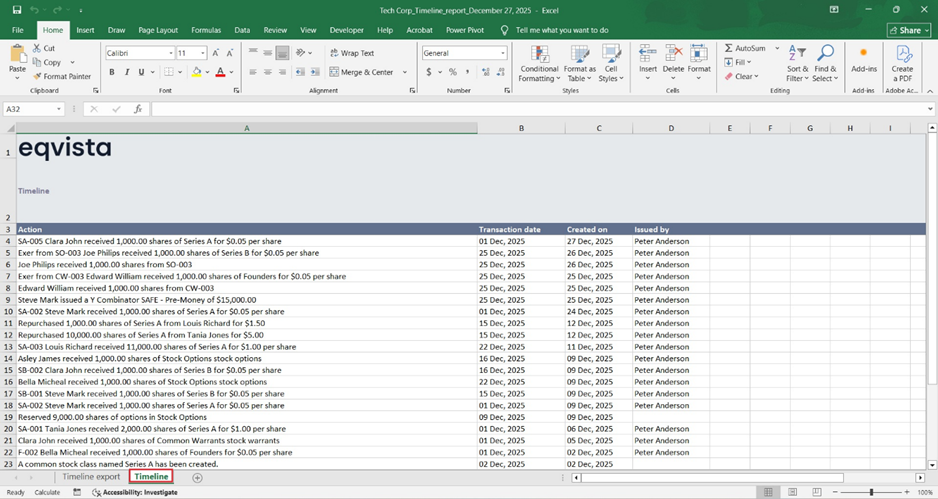
You can easily manage and handle everything right from the timeline and dashboard.
If you want to know more or understand any other process, check out the other support articles here or contact us!
